
Why hello there. Long time no see.
It was not a conscious decision to take a months-long break from the blog, more like it just kind of fell by the wayside as I tried to keep my head above water, re: two kids under 5, summertime, birthdays, house issues, illnesses….otherwise known as “life shit.”
Even if I had the time to take photos, edit them, and write my little blurbs and musings about them, what was I gonna write about??? Nothing blog-worthy has been going on in my life lately. No cute DIYs, no room transformations, no big trips.
I’m like that friend you have who you don’t talk to for months and then suddenly I text you one day, asking if you want to go for afternoon tea with me. And I’m here to break the hiatus ice with a post about something that I was initially very upset about, but is now the very best example of how to turn lemons into lemonade.
A Crash In The Night
It was late one night, a few months ago, at like 2:00 or 3:00 in the morning. I was sitting in my baby’s room, breastfeeding her in the dark, when I heard a loud crash from an impact so forceful, it shook the entire house.
After putting the baby back to bed, I headed downstairs to find one of my favourite wall planters on the ground, with dirt everywhere. It had just fallen from the wall, a distance of about 8 feet.
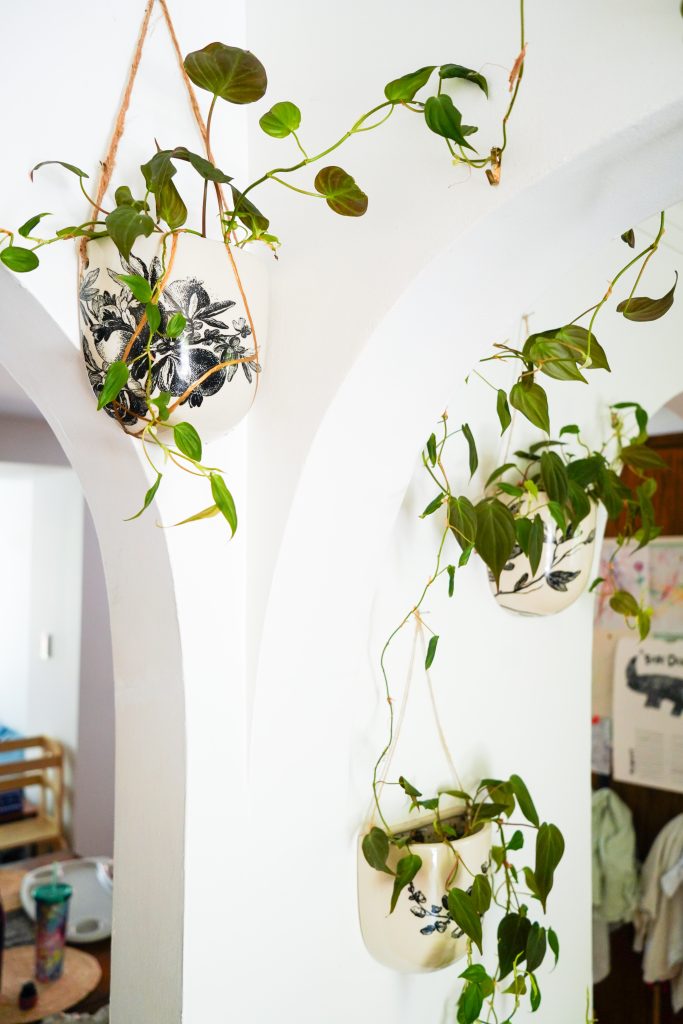
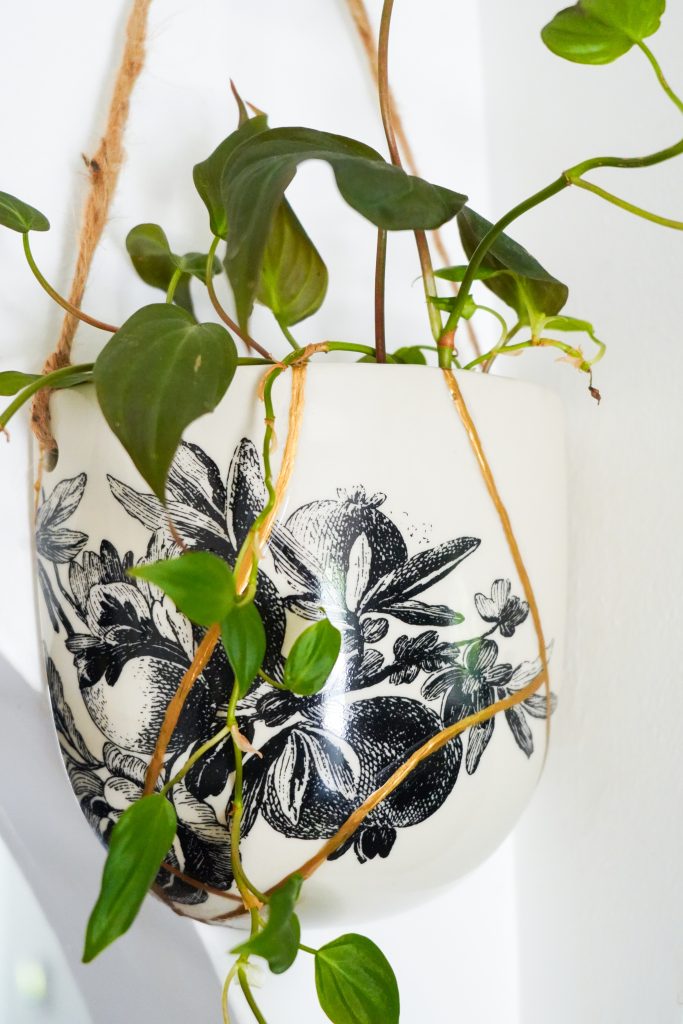
In my sleep-deprived stupor, I managed to collect all the pieces and wipe up the floor, with the intention of dealing with it in the morning. I don’t think the disappointment and sadness really hit me until later that day when I was more awake. I mean, just look at how beautiful this trio of planters is!

I’m gonna get controversial for a second, but I feel like often in accessible design/decor (I’m talking about affordable/easily available to the masses etc.), people don’t bother making things beautiful. I don’t mean everything is ugly, I mean it’s hard to find interesting things, things with character, things that were thoughtfully designed, with distinctive, interesting characteristics.
What is easily available to us pleebs follows basic trends and looks fine, but generic. It’s largely a cost thing, sure, but I feel like it also has a lot to do with trying to appeal to the widest audience possible. They make the product as inoffensive (ie. generic) as possible. It’s like people who design for the general public don’t want to take any design risks. And I think that’s a shame.
Which is why I was so sad that one of these beautiful planters (originally from Modcloth circa 2016) broke. I’ve never managed to find any other wall planters even remotely similar to these ones.
All this to say, I decided right away I needed to try to salvage this broken planter as best I could. There was no way I was going to just throw it out!
Ceramic Repair, But Make It Pretty
A couple of thoughts went through my mind when I starting thinking about fixing this planter: what kind of glue should I use for this? And what should I do about the visible cracks/glue residue that I was certain would end up looking kinda ugly?
Any time anything breaks, I immediately whip out my E6000. It’s my go-to glue for everything. But this time, I had 2 concerns:
- Is E6000 still toxic after it dries? As in, would I be able to keep a plant alive inside this planter after I’ve fixed it?
- Is E6000 waterproof? Again, I planned on putting the plant back inside this planter once it was fixed, and plants need water. Did I have to worry about the planter leaking?
I could find no answers to my very specific questions, so I decided to forge ahead regardless.
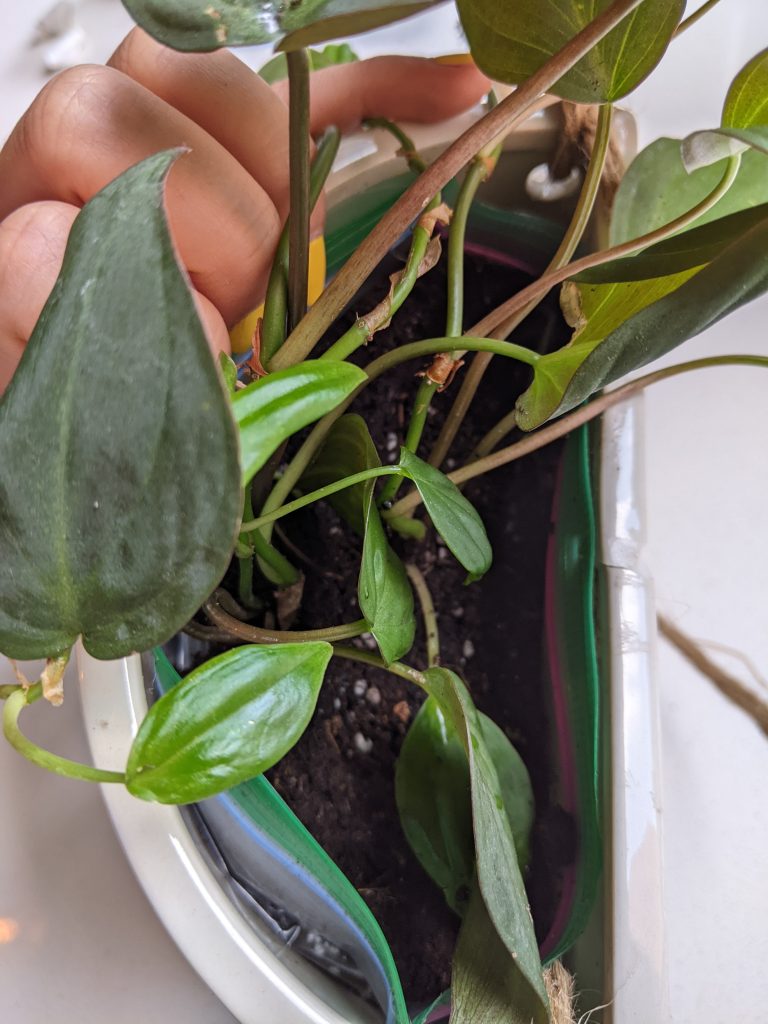
Luckily for me, the planter mostly just broke into a few large pieces. The first layer of glue I did was on the interior of the planter. I crumpled up some paper and gingerly placed it inside to kind of prop up the pieces so they’d dry at the right angle.
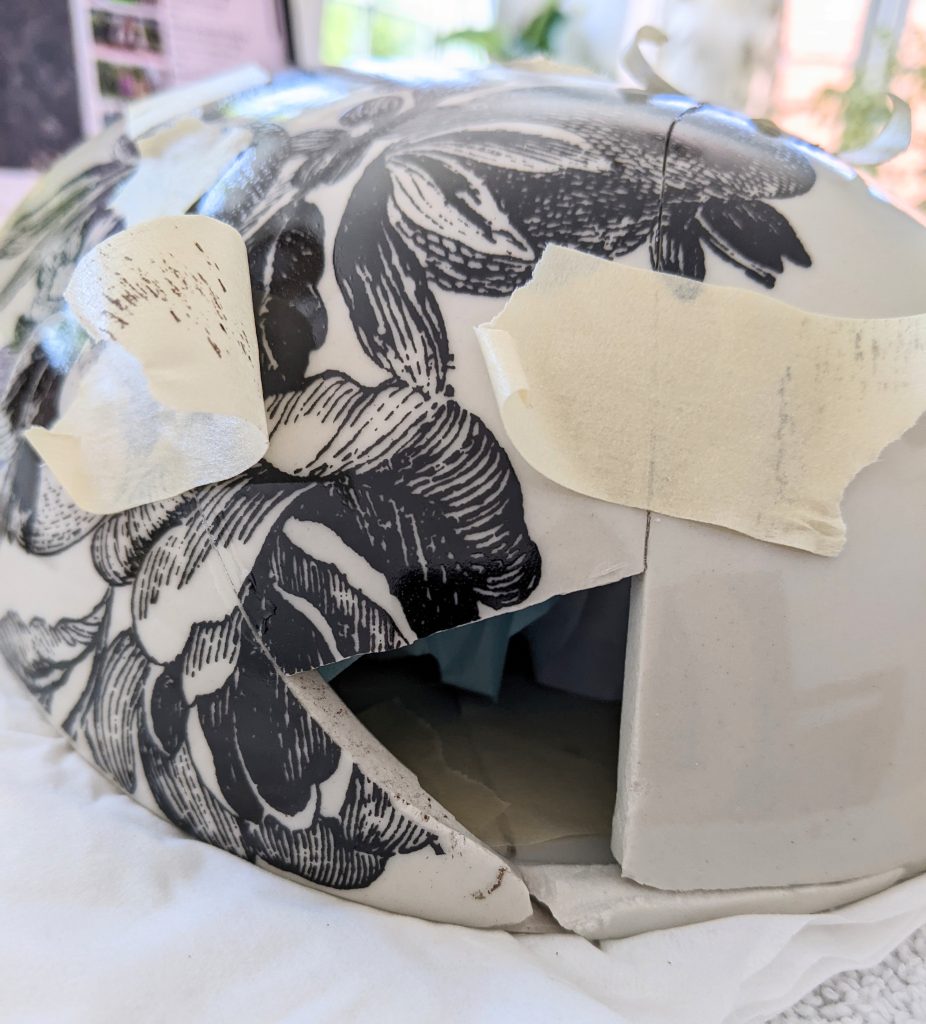
I also added some tape to the exterior for the same reason. This worked super well in making the pieces as flush against each other as possible!
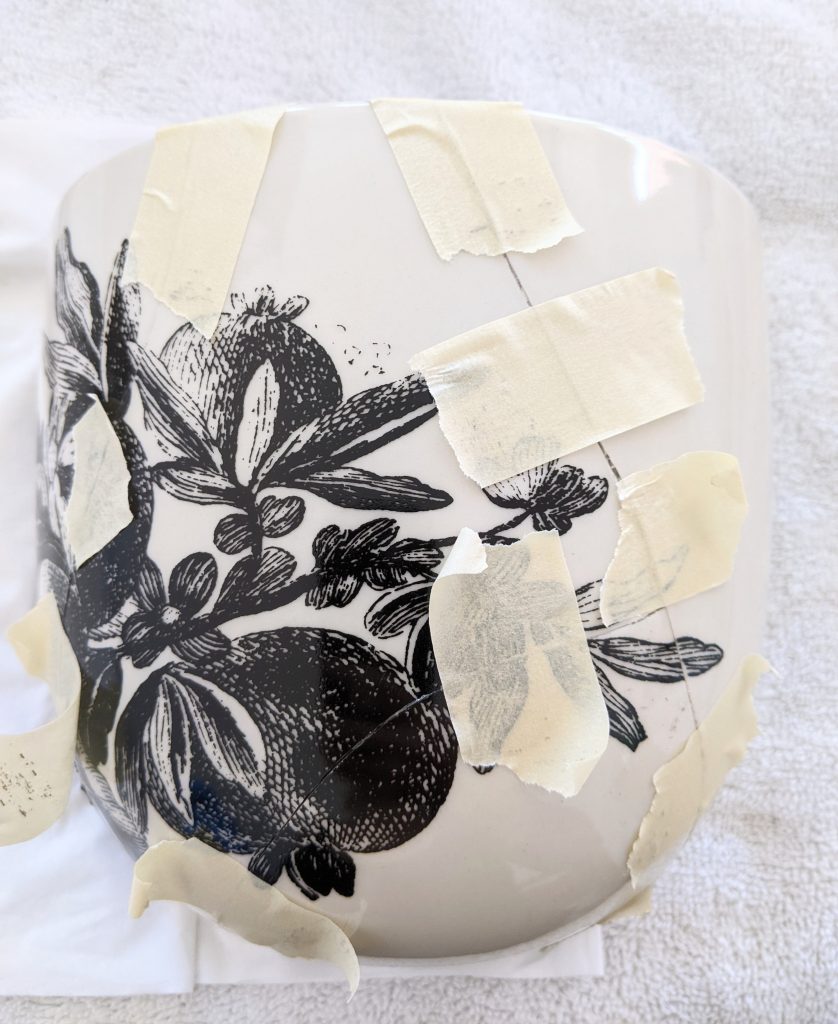
I let that layer dry for a full day before adding a couple of layers of glue on the outside, always waiting at least 24 hours in between layers. I then performed a waterproof test by filling the inside with water and seeing if any leaked out. Very scientific.
Long story short, it kept leaking despite the many layers of glue I kept adding, so I gave up after 5 or 6 layers on the outside and decided I’d line the inside with plastic or something.
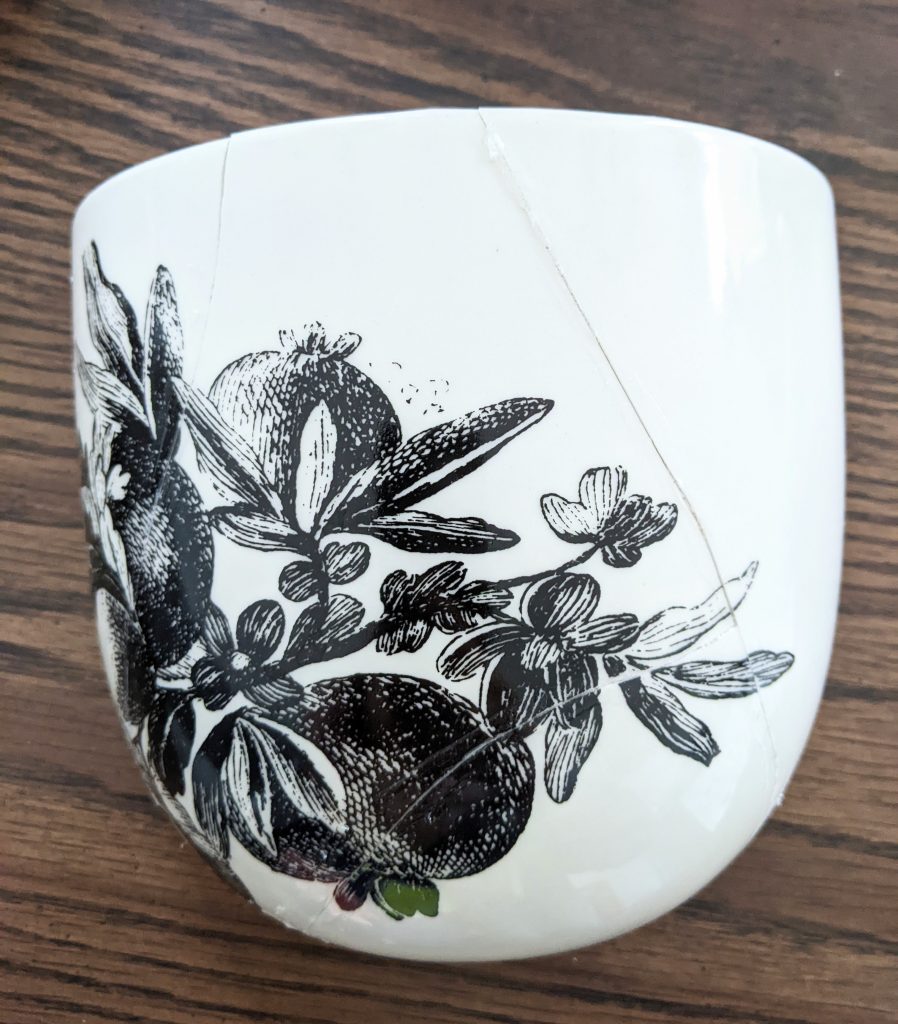
As predicted, I was not a fan of the visible cracks and the glue left a lot of texture as well.
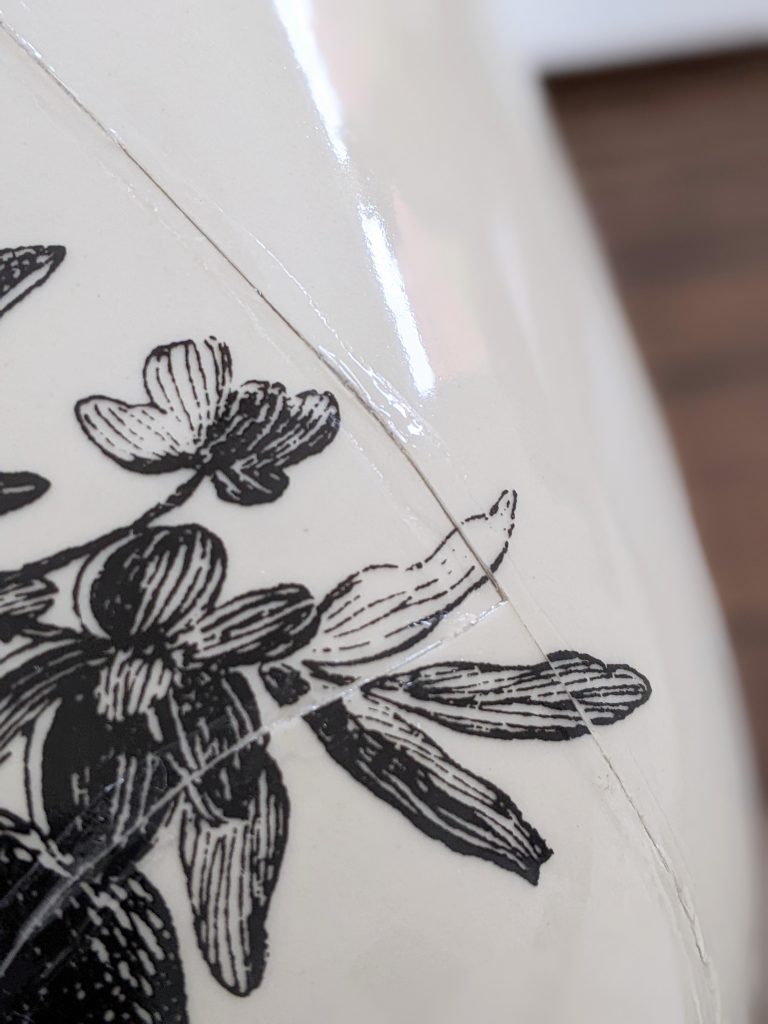
In terms of an ugliness fix, my mind went straight to “kintsugi” even before I started this repair process. This is a Japanese ceramic repair technique that leaves the piece, honestly, prettier than how it started off, in some cases.
For my specific broken planter problem, you would use a special kind of lacquer or resin that’s mixed with a metallic dust (usually gold) to kind of glue the pieces back together. Now, I know how to do a lot of things and have an unwavering belief in my ability to learn just about anything. But I wasn’t about believe I could just watch a YouTube video on this centuries old artisan skill and get the same beautiful results instantly, not to mention getting the real materials necessary for this task seemed difficult and expensive.
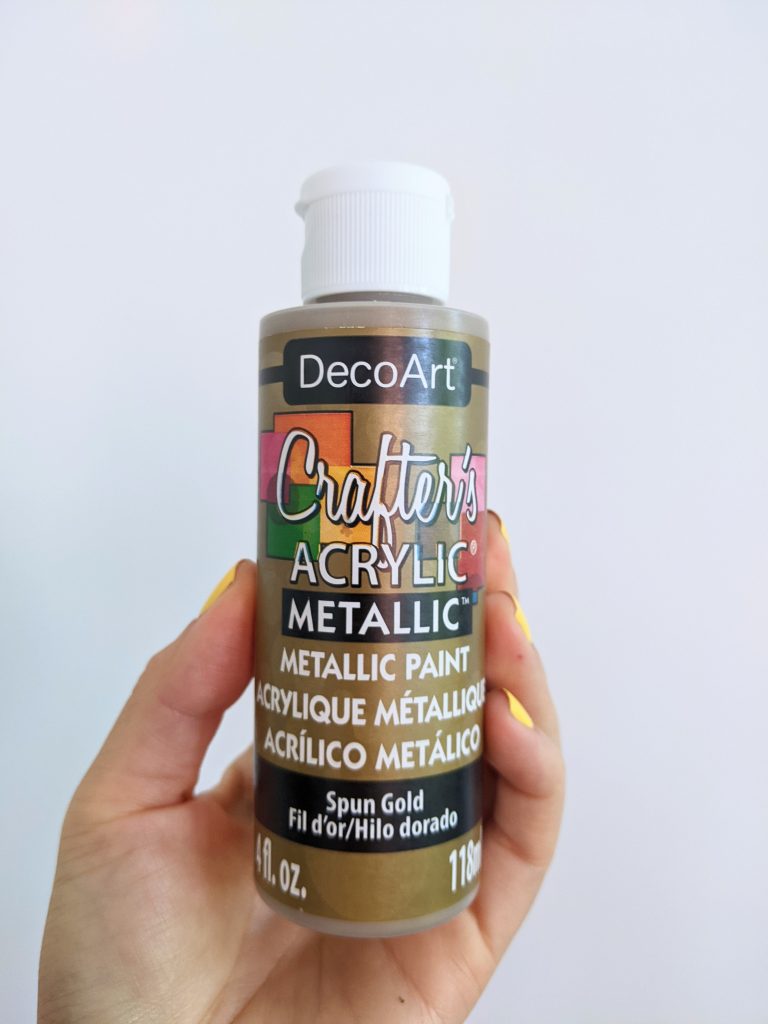
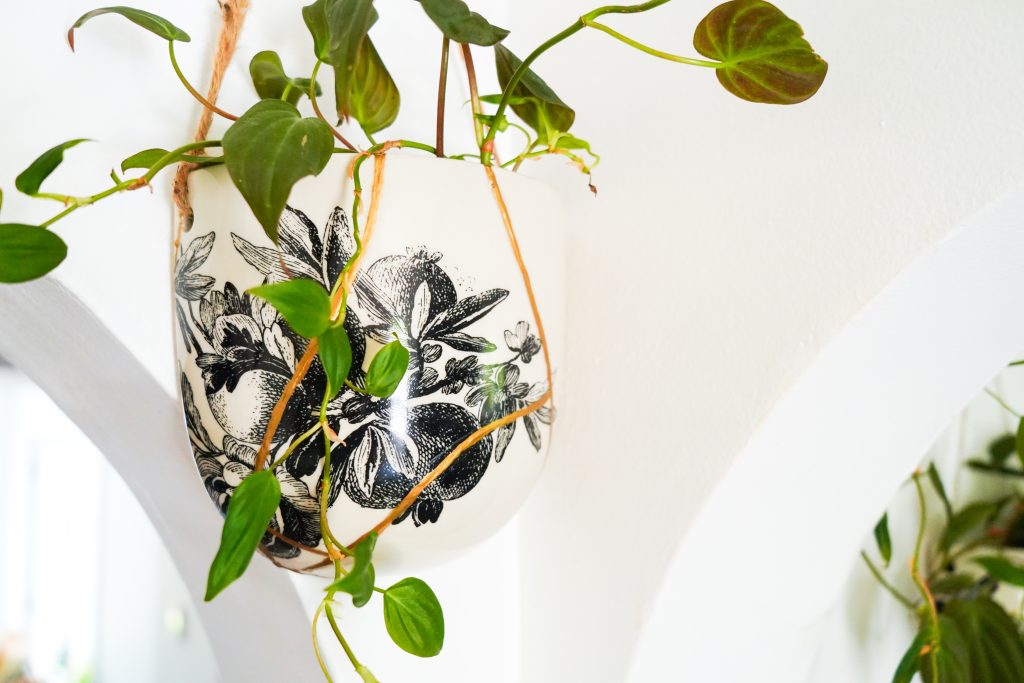
So even before I began the gluing process, I settled on just getting a generic, acrylic gold paint and painting over the cracks in an attempt to mimic the kintsugi style of ceramic repair.
This is what it looked like after one layer:
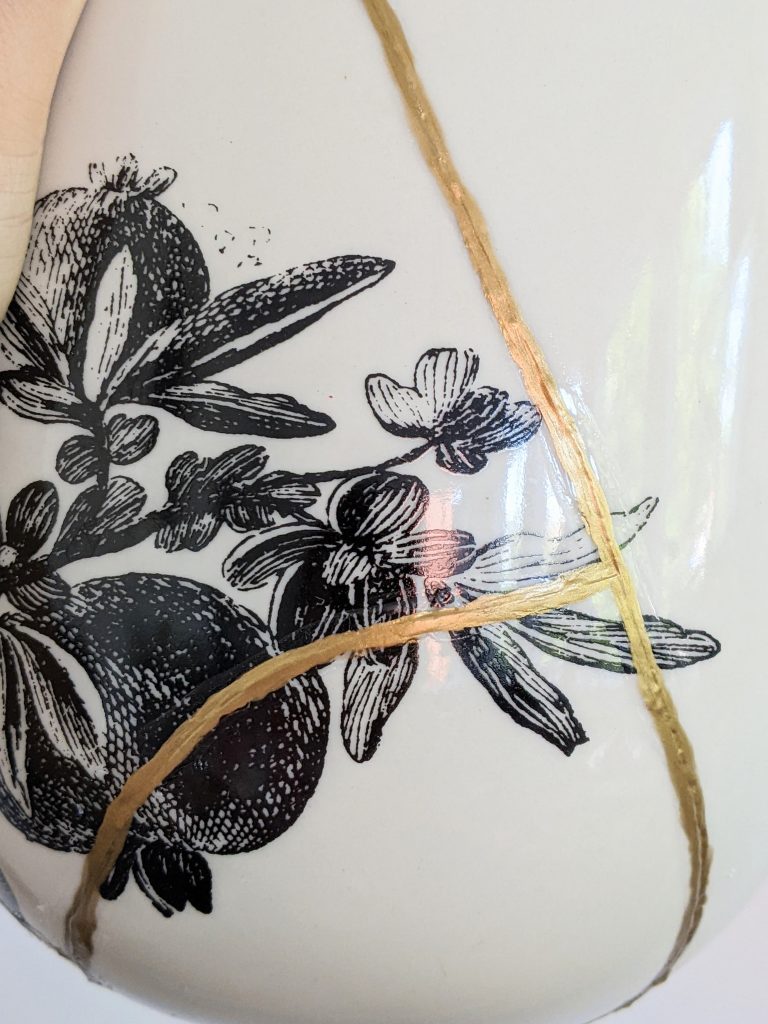
I ended up painting on three layers in order to really cover up the texture of the cracks and glue effectively.
Once the paint was dry, I inserted a plastic sandwich bag into the planter to hold all the dirt and the ivy to prevent leaks. I realized also that this kind of solves my problem of whether or not the E6000 would be toxic to plants because no dirt, plant or water ends up coming into contact with the glue.
And just for extra wall-hanging security, I added some command velcro strips to the back of the planter.
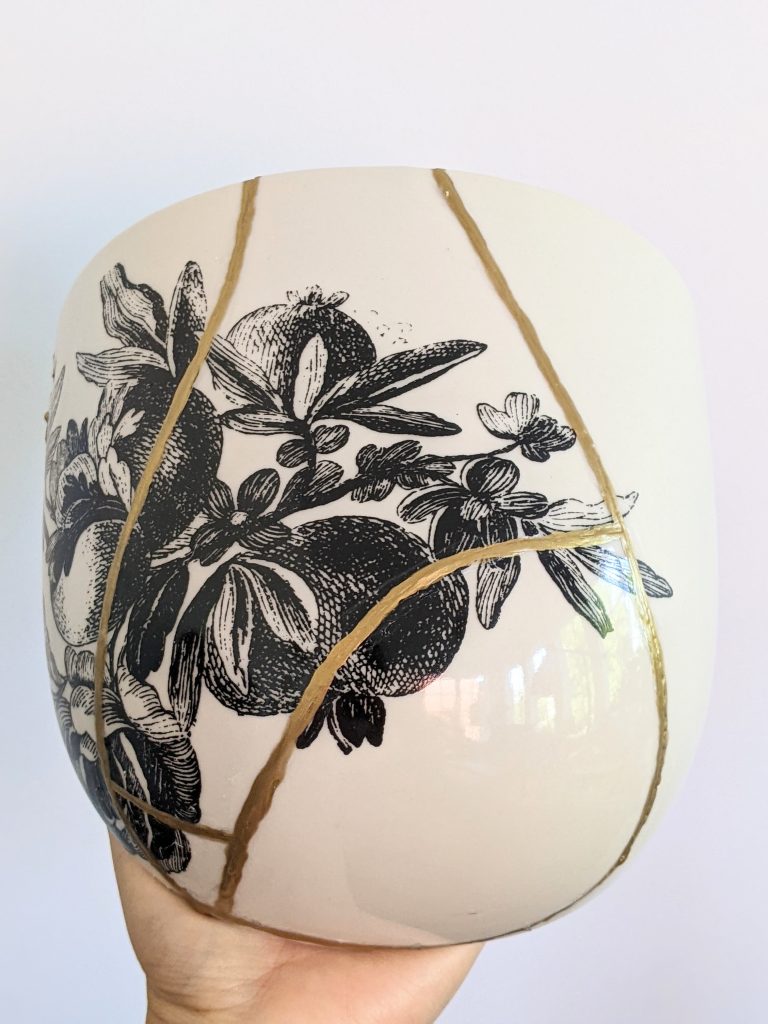
And that was basically it!

I gotta say, from far away, it looks pretty good!
As a final note, although I am very pleased with how this turned out, I would like to reiterate how very FAUX kintsugi this is. I did not study or practice this art form, and I definitely did not do any of the things you’re actually supposed to do to call this real kintsugi. There’s always something kind of icky about borrowing or mimicking cultural practices you’re not actually familiar with or versed in when you have a superficial understanding of it.
But the spirit of treating your things as precious enough to fix instead of just throwing them away, honouring the history of the item regardless of the imperfections, and coming out of it with something even more beautiful than before, really speaks to me. I hope that I managed convey my respect and admiration for the art form.
xoxo