
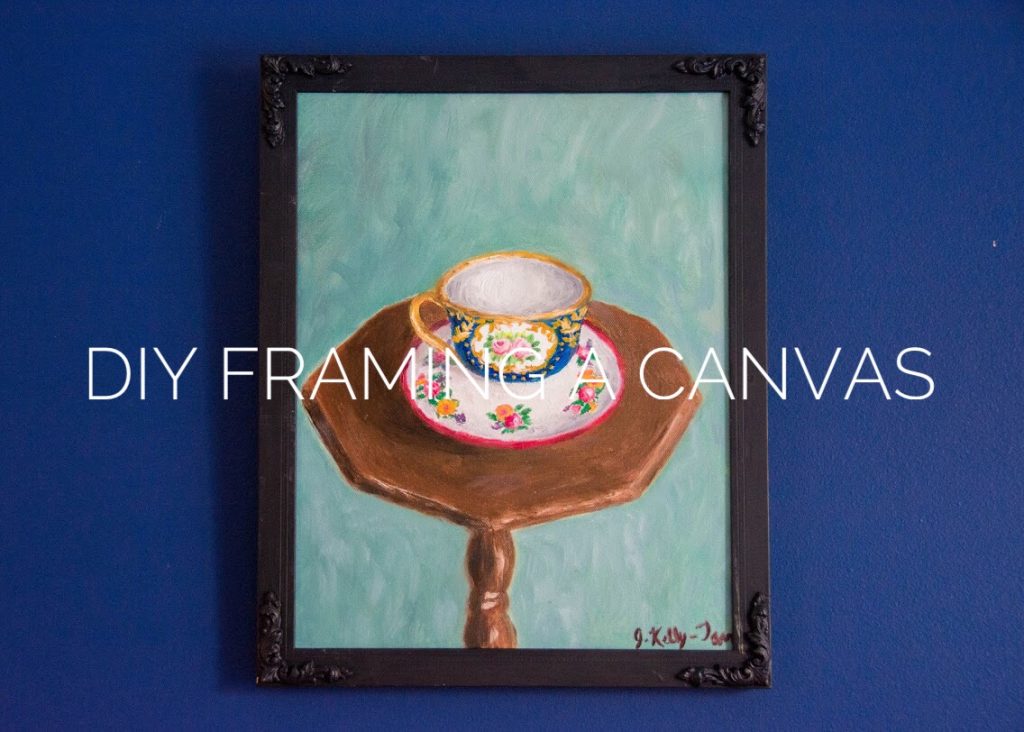
I love hanging art around the house and a lot of it, especially my own paintings, aren’t framed. I think there’s something really classy about framed art, although it definitely depends on the type and style of artwork, not to mention the decor style of the room.
I wanted to hang up my latest teacup painting and as luck would have it, I had a picture frame I wasn’t using that fit the size of the canvas perfectly. So I decided to save a couple hundred bucks and frame the sucker myself. Here’s how I did it!
Materials
-offset clips
-D-rings
-hanging wire
-pliers
-drill
-marker
1. Gather your materials

For the frame, it’s obviously easier just to get one ready-made if you can, rather than make one. Someday, I may attempt making my own frames, but for now, I just used a picture frame I already had that fit my canvas. I just removed the glass and backing. Most regular photo frames (or any frame with a sort of lip) should work fine for this.
For the offset clips, I got a size between 3/8″ and 1/8″. I don’t know what the size actually is because I just bought loose clips at the framing section of a De Serres and the girl didn’t know what size they actually were. You can get these at any art/framing store and probably Home Depot and similar home stores.
Also for hanging options, you can go with a sawtooth hanger (which my frame already had) but I decided not to go that route because it didn’t jut out far enough to be flush with the wall once the canvas is inside the frame. I went with hanging wire (to be used with D-rings) for this particular painting. You can also get this at any art/framing store.
2. Mark drill holes in the back of your frame where the offset clips and ring hangers should go

Put your painting in the frame and decide where all the offset clips and D-rings should go. I went with one offset clip for each side of the painting, but you might want to use more if your painting is bigger. I marked the location of the holes in the frame with a Sharpie.

D-rings normally go around 1/3 or 1/4 of the way down from the top of the frame. I went with about 1/4 of the way down.
3. Pre-drill holes slightly smaller than your screws where you marked the frame

I don’t know if I’d call this step a must, but since a lot of frames tend to be made of a lighter, thinner, and maybe cheaper wood, I decided to pre-drill some holes for the screws. This can sometimes help to mitigate any wood splitting when you go in with the screws.
Be really careful not to drill all the way through the frame. Full disclosure: the first hole I drilled made it through to the other side. Don’t panic if this happens to you! Fill the hole with some wood filler and then paint/colour it to match the paint job of the frame. You can’t really tell unless you know to look for it. All boo-boos can be fixed! Usually.
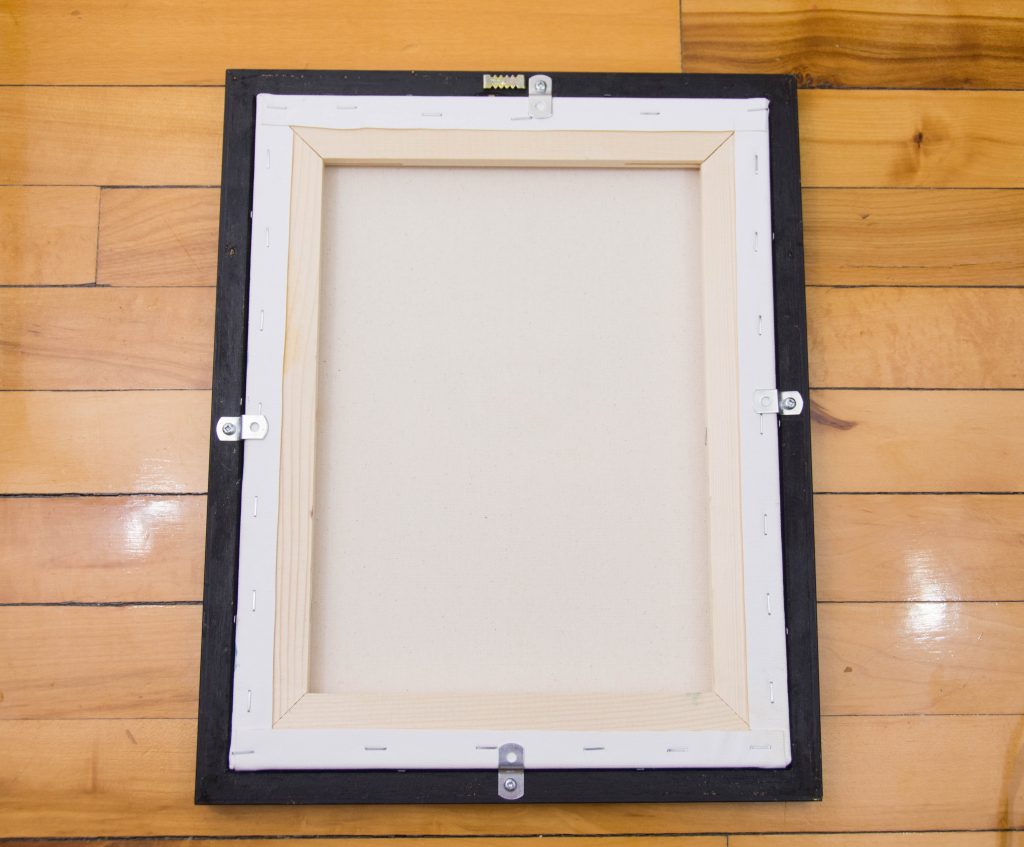
4. Place your canvas inside the frame and screw in the offset clips and D-rings

Make sure your painting is in the frame the correct way and then drill screws into the offset clips and D-rings.
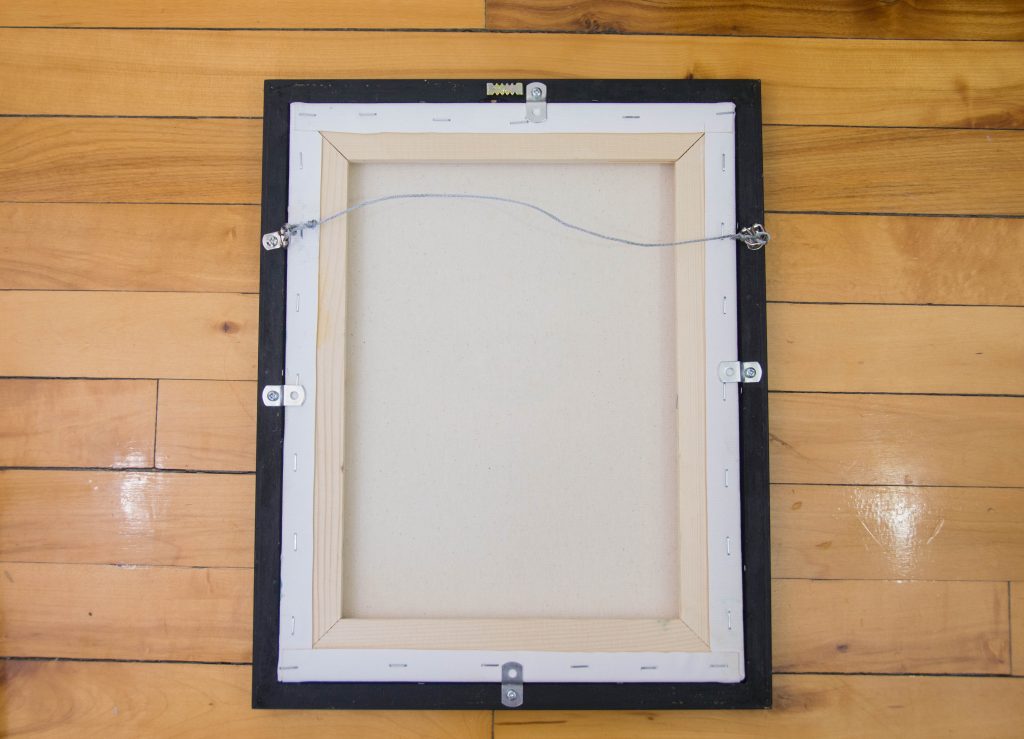
5. Attach the hanging wire
Cut the hanging wire slightly longer than the width of your frame. String the wire through one of the D-rings so that several inches hangs off the outside of the frame. Pull the end of the wire underneath the portion of the wire that will hang behind the canvas.

Pull the wire through the D-ring above the rest of the wire and through the loop that you have just created. Pull it tight and trim off the excess wire so that only one or two inches remains.

Wrap the remaining inch or two of wire around itself tightly so it won’t come loose. Tie the other side of the wire following the same steps, being careful to check periodically that when the painting is hanging, the wire does not show over the top of the frame (unless that’s the look you’re going for).
Et voila! You are now ready to hang your masterpiece for all to see.

This was a fairly quick and easy process….if you don’t count that I got the wrong size offset clips which required a trip to De Serres, and the teensy drilling mistake I made which required a trip to Canadian Tire to get wood filler and then, by the time I got home, the sun was down and I couldn’t keep shooting photos while I worked and had to wait till the next day to finish….
Not counting all that, this is a super quick and easy DIY that adds a ton of class to your paintings!
xoxo