
Anyone who has an older house will probably know the sound of squeaky floors all too well. I mean, I guess it works well as a burglar alarm, but most of us probably find it quite annoying. Since we moved into our old house, we’ve discussed trying to fix our squeaky second floor, but could never really figure out how to go about it. Until recently that is, when we finally decided to start experimenting. Here’s how we did it!
Materials
-drill + drill bits
-long wood screws designed to break off at the end
-wood filler
-paper towels/putty knife
1. Gather your materials
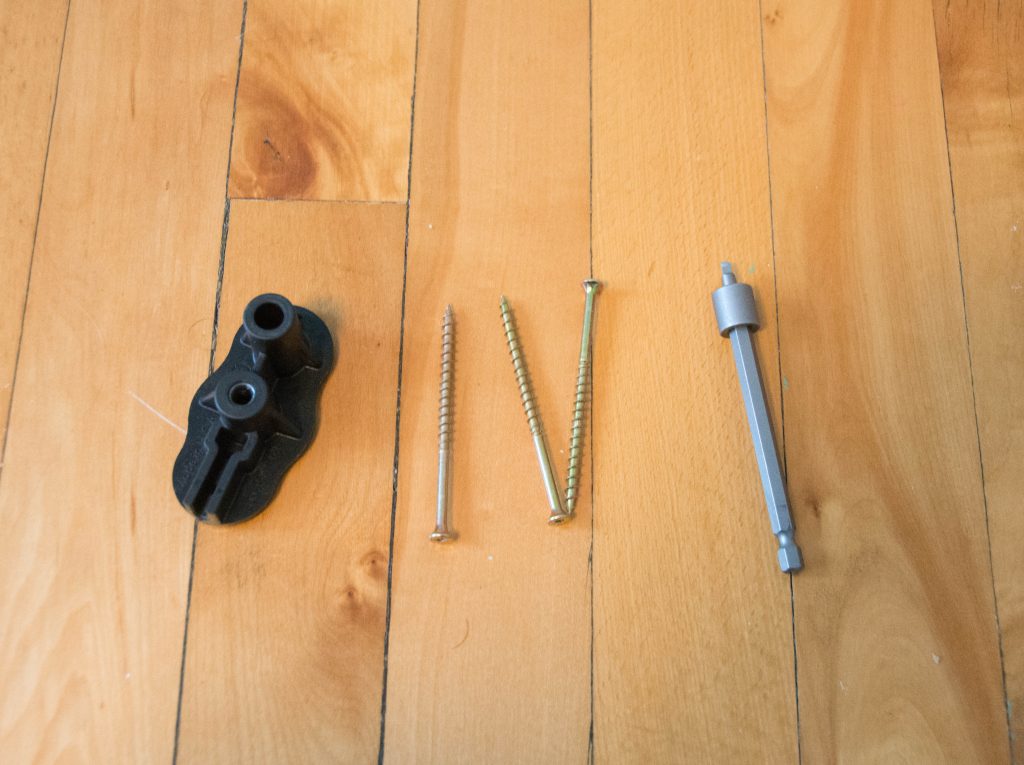
You probably don’t need to get a special kit to do this project, but we ended up getting the O’Berry Squeeeeek No More kit which came with a drill bit, 50 scored wood screws designed to break off at the end and a counter snap fixture.
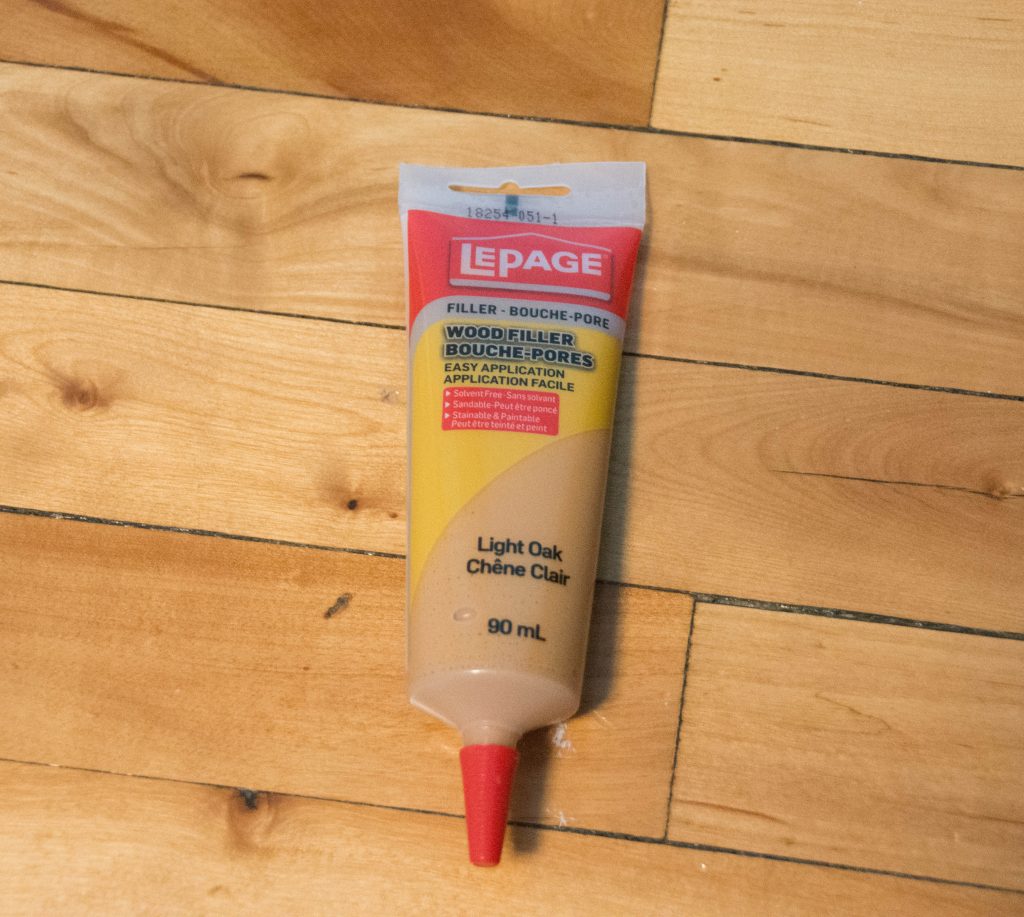
We also got a basic wood filler in the shade light oak, which more or less matches our floors. I say more or less because we have a lot of variation in the colour of our floors, but I think light oak pretty much did the trick.
2. Find the joists in your floor and pre-drill a hole where the screws will go

This was the most challenging part of this project for us. One problem was, it’s not always obvious why your floor is squeaking. It can often be the floor rubbing on the joists that’s causing them to squeak. But sometimes, it can be the floor boards rubbing on the subfloor. We kind of just started drilling and basically figured that in our case, it’s most likely the joists that are getting rubbed up on.
But our next problem was, since our squeaky floors were all on the second floor of the house, we could not just see where all the joists were. We tried using a stud finder to find them, but that only kind of worked. So we ended up doing a lot of estimating and just started drilling. We did end up drilling into non-joisted spots here and there, but that might have actually helped with some of the squeaks, who knows?
Long story short…we still have no idea where all the joists in our floors are because the measurements between them were not exactly the same, and it’s totally possible that our squeaking problems stemmed from the joists, in addition to the subfloors. All this to say, our upstairs flooring is still a big mystery to us and we basically ended up doing a lot of random drilling!
3. Using the counter snap fixture, drill the screws into the pre-drilled holes
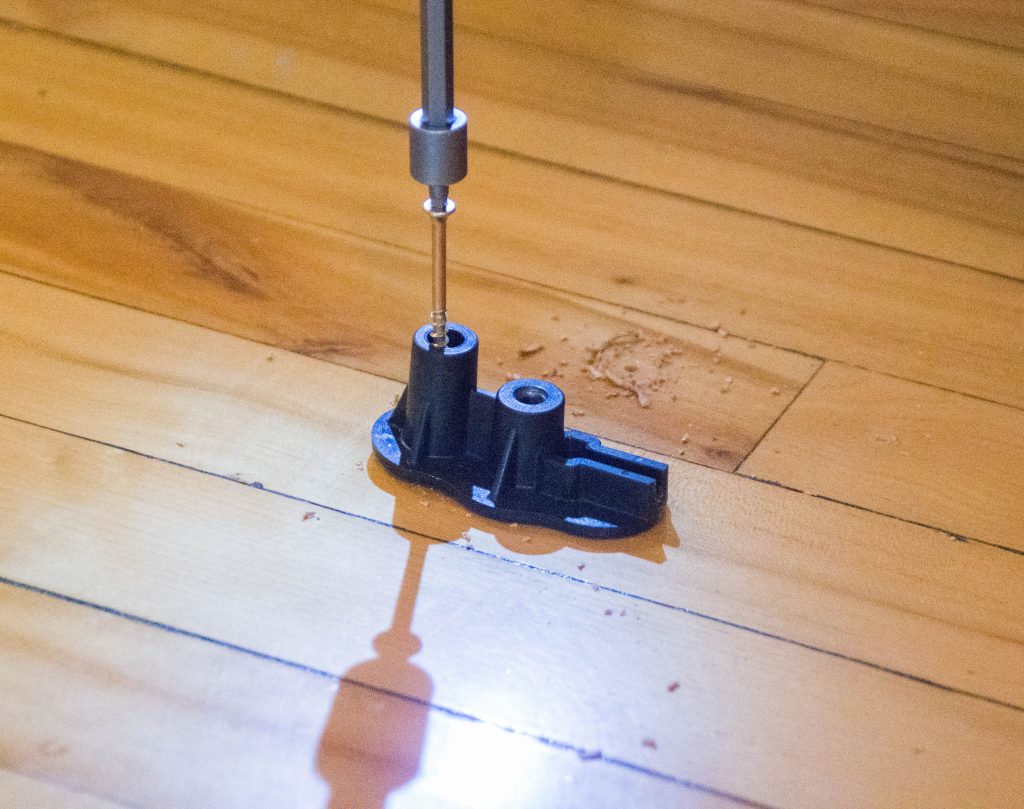
If you’re using the same kit we used, there will be two holes in the counter snap fixture, one for soft wood and one for hard wood. We weren’t quite sure what type of wood we had, so we tried both, and kind of went back and forth on which side worked better. Basically, the theme of this DIY is there was a lot of experimenting and trying to figure things out. So this is less of a how-to guide and more of a if-you-screw-up-or-don’t-know-what-you’re-doing-don’t-worry-it’ll-probably-turn-out-fine guide!
4. Remove the end of the screw
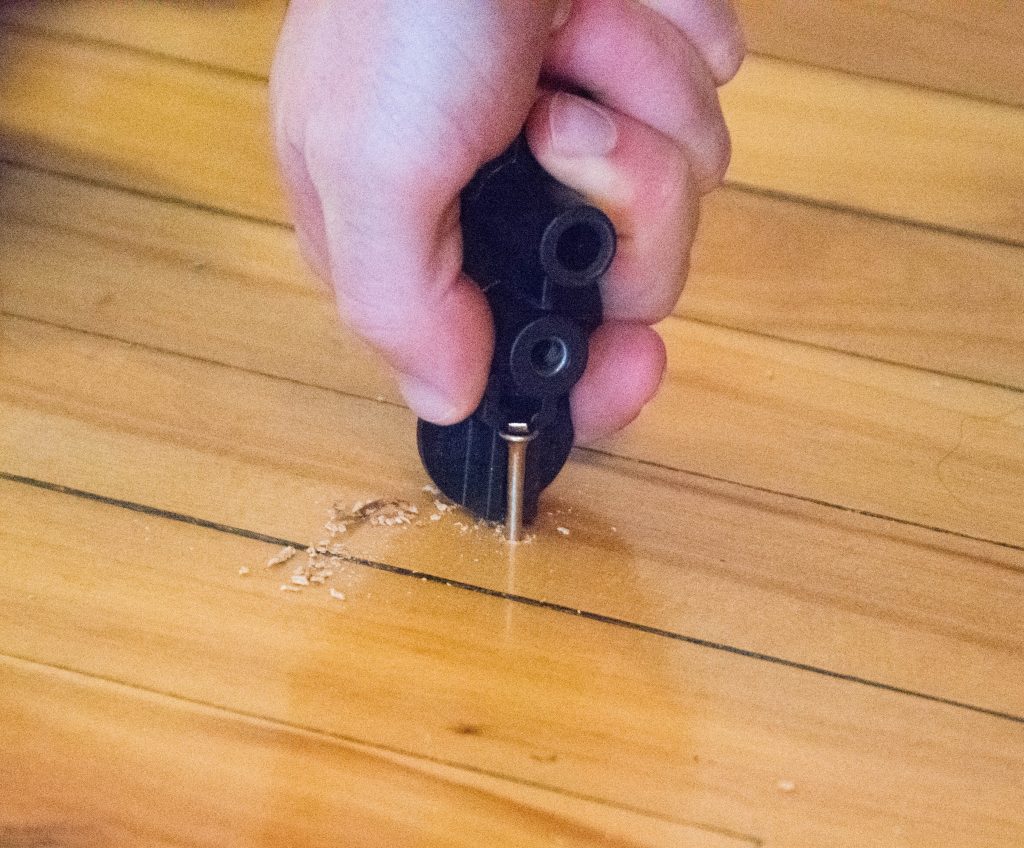
When the entire scored part of the screw is nestled well into the floor (like the end of the scored part is 1/4 inches into the floor) snap off the exposed end of the screw. This is one of the nice things about having the kit, in my opinion. They are designed to snap easily, but it wasn’t even THAT easy with the fixture. We had to use a lot of pressure. If you don’t have a counter snap fixture, I’m not really sure how you’d snap off the screw without really hurting your hands or arms.
5. Fill the hole with wood filler
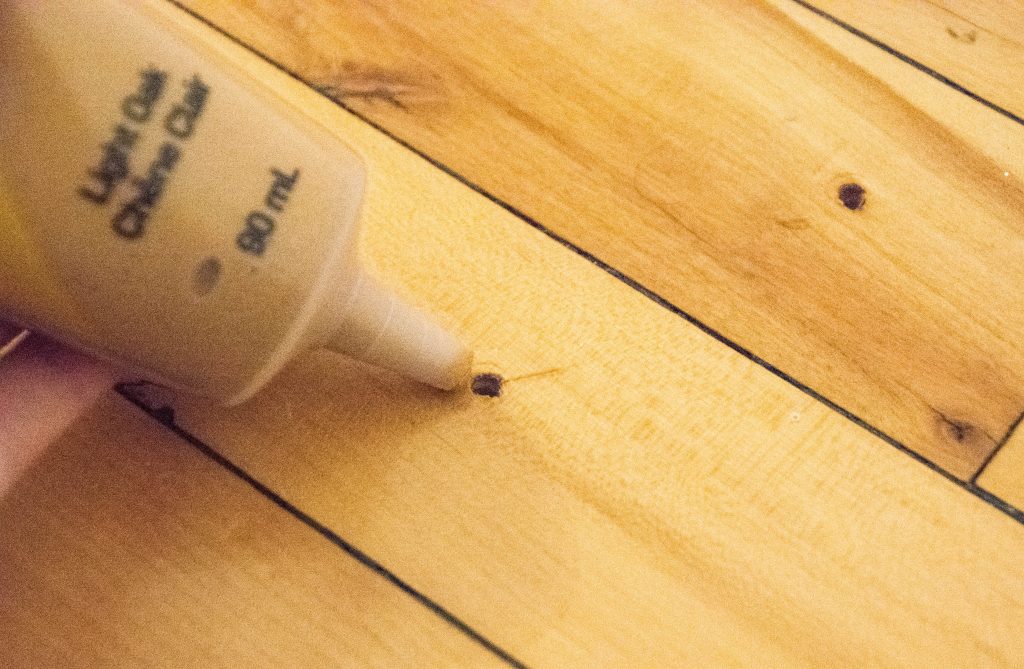
This part is pretty self-explanatory. After vacuuming or sweeping up the wood shavings, fill up the holes as best you can with wood filler. I didn’t find that I needed to be super precise or fill up the whole hole (haha, whole hole). Just fill it enough so that it’s covered.
6. Remove excess filler
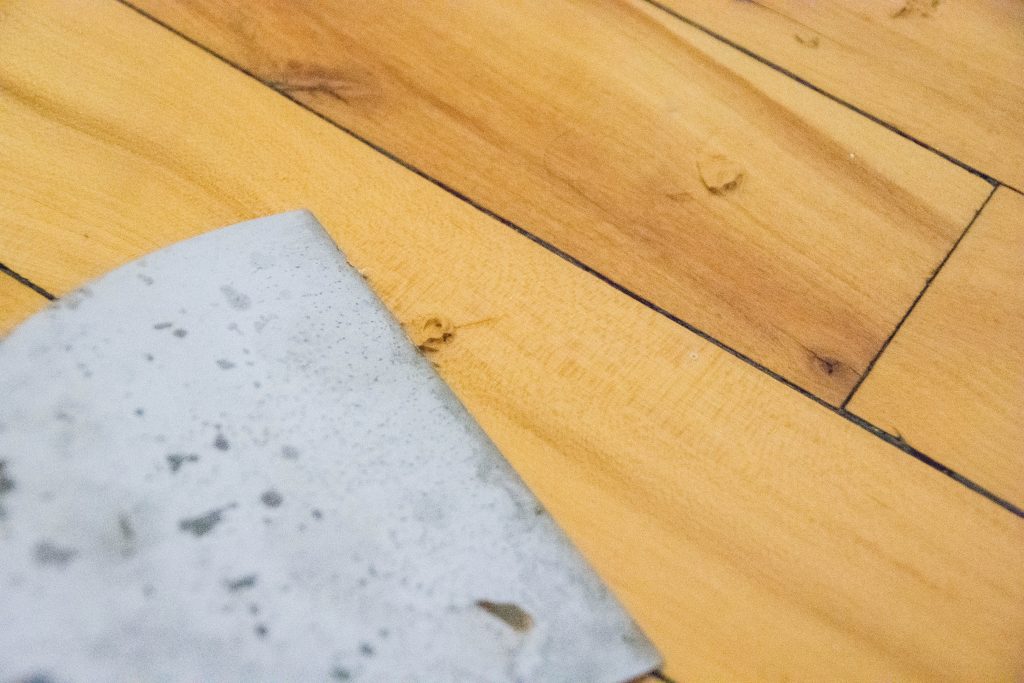
You can do this immediately, before the filler dries, by using a putty knife to scrape off the excess and paper towel to smooth and clean it. You can also go over it with a cleaning mixture after it dries, which cleans off the excess filler surrounding the hole pretty well.
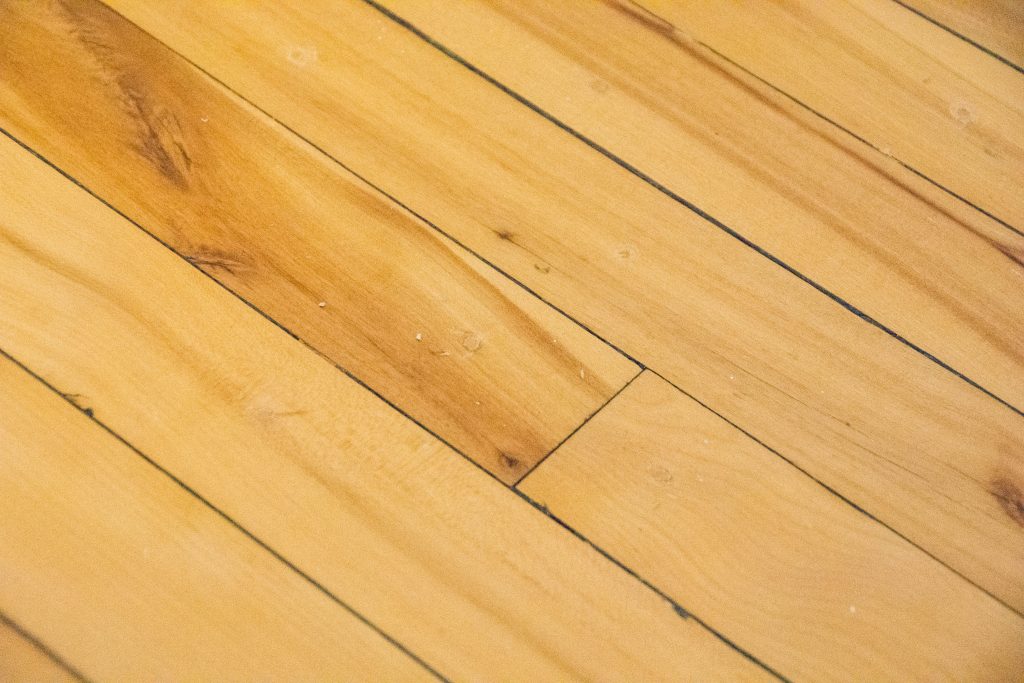
I think most people will have two burning questions at this point: do your floors now look awful and did it actually fix the squeaking?
To be honest, this has not fixed 100% of all the squeaking. I would say that 75% of the parts we treated are completely silent now, but 25% still have some residual squeaking. Regardless, I am super happy with the results because even the parts that aren’t completely fixed are so much better than they were before. Keep in mind that our house is about 75 years old and the squeaking was not only severe, but freaking everywhere on the second floor!
And the wood filler blends into the floor pretty well. Unless you know to look for it, you really can’t tell that we’ve drilled about like 100 holes in the upstairs floor!
Realistically, I think the only real solution in fixing all the squeaks is to get new floors installed. But that won’t be happening any time soon, so this is a fine solution, in my opinion. In fact, I’m almost sure that if we just drill even more screws into the areas with residual squeaking, the squeaking would reduce even more.
If you happen to have tackled this problem yourself, I would love to know what you ended up doing. Is there something more we could try to get rid of the remaining squeaking? Please let me know!
xoxo