
It’s a tale as old as time. More like a tale as old as when people starting having multiple pairs of shoes….how to organize an entryway shoe situation!
Now there’s nothing wrong with the classic shoe rack near the door, of course. It keeps the shoes organized and easily accessible. But as a design rule of thumb, if something can get tucked away or hidden, the whole area will look a whole lot cleaner and more aesthetically pleasing. So I decided to get a shoe cabinet!
Why not put the shoes in the closet, you ask? Our front closet is actually pretty full already. We pretty much store all our coats, winter/summer accessories, non-seasonal shoes and even some outdoor stuff in there. The front door shoe area is really for those handful of shoes that we wear quite often and need easy access to. And I really like the idea of a shoe cabinet because not only does it hide away your shoes to reduce the visual noise of the area, but the tabletop portion can act as a shelf too, which gives you even more organization/decor opportunities.
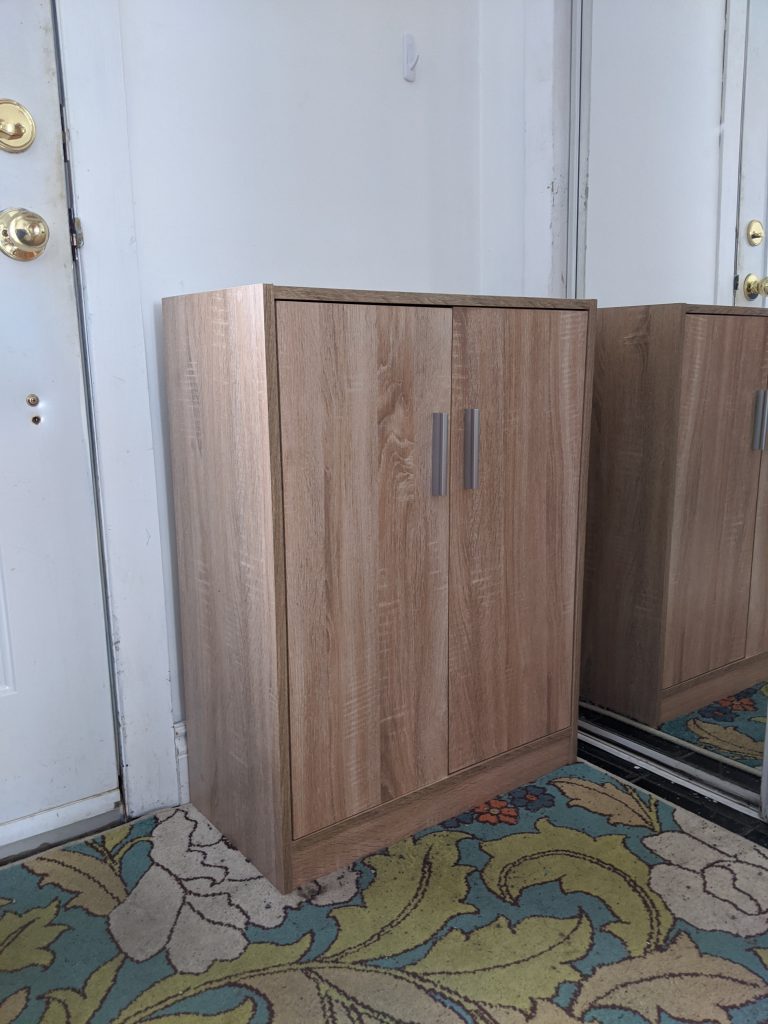
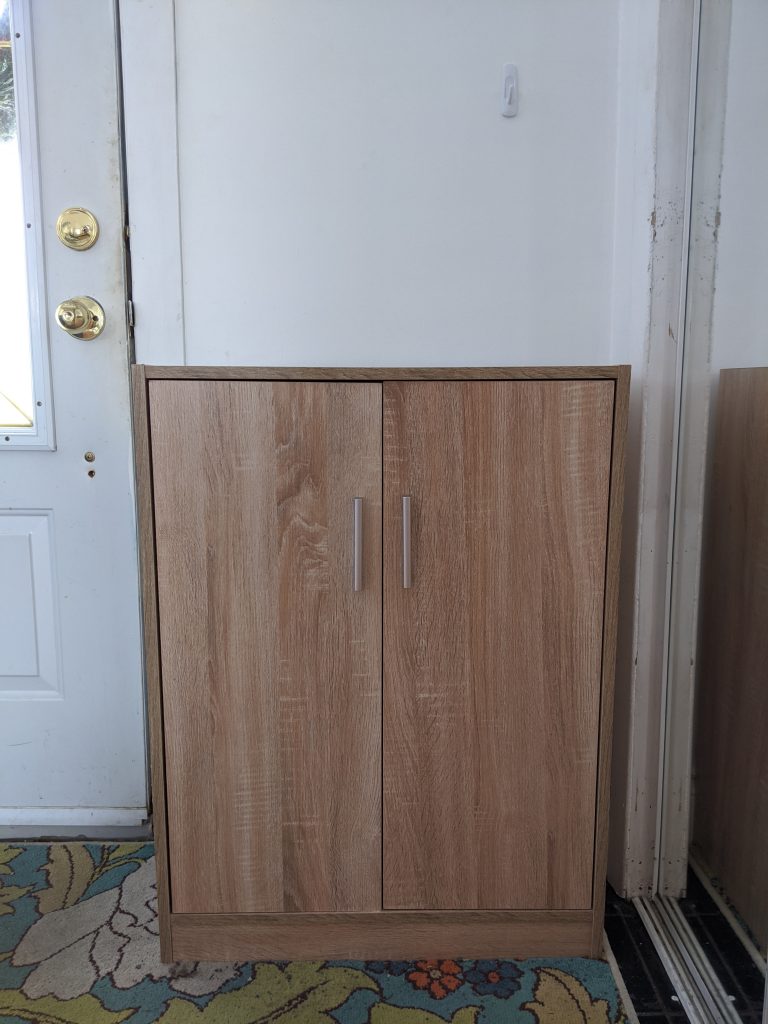
I ended up ordering this very basic, what I like to call “non-designed” shoe cabinet online, and although I was optimistic that it wouldn’t look that bad in person, it actually ended up looking worse than I thought it would. I call this look “non-designed” because it’s the kind of furniture style that seems to be 100% functional, with no flair or personality or design thought that went into it. Like the design equivalent of a shrug, or the word “meh.”
I’m sorry if this is the kind of furniture you like! I totally get that some people value function over looks, and that is totally valid. But if you know me at all, you know I love beautiful things. Style. Character. Details. Colour. So of course I had to remodel it! Here’s how I did it!
Materials
-furniture paint and sealant
-foam paint roller and paintbrush
-paint tray
-peel and stick wallpaper
-cabinet hardware
-screwdriver
-scissors
-utility knife
-tape measure
-pencil
-(optional) new cabinet pulls
1. Prep cabinet
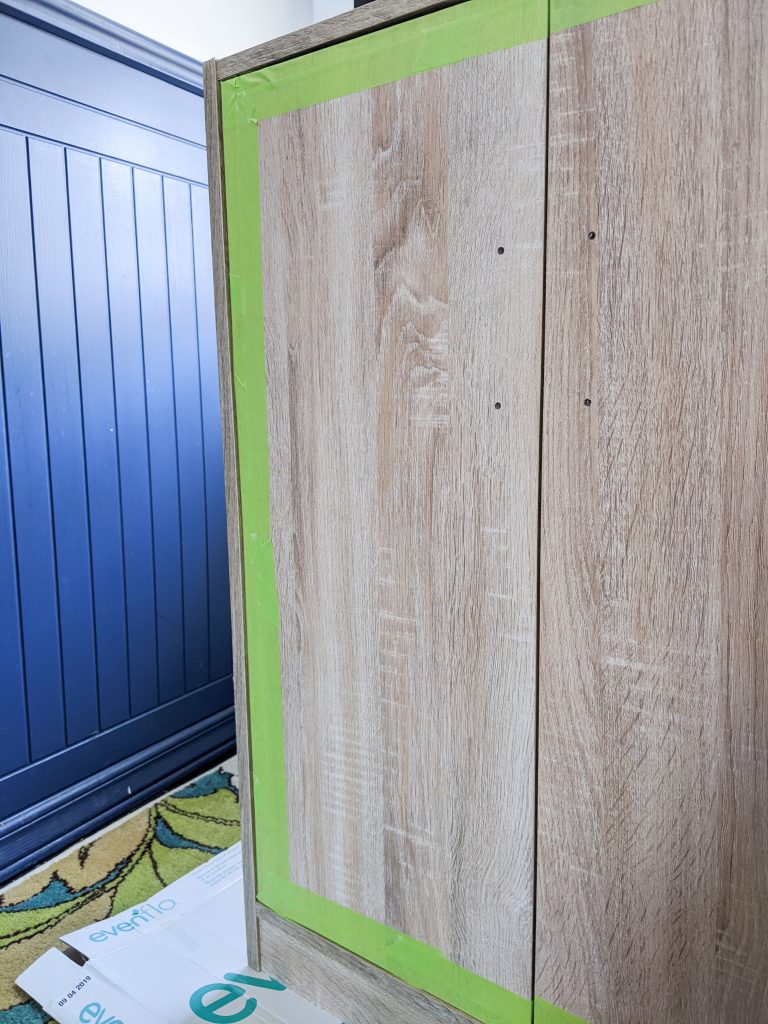
Remove the pulls from the doors and tape off the portions of the cabinet you don’t want to paint. I wanted to wallpaper the doors instead of painting them, so I just taped off the edges.
2. Paint cabinet
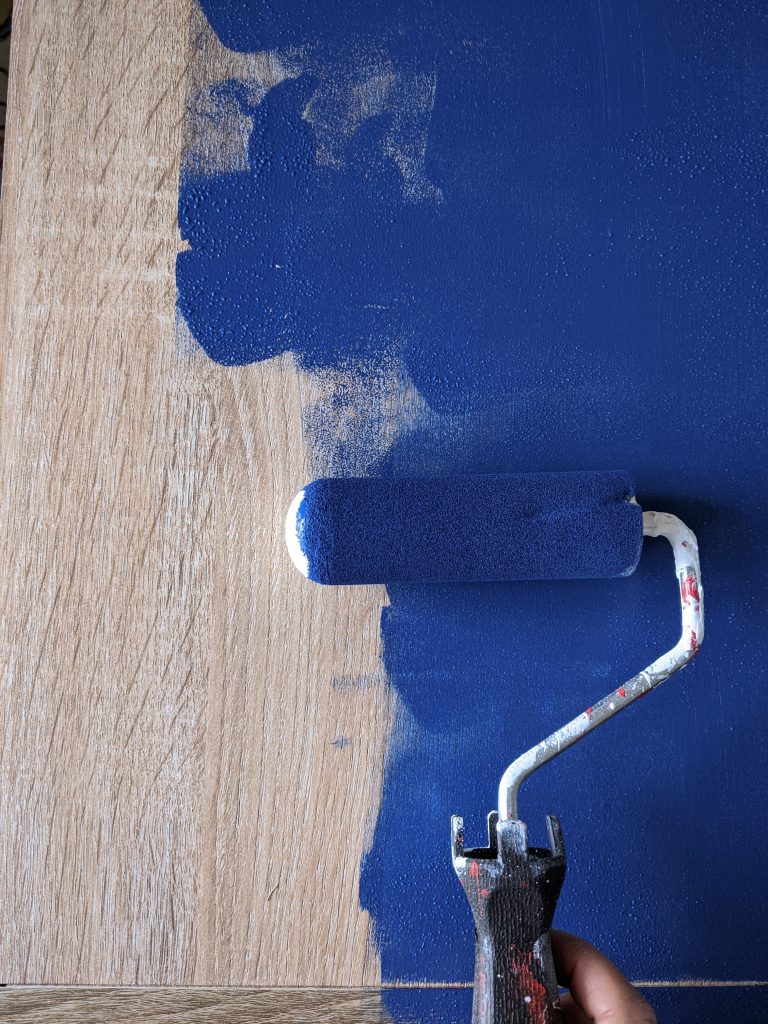
I used Folk Art Home Decor chalk paint in “Nautical” with a foam roller and foam paint brush. I prefer using chalk paint for most of my furniture painting because I really like the more matte look, and I find the paint pretty easy to work with (I don’t even have to sand my surfaces first) and relatively cheap.
I painted the tops, sides and all of the front “trim,” if we can call it that. Basically everything except the doors. I like the idea of the front trim kind of framing the wallpaper on the doors. Also, I imagine it would have been a bitch to wallpaper all that.
3. Seal paint
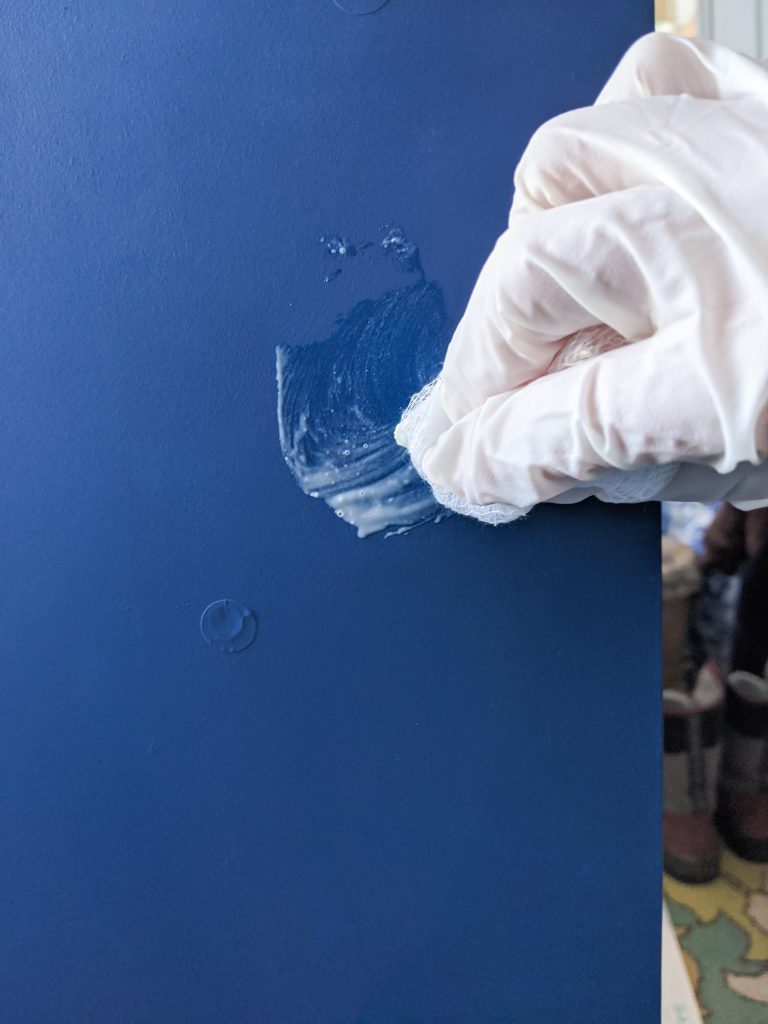
Once your paint dries, seal it with wax (if you’re using chalk paint) or a top coat, if you’re using regular paint. I used cheese cloth to buff the wax in, but you can use any kind of lint-free cloth or a wax brush.
4. Drill new holes for the handles
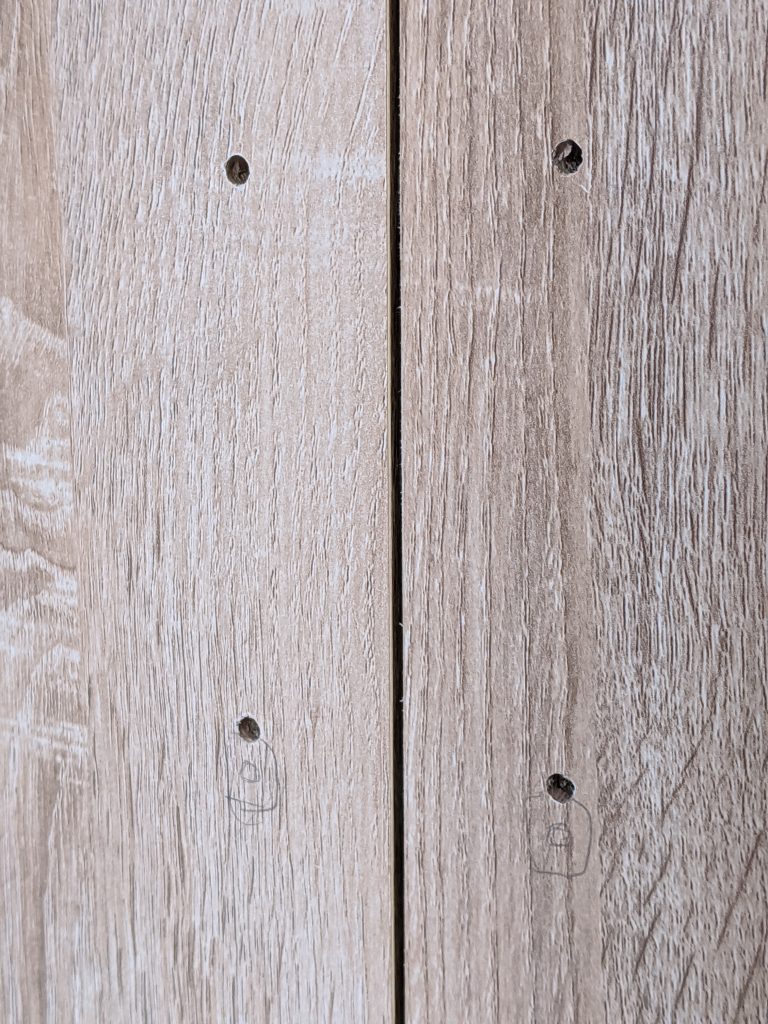
If you’re going to install new handles on the doors and they are not the same width as the old handles, you’re gonna have to mark where the new handles will go in the cabinet doors and drill new holes. You can also fill the old holes with wood filler or some kind of putty, but I didn’t bother since the wallpaper covers them.

5. Measure and cut wallpaper
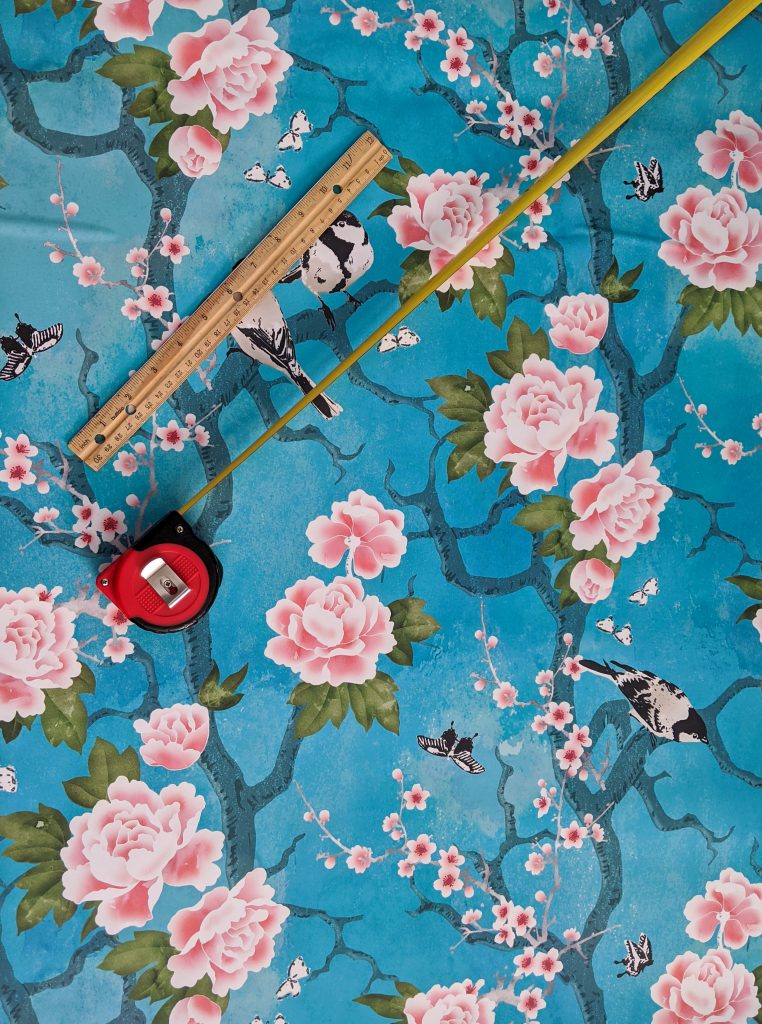
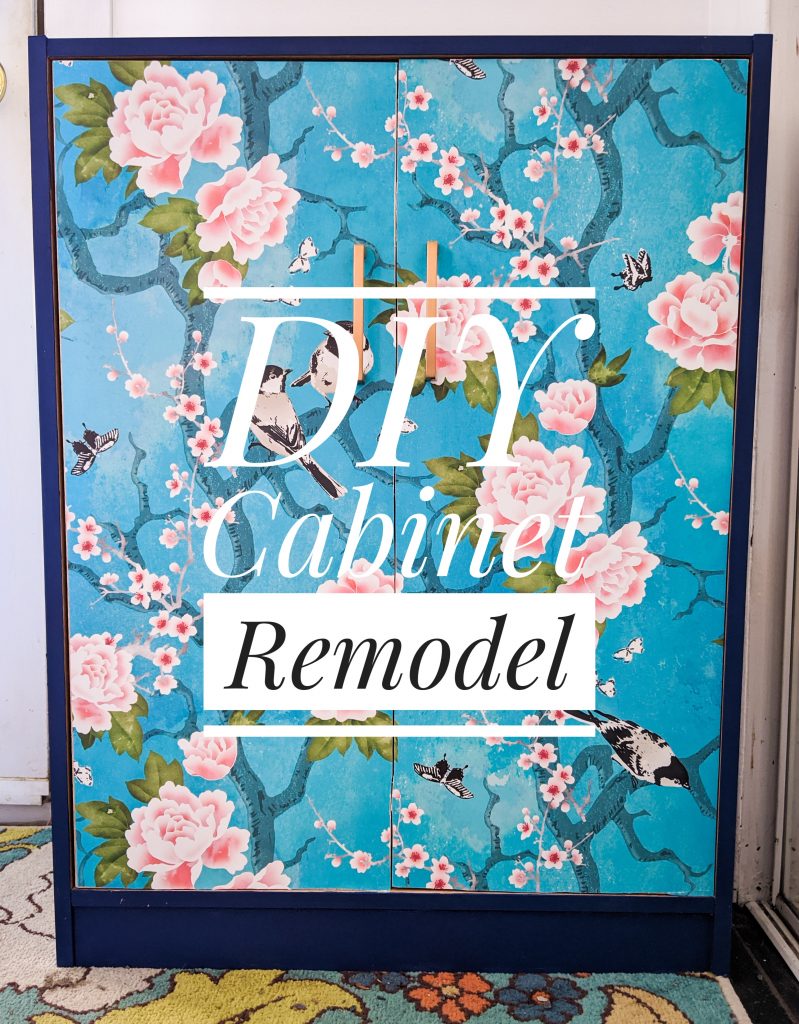
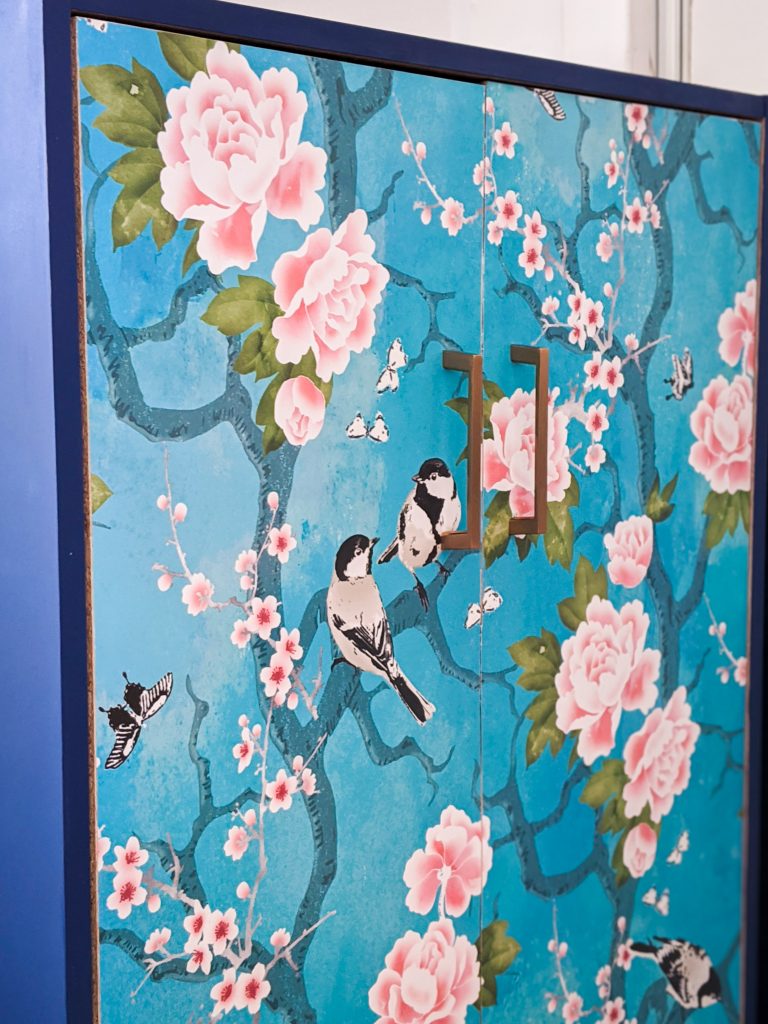
I got this really pretty chinoiserie style peel and stick wallpaper from spoonflower.com (not a sponsor) and I highly recommend the site! It was my first time ordering from them, but it’s kinda hard to find pretty wallpaper designs in single 2′ x 3′ panels so I took a chance. I’m really happy with the quality of the wallpaper and the abundance of design choices I had.
Cutting the wallpaper was probably the hardest part of the project for me. It’s so hard to cut a perfectly straight line with the minimal tools I have. I used a measuring tape to measure the door and marked the dimensions on the wallpaper with a pencil. I then used a ruler and a utility knife to cut as straight and clean an edge as possible.
As it turns out, cutting woven wallpaper this way is actually kinda tricky. There are literal fibres you have to cut through while trying not to leave loose threads throughout the line you cut. One panel I cut ended up being too narrow by about a millimetre or two, but I don’t think you can really tell once I installed it on the door.
As always, it’s better to cut more than you need and take away the excess that to cut too little!
6. Install wallpaper
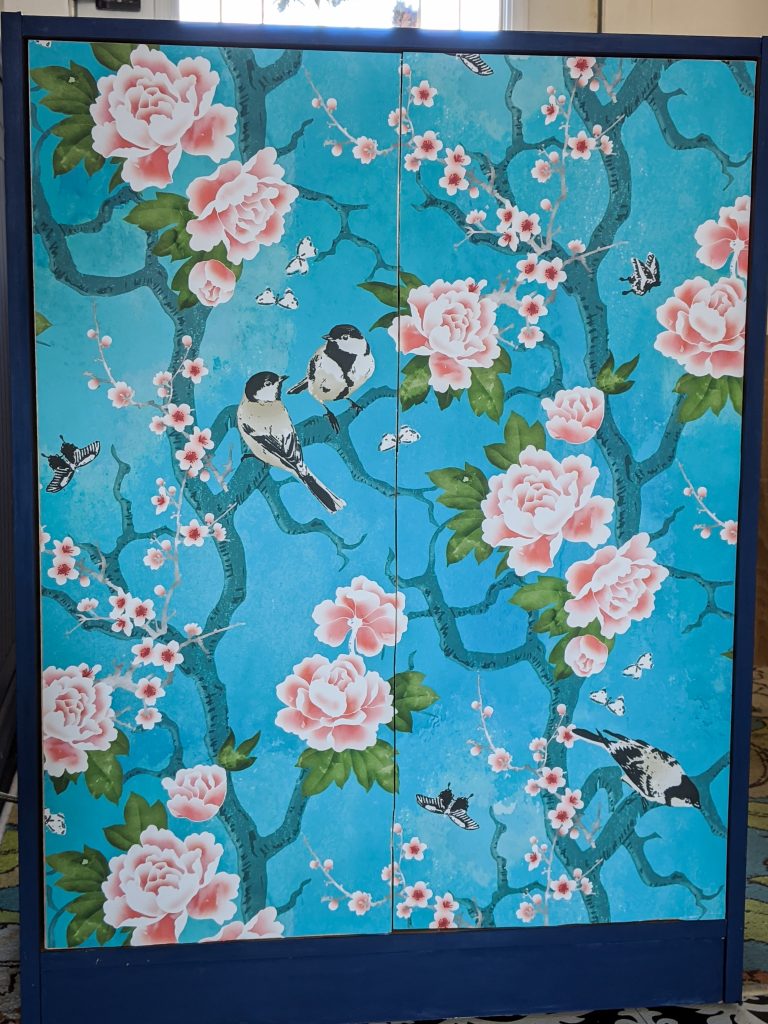
Installing the wallpaper was extremely fast and easy. You just peel off a bit of the backing (I suggest the whole top few inches or so) and line it up with your surface. If you make a mistake, it’s easy to peel it off and try again. Once you’ve aligned the paper correctly, take a credit card or something with a flat, straight edge and smooth down the paper until it sticks firmly and there are no bubbles.
Continue removing the backing and smoothing it down as you go until you reach the bottom of the door. There was about a centimetre of excess wallpaper at the bottom, which I just trimmed with scissors.
7. Attach new pulls
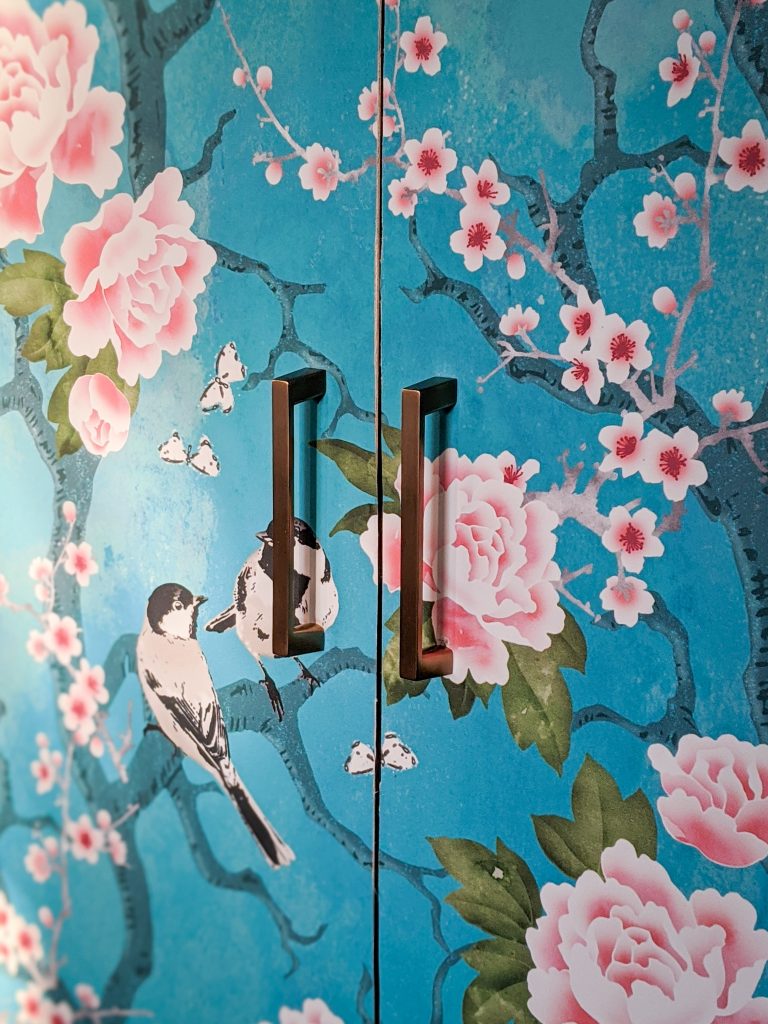
Finally, attach the new handles to the doors. I found it easier to use a skinny drill bit to pre-poke a hole in the wallpaper where the screws had to go. Woven wallpaper is actually pretty thick!
I got these brass handles from Home Depot, which I didn’t really love in the store (they didn’t have very many options I liked). But I didn’t want to scour the internet for just two cabinet pulls. As it turns out, the style of the pulls perfectly compliments the more modern construction of the cabinet, and I think brass and blues go so well together.
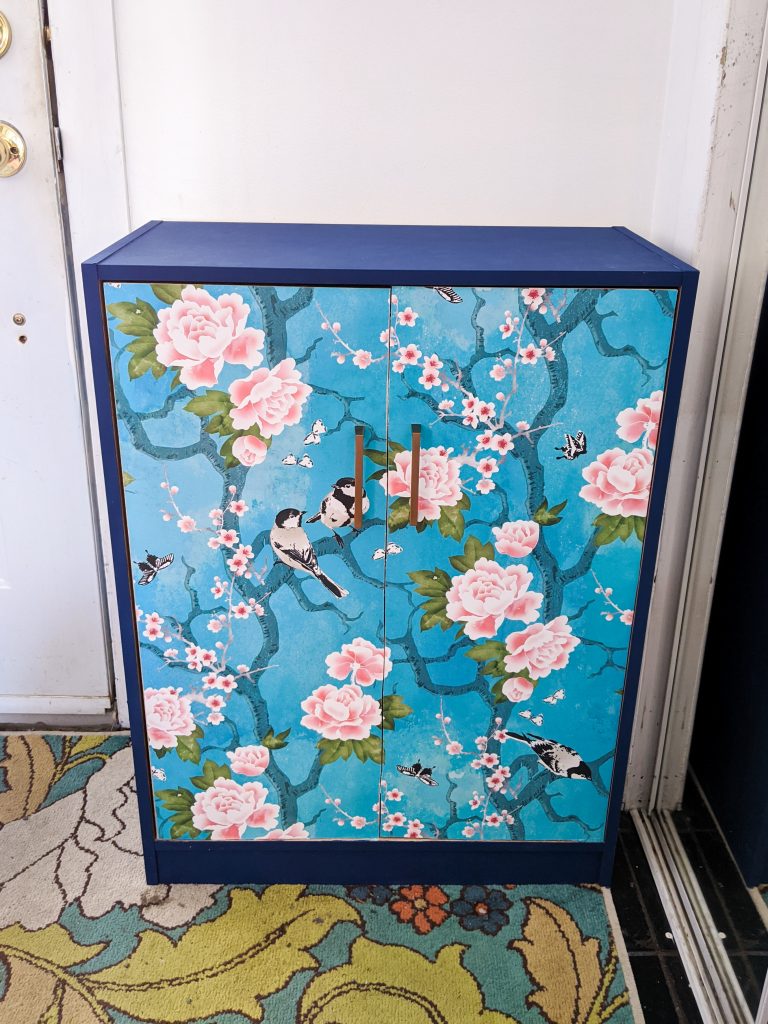
Like many of my DIYs, nothing was ever quite perfect. I couldn’t find the exact wallpaper design I was envisioning, Home Depot didn’t have any pulls I really loved, the wallpaper should have been cut a millimetre wider and slightly straighter, and even the cabinet doors are (for some reason!) very slightly crooked, which made lining up wallpaper kind of a bitch.
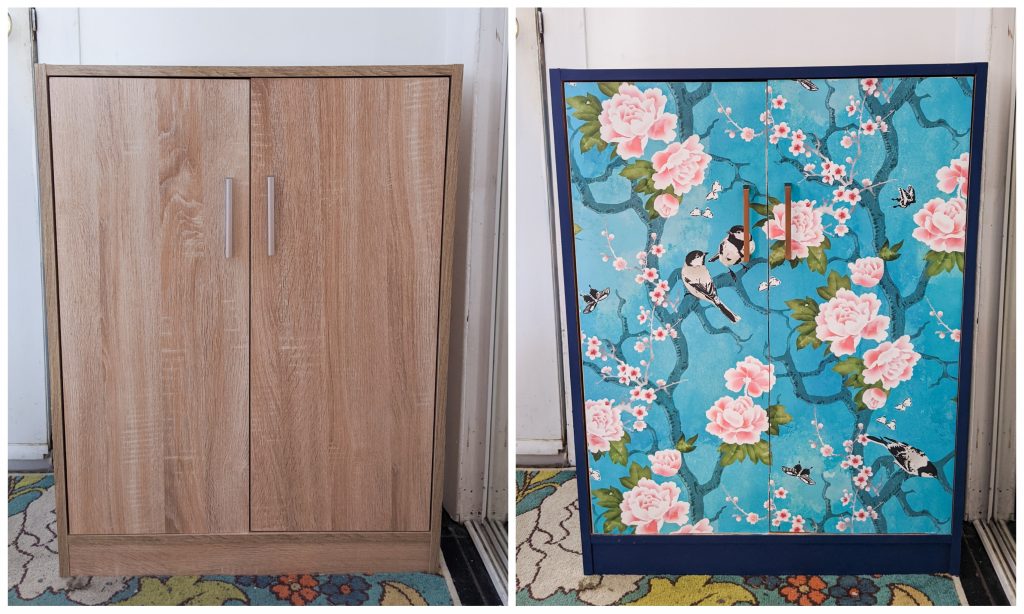
But after sitting with the finished product for a while and seeing it every time I go up or down the stairs, I realized I’m actually pretty happy with how the transformation worked out. I like the cabinet so much more now and it’s like this tiny, inconsequential shoe corner is having a moment. There’s just a special kind of satisfaction in that.
I think one of my best qualities is how much follow-through I have in life. To be frank, almost 100% of my DIYs end up taking much longer and being much harder than I anticipate. Or worse, as I’m working, I realize it’s not turning out how I envisioned, and I almost always become filled with doubts about my design decisions and DIY skills. But I always force myself to push through the doubt and complete my projects, and it’s always paid off! In the end, whatever imperfection I was fixated on seems quite inconsequential, and more often than not, I end up loving the results.
I’m happy to say, I have never abandoned a single DIY that I started, and I think this kind of perseverance and attitude has served me really well in life. So if you want to dabble in DIYing, or start any kind of life project, whether it’s going back to school or trying a new hobby, I just wanna say, you kind of have to just do it. Don’t think about it, just do it!
xoxo