

Another quickie nail art post this week! What’s a little spring mani without some flower inspo? I’ve been gardening/thinking about gardening non-stop for the past three months! I’m itching to get my seedlings into the ground, but it’s a bit early still. In the meantime, I’m getting my floral nail art on!
- Apply a base coat and wait for it to dry.
- Paint your nails in your favourite spring shade! I chose a periwinkle blue, but this design would also look nice on any pastel shade.
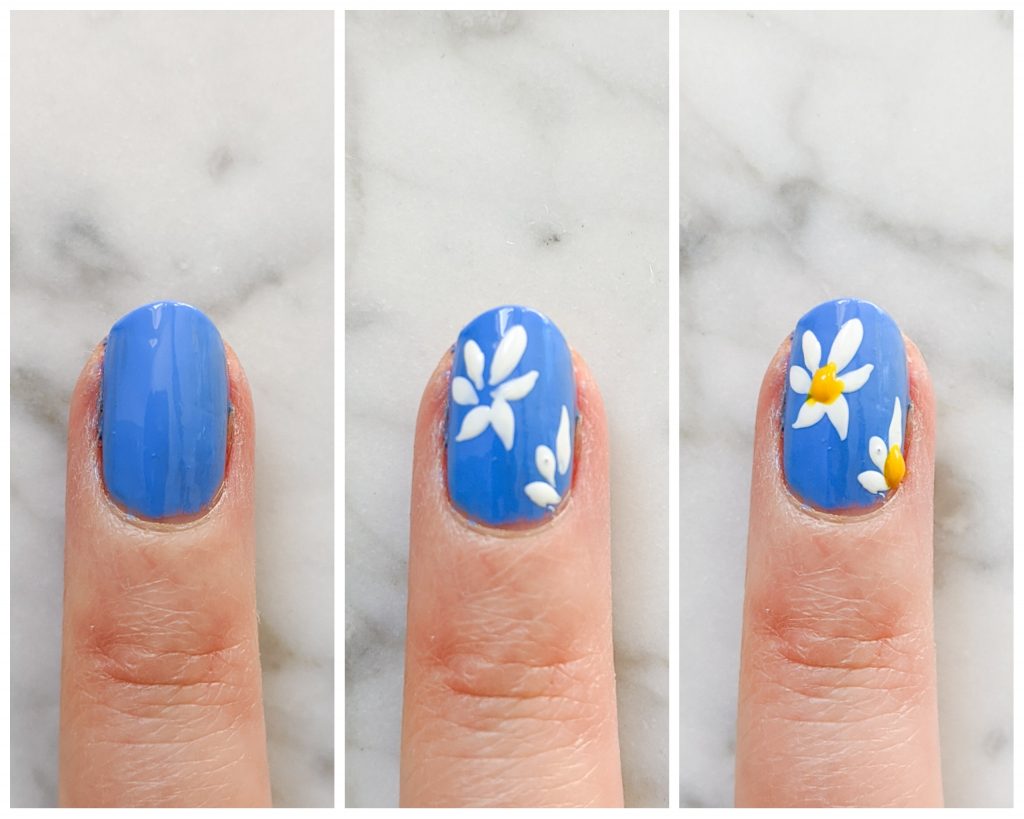
- Dip a fine paintbrush into white polish and starting at the centre of the flower, paint outwards in the shape of a petal.
- Dip a dotting tool or another paintbrush into yellow polish and dot the centre of the flowers. I found that it works best under a white background, unless you have a very opaque yellow polish. So instead of leaving the centre of the flowers blue like I did in step 3, I would shade in the middle with white also.
- Finish with a top coat.
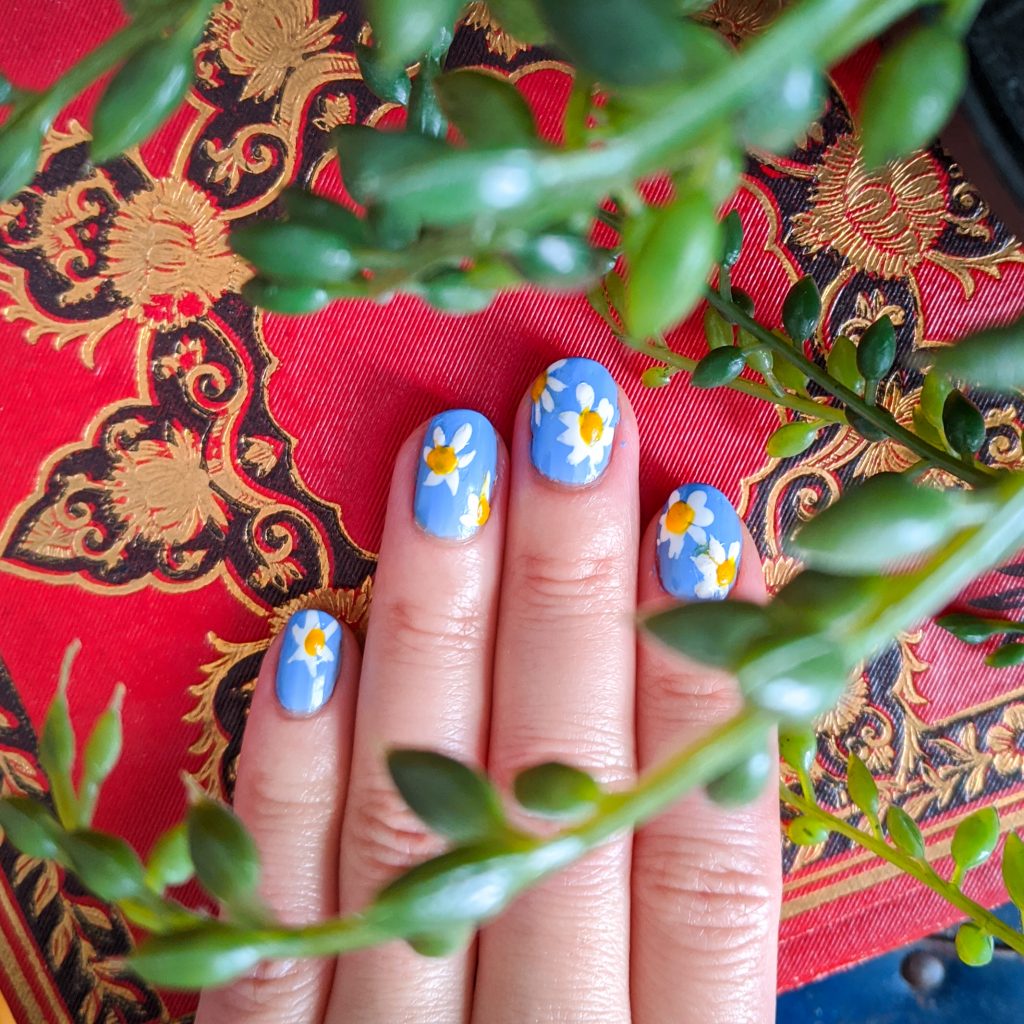
The yellow polish I have is very sheer so the flower centres are a bit bulbous, but you get the idea! And you can basically switch out the colours to make any kind of flower you want, it doesn’t have to be a daisy. Happy nail arting!
xoxo