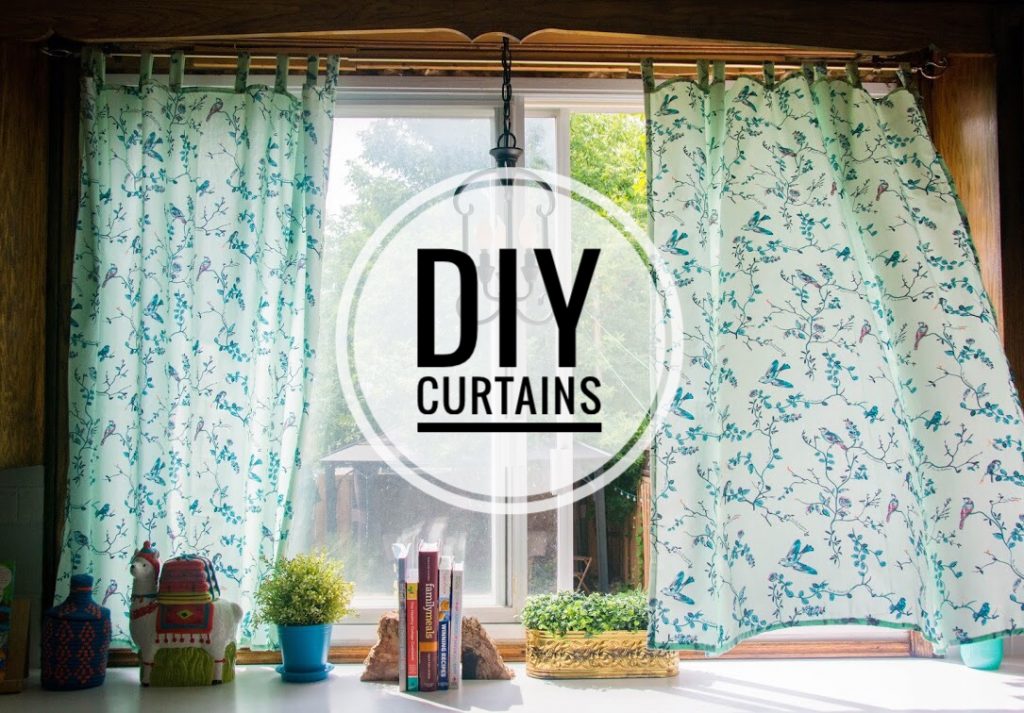
Our kitchen has seen a lot of transformation this summer and although our window is old, hard to open and missing a piece of wood in the frame, I wanted to give the poor old girl a bit of a makeover. Let’s be honest. She wasn’t looking her best…
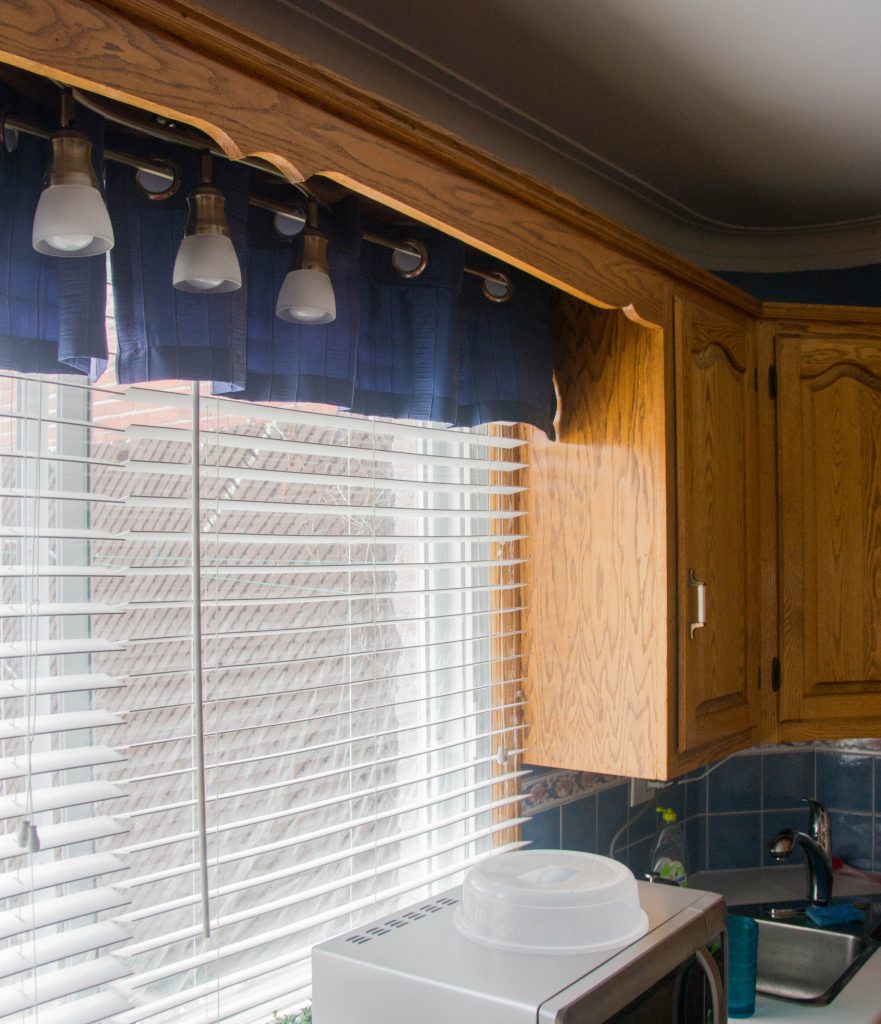
Because I’m so picky (and our window is a bit of an odd size), I had a hard time finding a good affordable curtain option, and ended up making my own curtains!
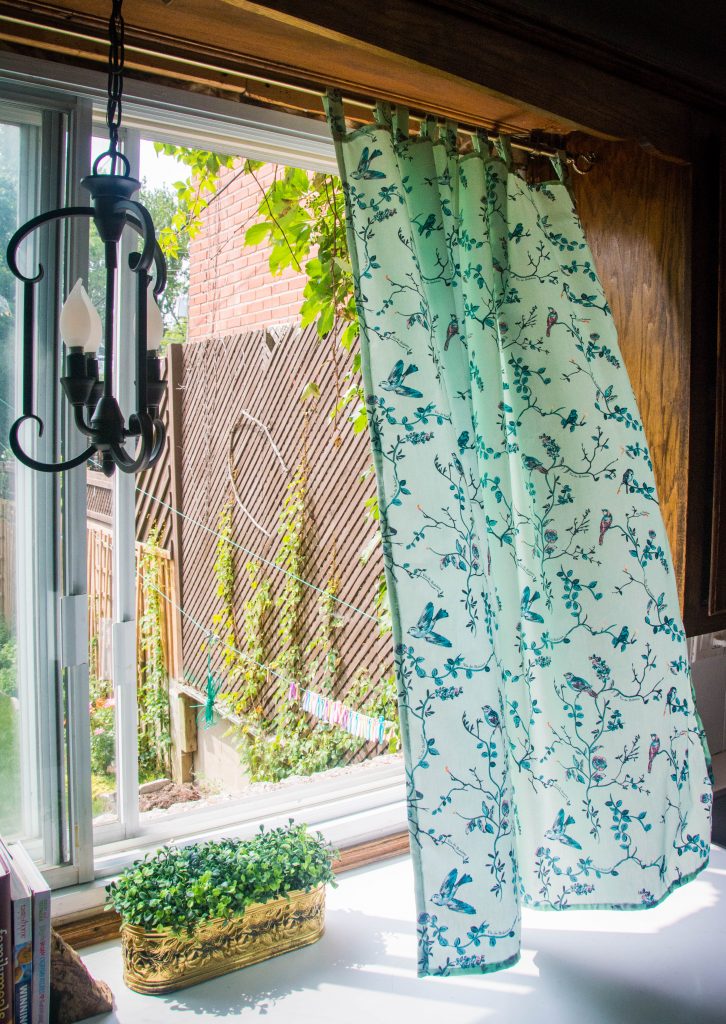
Here’s how I did it!
Materials
-fabric (I got this fabric)
-sewing needle
-pins
-measuring tape
-thread in the same colour as your fabric
-iron and ironing board
-scissors
1. Measure window and cut fabric to size
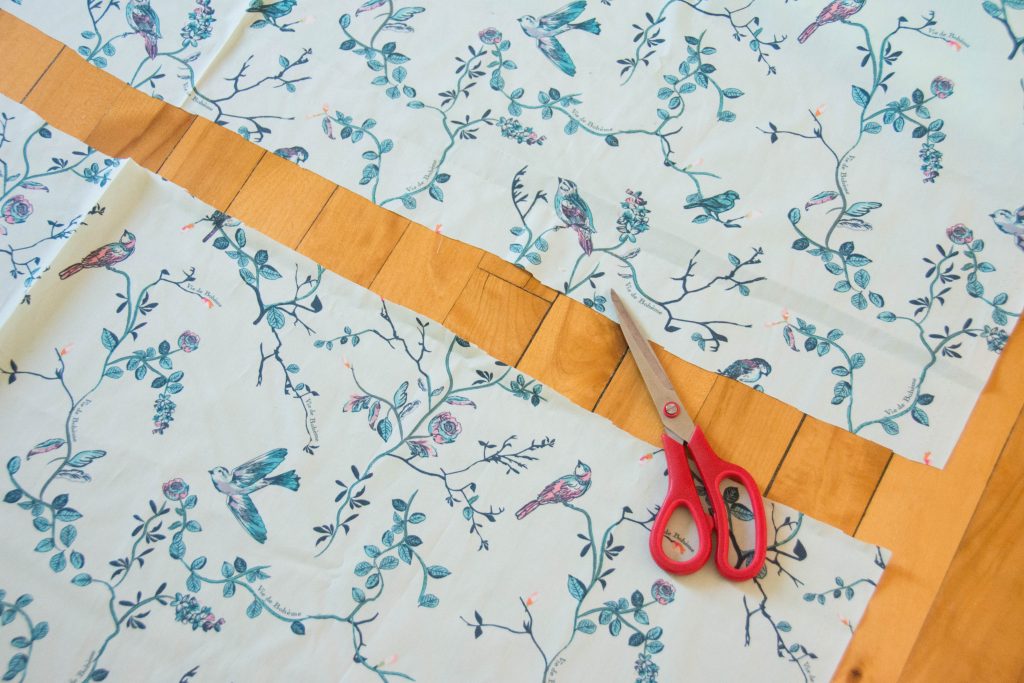
Make sure there’s an extra inch or so of fabric on all sides to account for the seams you will sew. Since our window is right above our counter, I thought the curtains would look best a couple of inches above the counter. I found it very helpful to measure several times at each step to make sure the curtains ended up as even as possible. I also found it useful to use a stiff measuring tape rather than a flexible sewing measuring tape, to get more accurate numbers.
2. Pin all of the edges to create seams and sew them in place
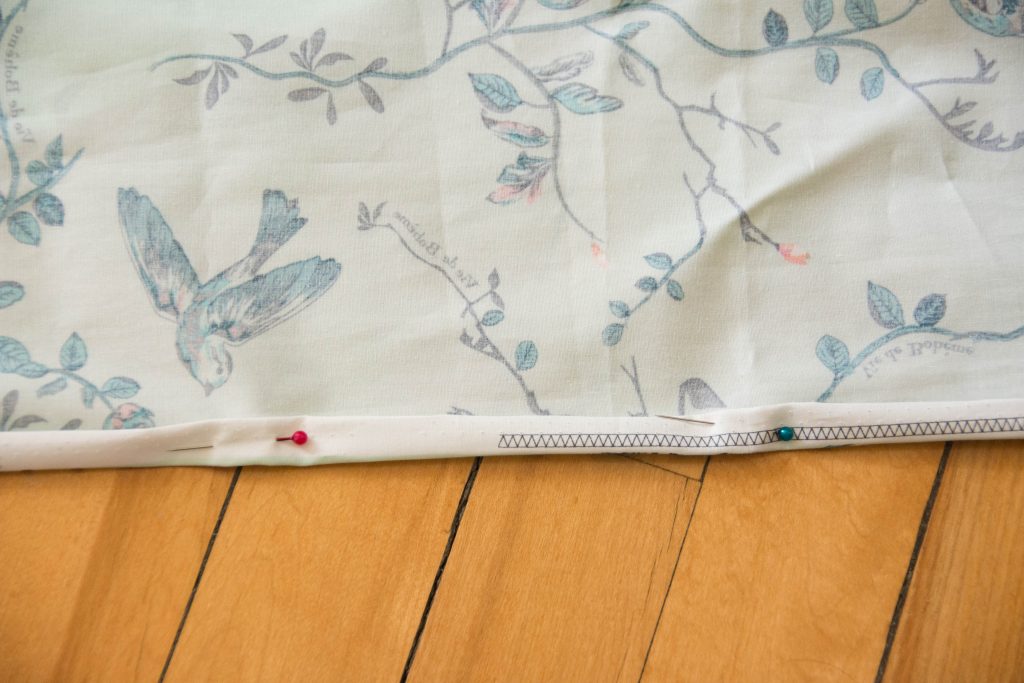
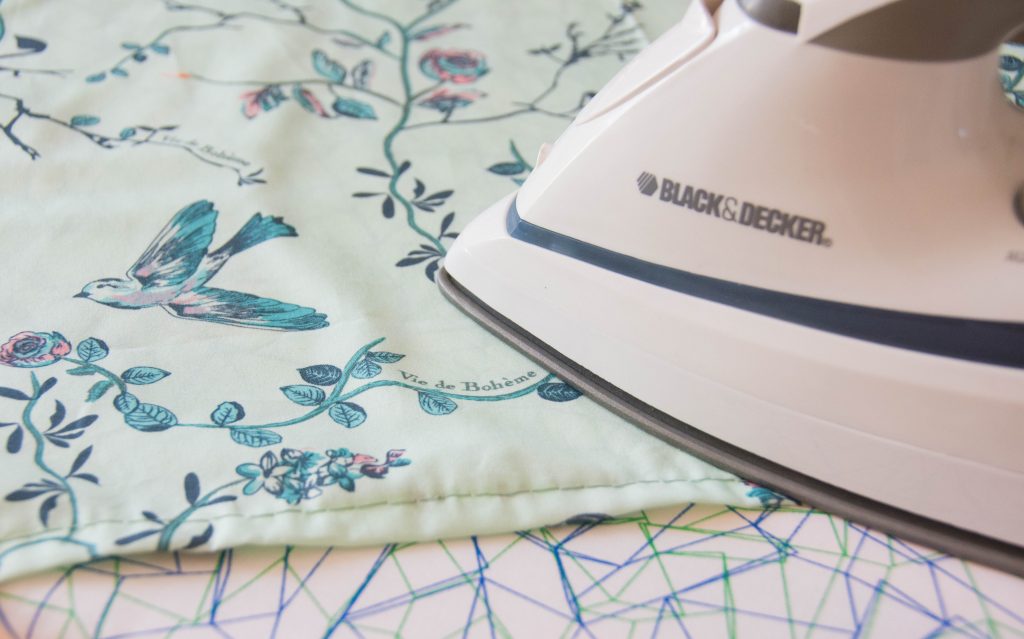
Again, I measured all along the seams I pinned, several times, to make sure it was even throughout. Once all the seams are sewn, iron them so they all lie flat.
3. Cut fabric to make tabs
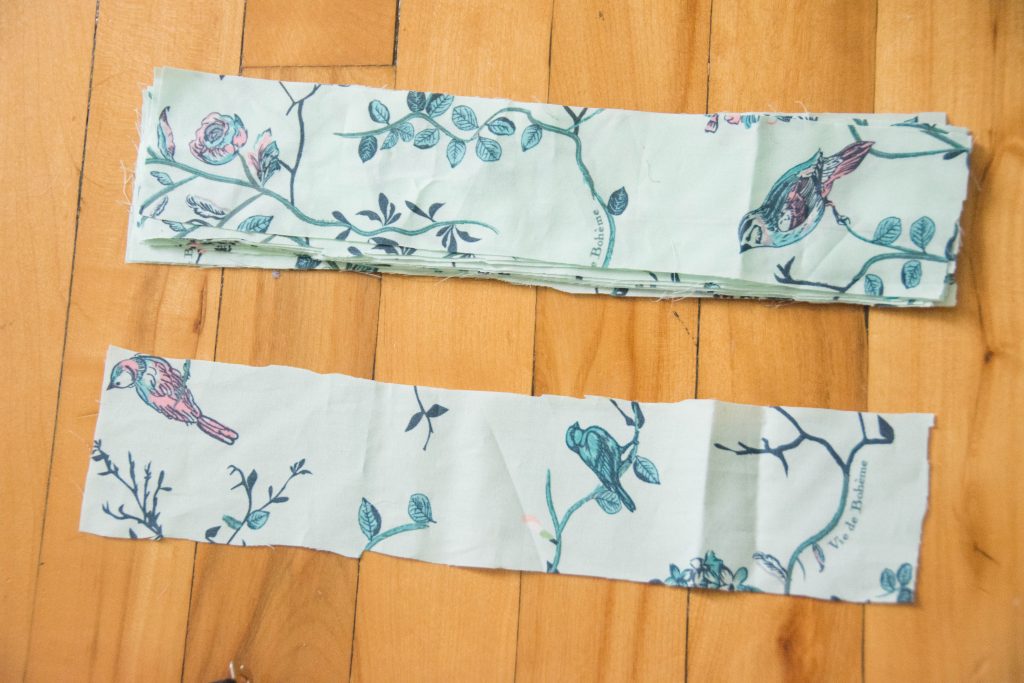
I preferred the look of a tabbed curtain, but this is entirely up to you. I cut the tabs to be a bit over two inches wide so they ended up around one inch once they were sewn. I originally wanted the tabs to be wider than one inch, but I made a cutting error early on (that’s why you should measure, like, 10 times before you cut!), ran out of fabric and had to make due with the skinnier tabs.
Meh, you just have to go with it sometimes!
4. Sew the tabs inside out, leaving one short end open
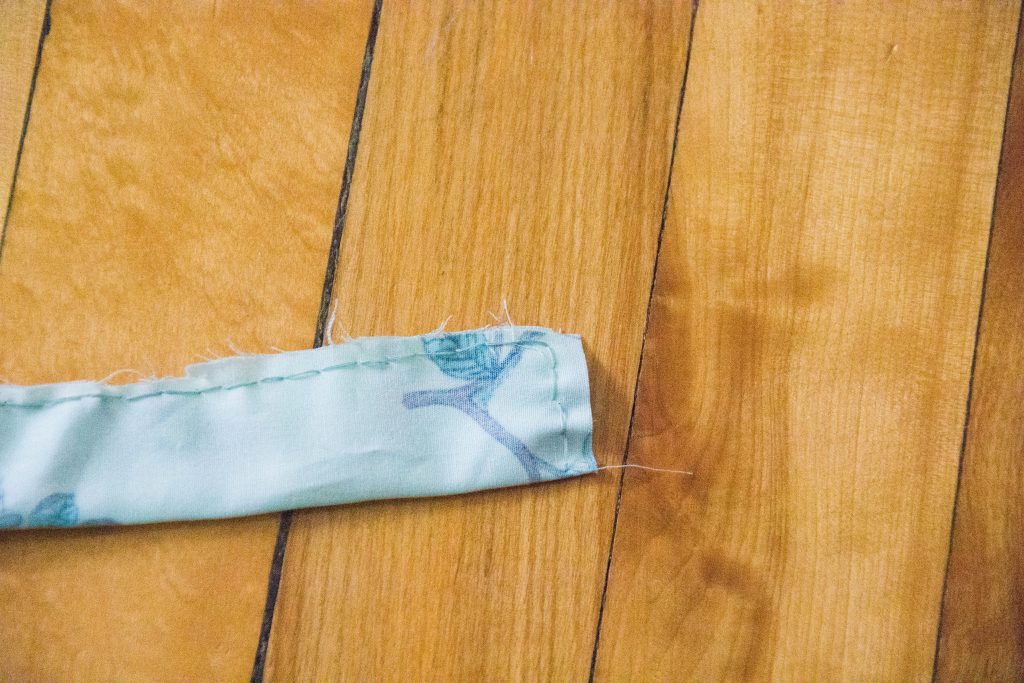
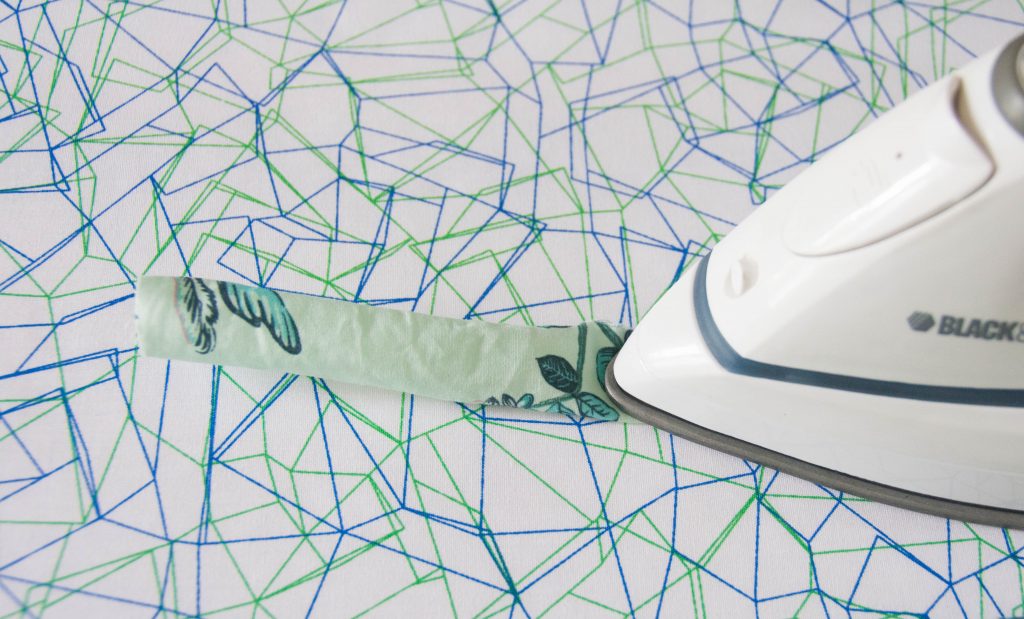
Fold the tabs in half, long ways, with the good side facing in. Sew it closed all the way around, leaving one of the shorter ends open. When you’re done sewing, pull it all inside out so the good side is facing out. Then, iron all the tabs so they lie flat.
5. Sew tabs to top of the curtain
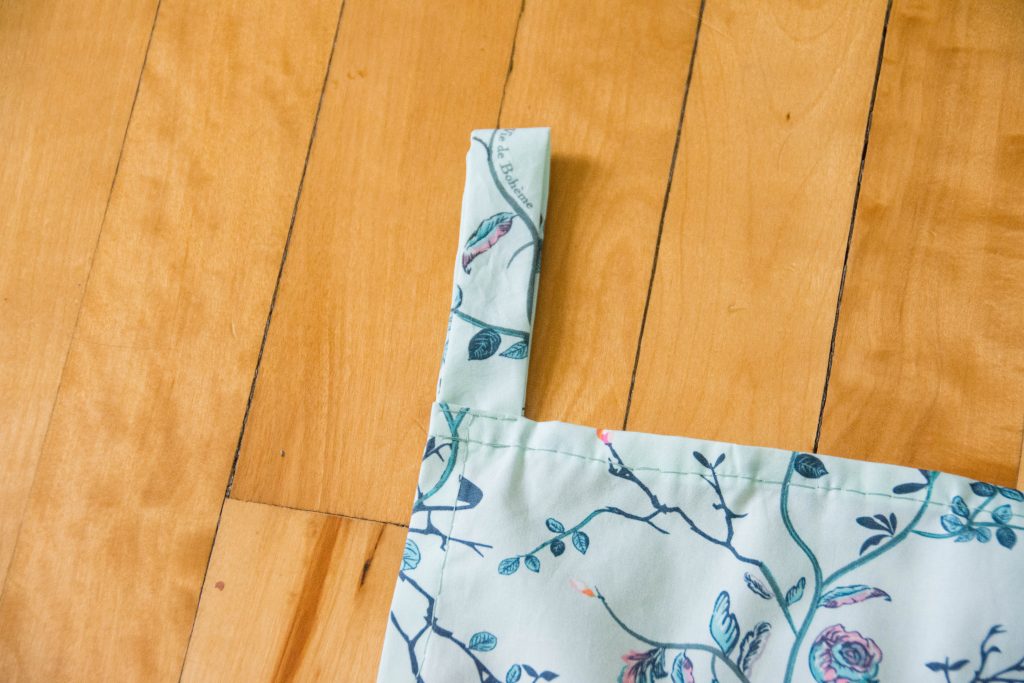
Place the tabs on the back of the top of the curtain and fold them in half so they create a ring once they’re sewn in place. Sew the tabs to the top seam. Make sure you measure the distance between all the tabs, as well as the length of the finished tabs, to ensure that they are all evenly spaced and hanging at the same height.
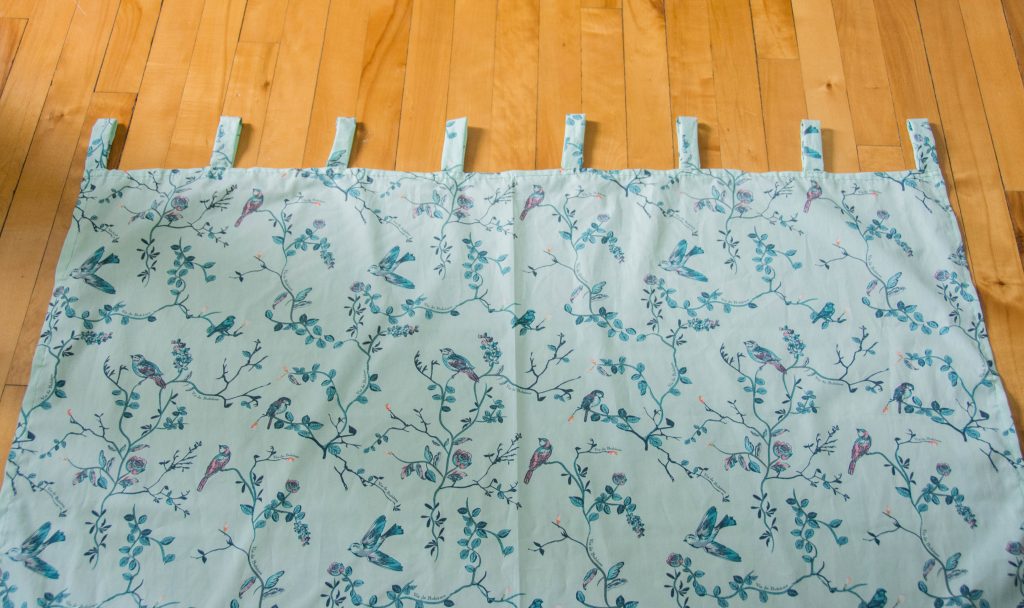
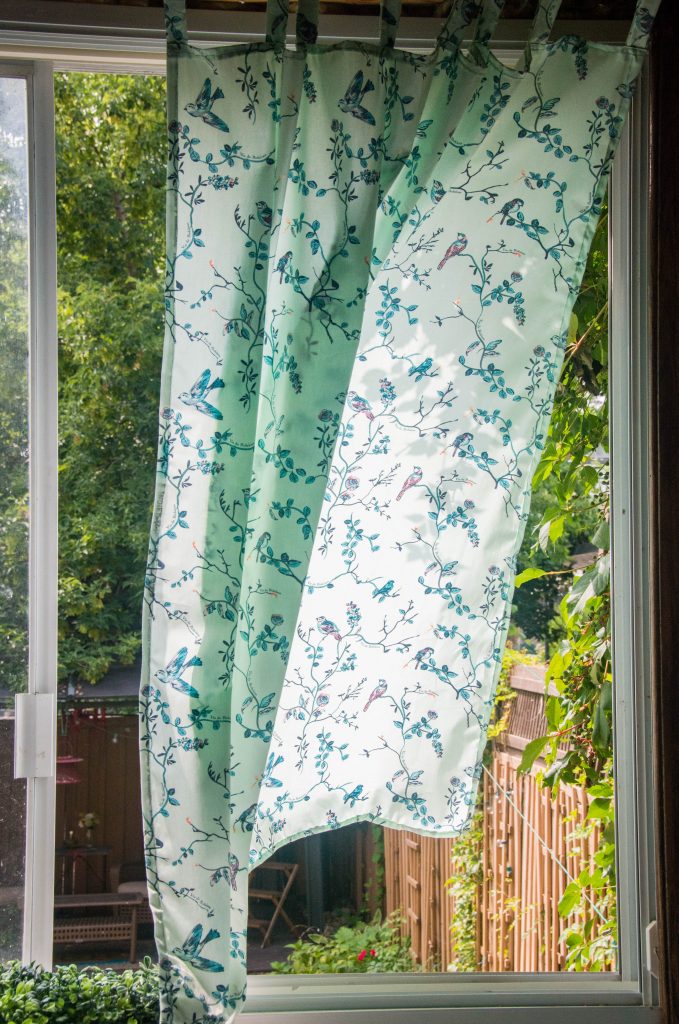
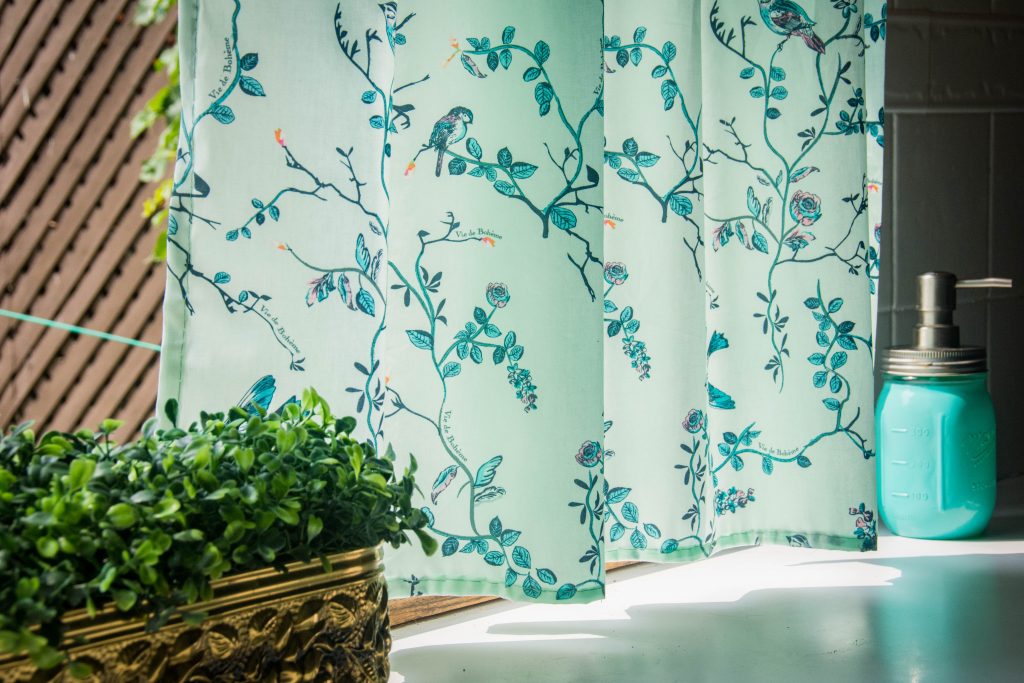
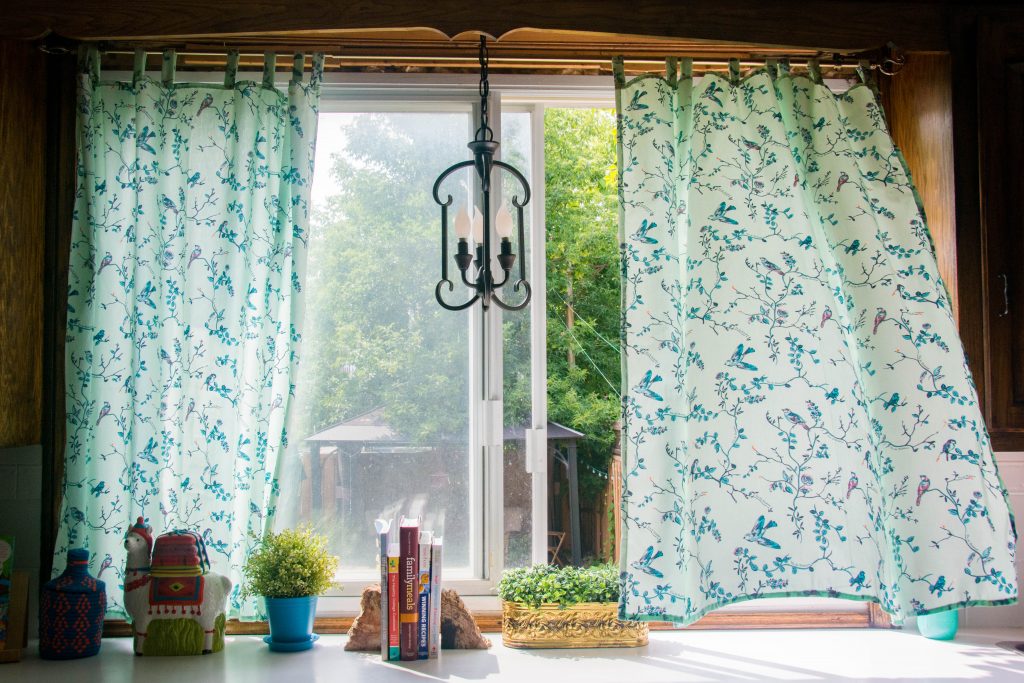
I’m sure I’ll be changing up the kitchen window treatment again (especially once we get around to getting a new window), but until then, these new curtains are not too shabby! What do you think?
xoxo

