
I thought about making Theo an advent calendar last Christmas (his first Christmas), but ended up just kind of phoning it in that holiday season, ’cause I was just too tired and busy. Don’t get me wrong, I always decorate and put up the tree as soon as December rolls around, but I was just kind of going through the motions, not really interested in doing any kind of creative project.
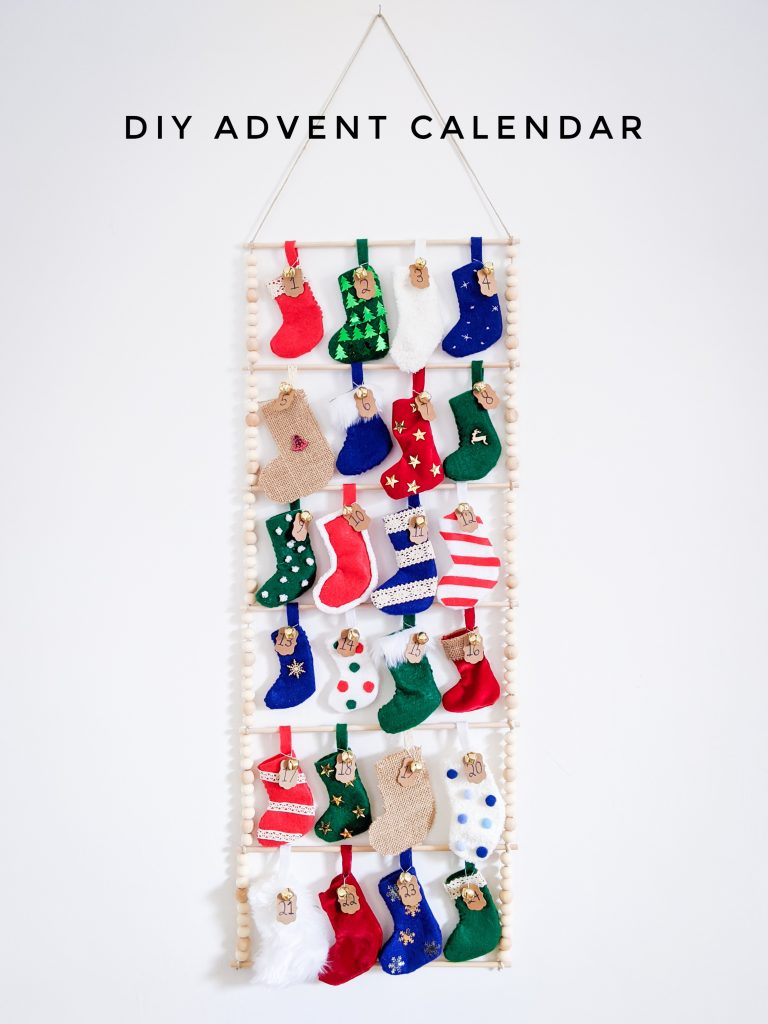
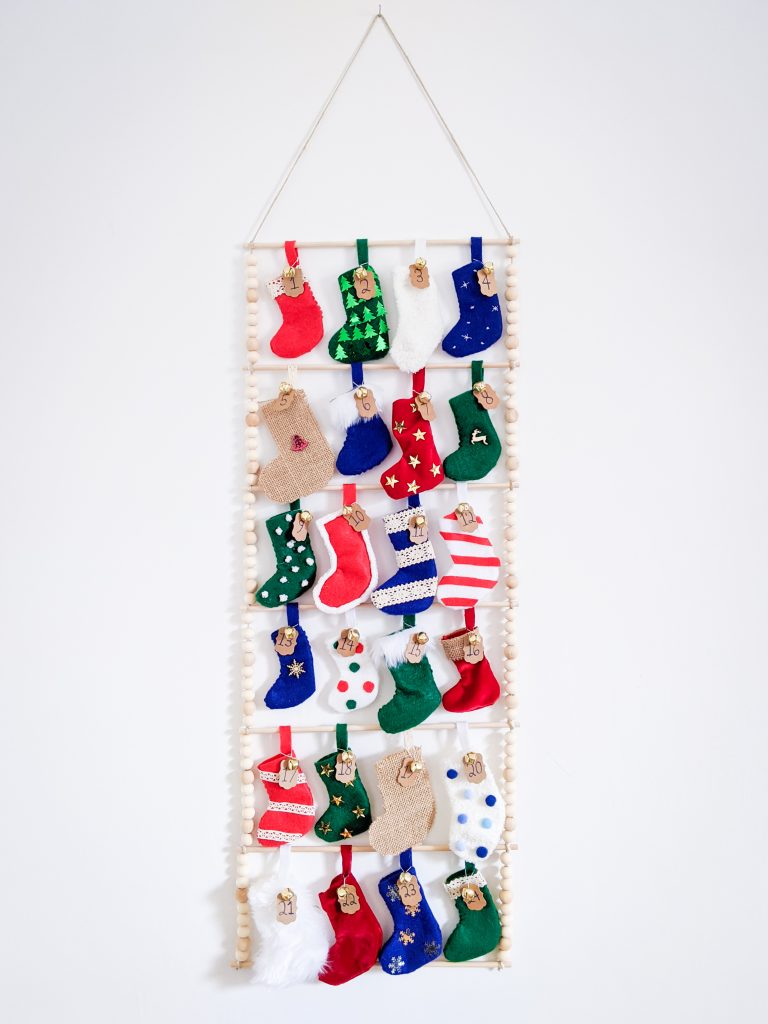
Well this year, I have this newfound holiday energy and started planning really early for all my many holiday ideas. I ended up drawing from this DIY advent calendar for inspiration for Theo’s advent calendar and I’m so happy with how mine turned out! Here’s the step-by-step guide to how I made this super fun and easy stocking advent calendar.
Materials
- felt/other fabric
- needle
- thread
- confetti, ornaments, craft bits, bells etc.
- craft paper labels with strings
- craft glue
- twine
- wooden beads
- wooden dowels
- tags on strings
Sew Stockings
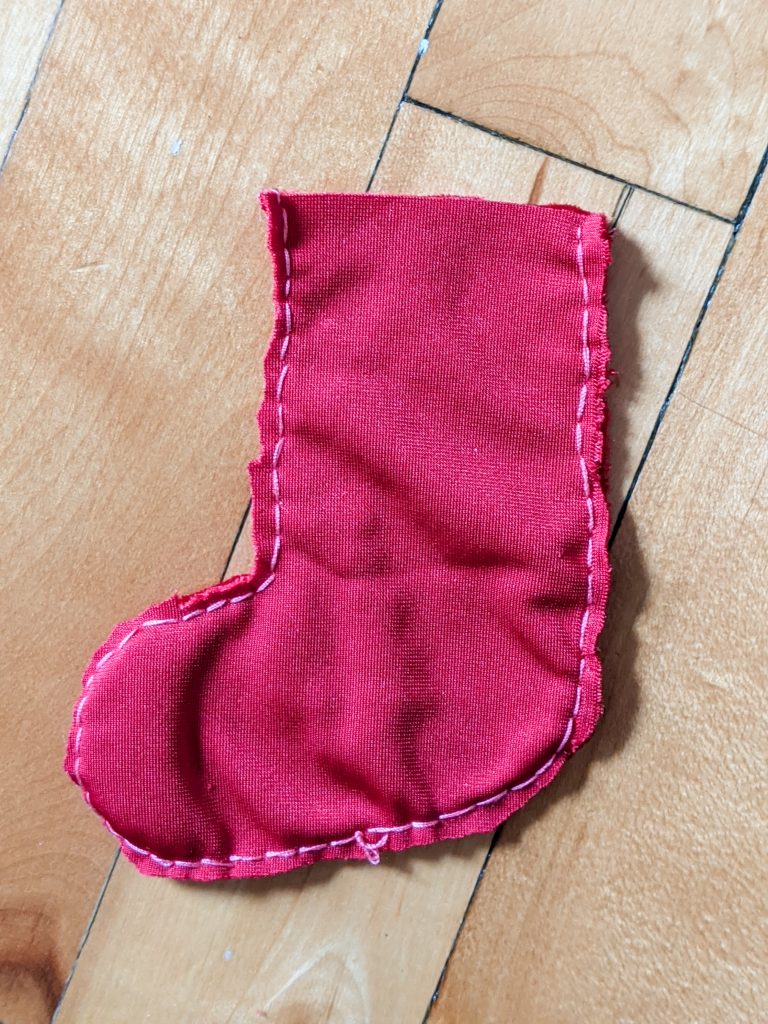
I started by sewing all my stockings first. This is super straightforward. Just cut out two pieces of fabric in a stocking shape, sew the good sides together (leaving the top open) and turn them right-side in. I like freehand cutting the shapes to make each stocking more individual. I think it looks better when the stockings aren’t perfectly uniform.
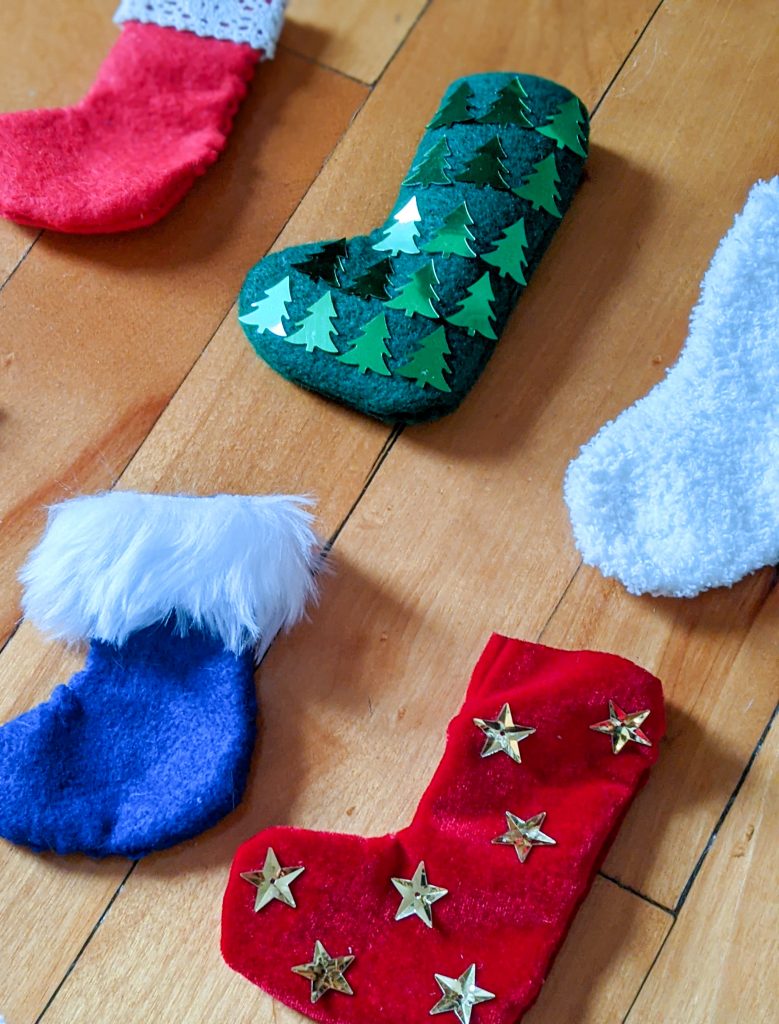
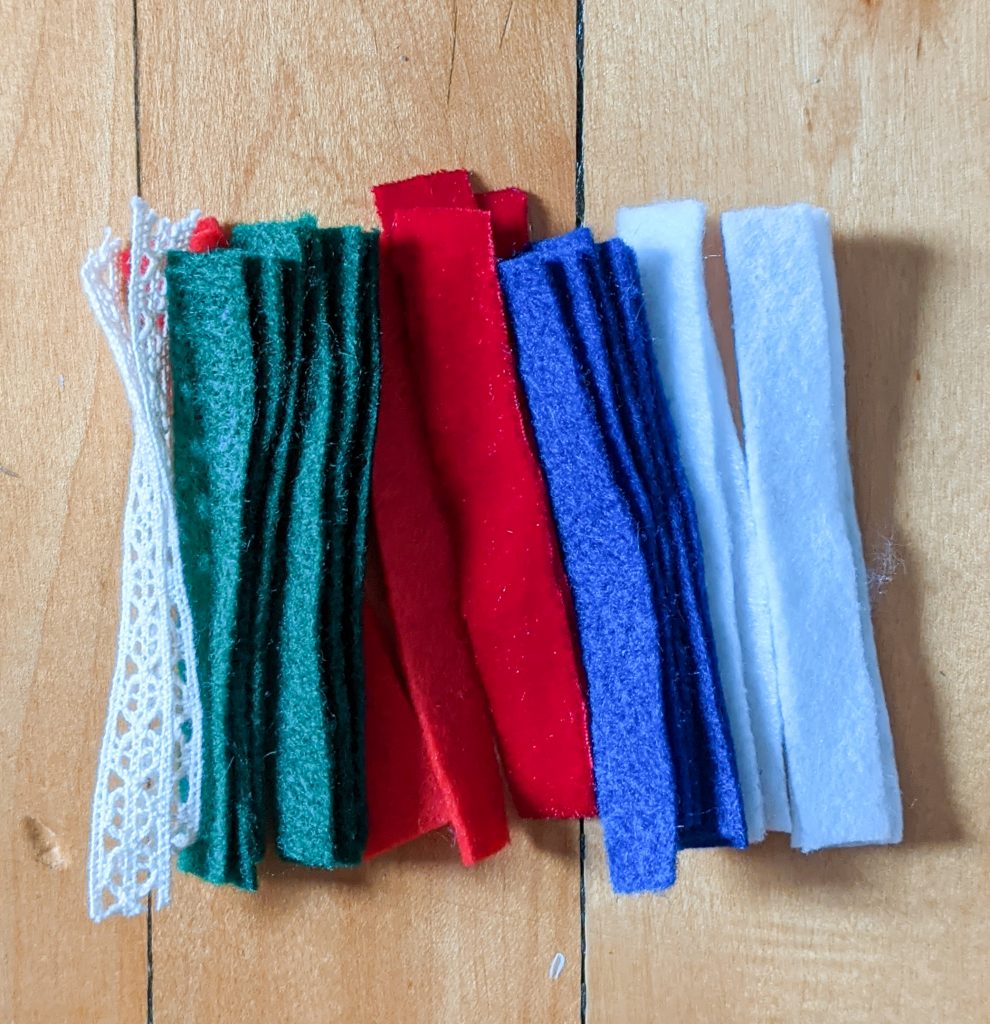
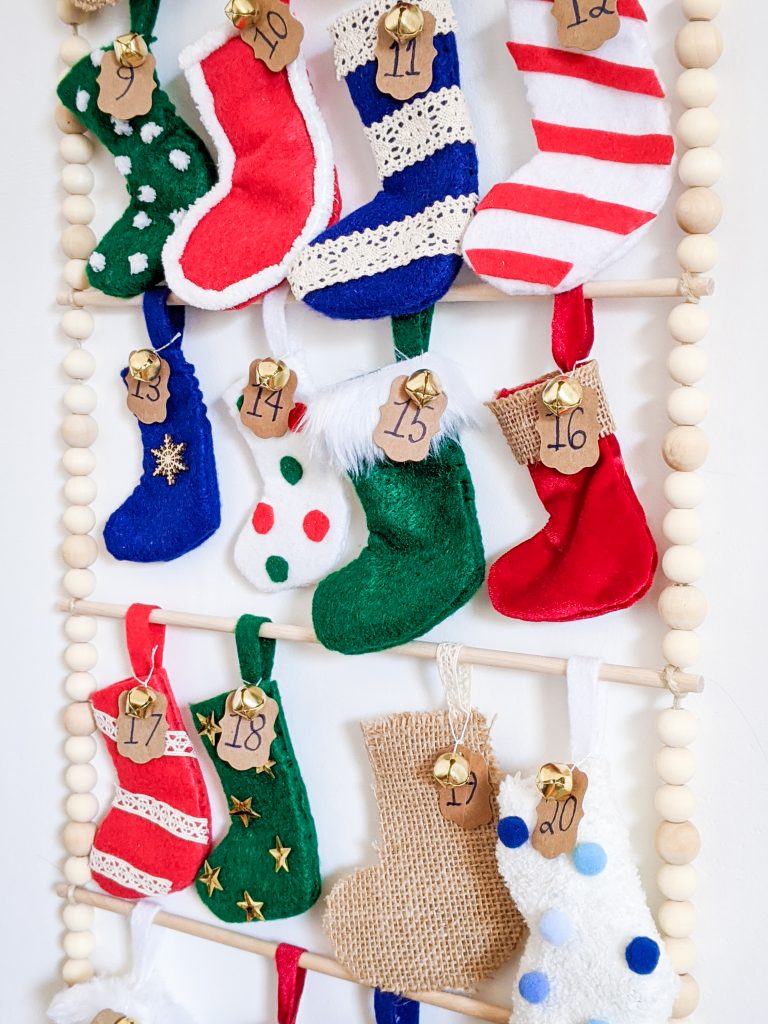
I used mostly felt, but also some burlap, faux fur and fuzzy fabric as well. The colour palette I went with was royal blue, hunter green, bright red, crisp white and a bit of light brown with the burlap. I wanted it to be festive without being just red and green, which I find to be a little too on the nose.
Side note: for the burlap stockings, I couldn’t figure out how to hand sew the two sides together because once I cut the burlap, it sort of started unravelling. Maybe machine-sewing these two would have been better, but I just glued the edges together with craft glue. Be sure to wait until it’s 100% dry before you try opening it.
Decorate Stockings
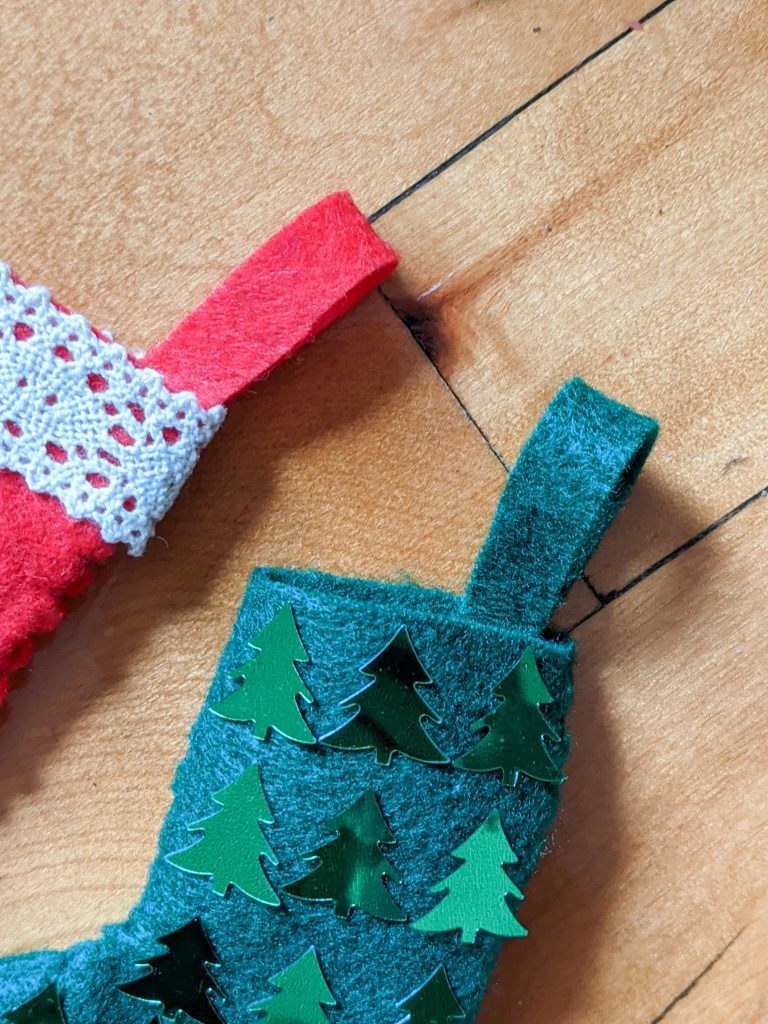
This is where you can get really creative and decorate the stockings however you want. I used craft glue to glue on metallic confetti, little laser-cut wood pieces, felt, ribbon, pompoms etc. I even sewed on a simple snowflake pattern on one of them.
Then cut some strips of felt and ribbon to sew onto the backs of the stockings as stocking holders.
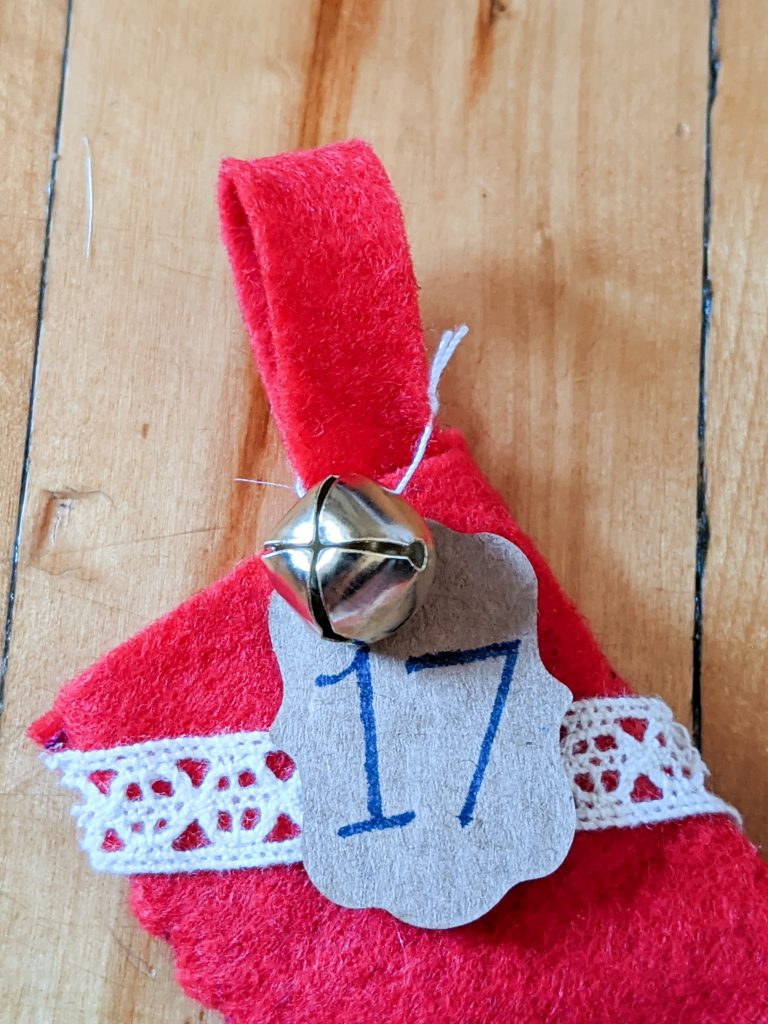
And finally, add the dates to each stocking. I wrote numbers on these little craft paper labels with strings on them, added a little bell to each one, and tied them to the stocking holders.
Assemble Calendar Pieces
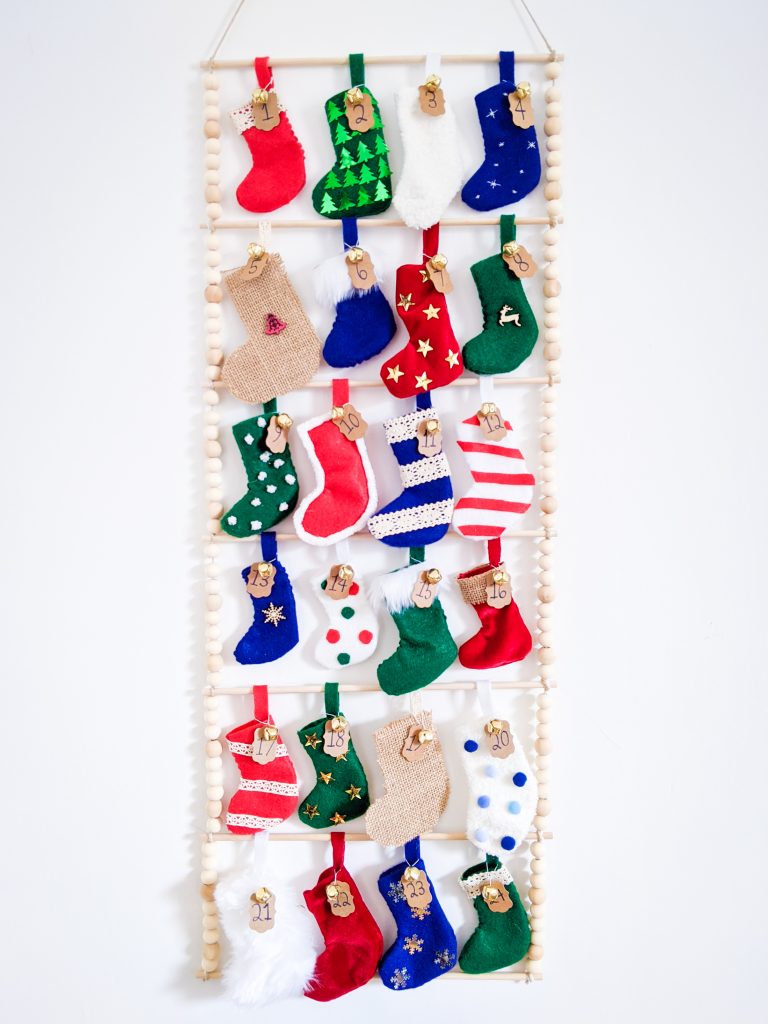
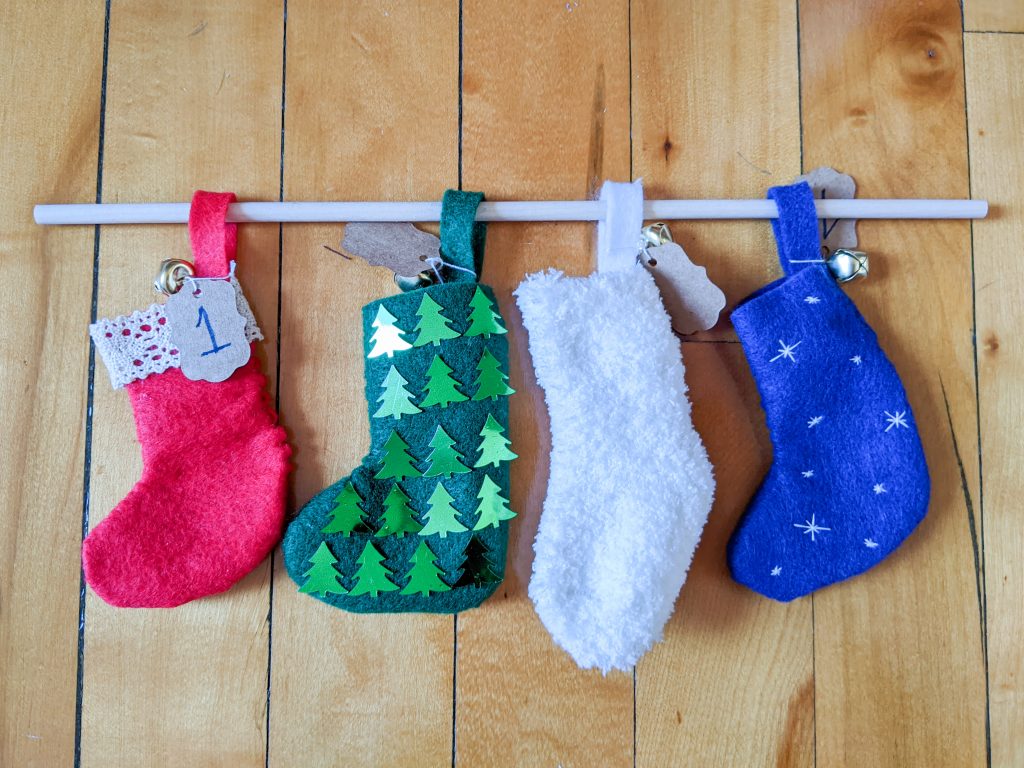
Once all the stockings are done, you can hang them onto their individual wooden dowels. I used a 12″ dowel, which could fit four of the little stockings I made.
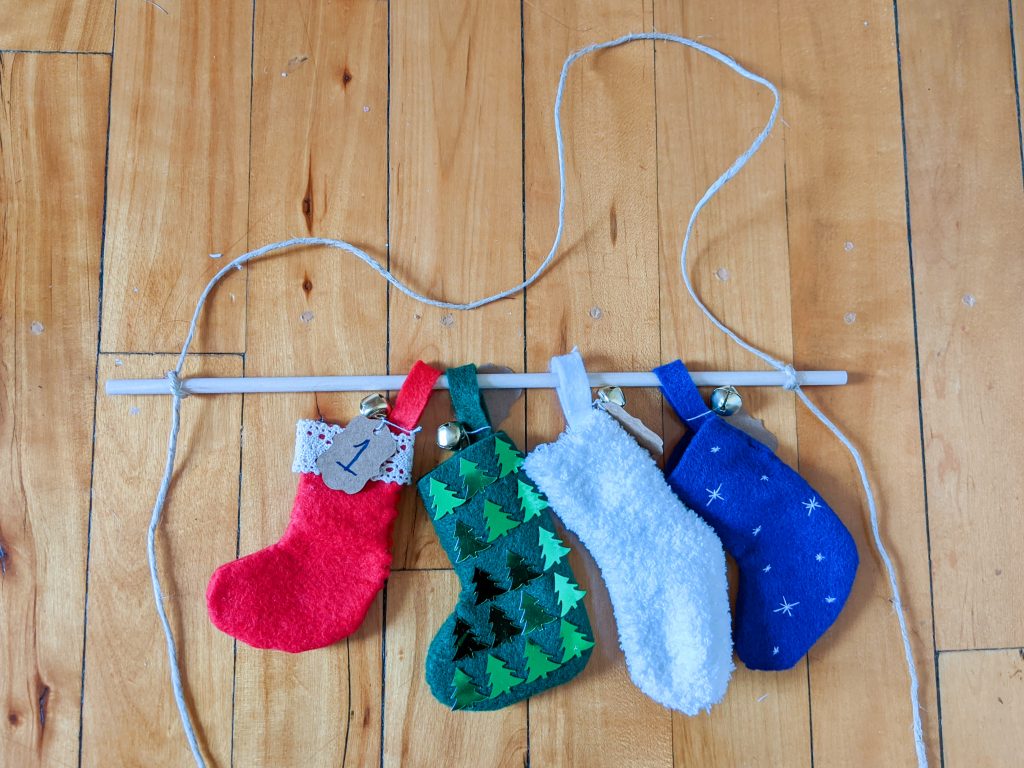
Then, cut a really long piece of twine (about 2.5 times the total length of the calendar) and drape it so there’s an equal amount on both sides of the calendar and a little arch above the top dowel. Then, tie the twine to the ends of the dowel.
This is optional, but I then strung a bunch of wooden beads on the twine on both ends. I think this helps the whole thing to hang straighter and it looks really nice. Stop when you get to where you want the next dowel to go and then tie another knot to attach the twine to the next dowel.
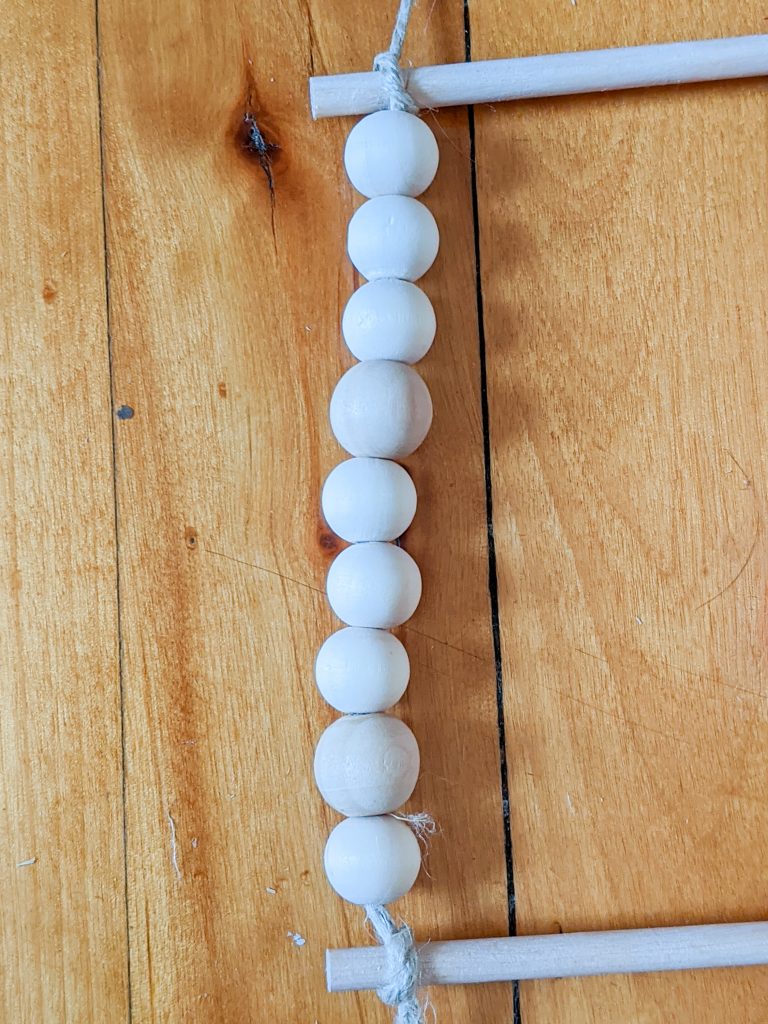
For added security, I glued the knotted twine to the dowel so it couldn’t accidentally slip off.

Continue adding more beads on both sides and knotting the twine to the next dowel until all the stockings are attached. I also added one last dowel to the bottom of the calendar, underneath the last row of stockings, just because I think it looks better to finish it off like that.
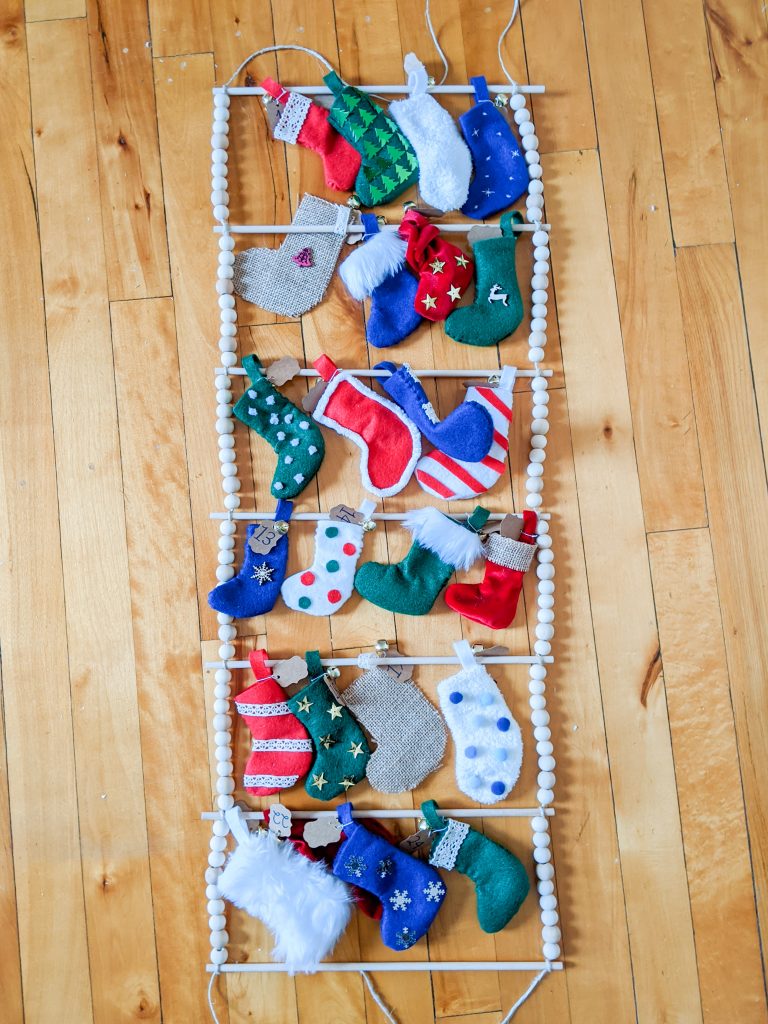
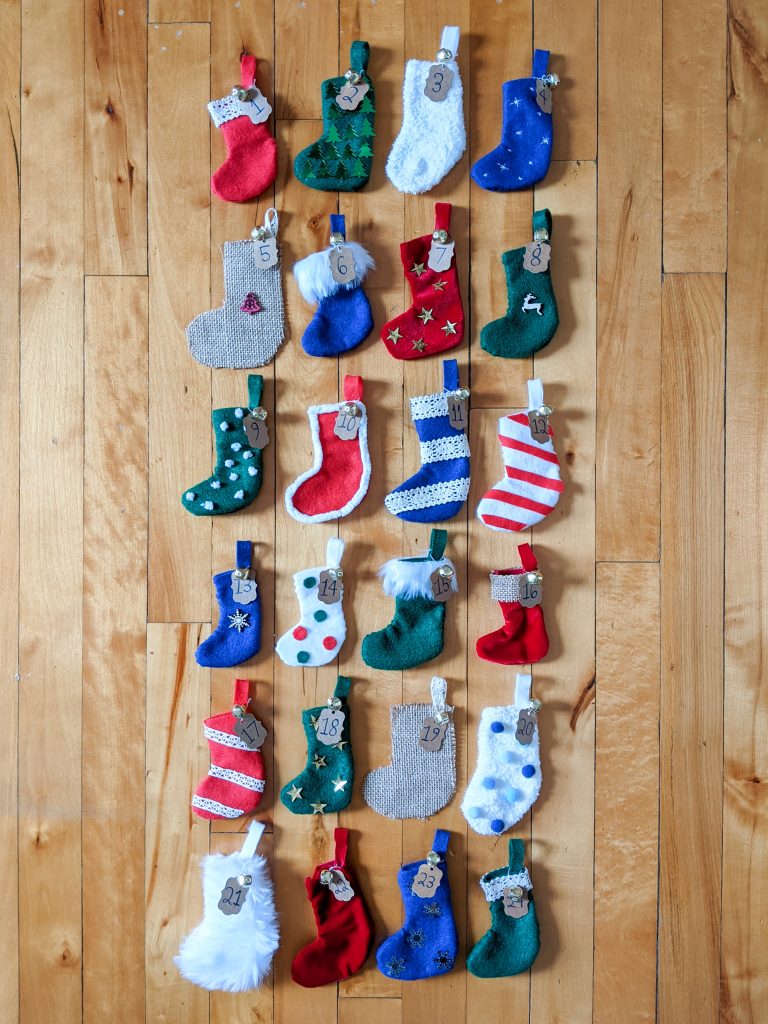
And that’s it! It’s pretty time-consuming to make the stockings, but that’s probably because I hand-sewed them and wanted to make them all different. If you make all the stockings the same and use a sewing machine, I bet you could knock this out in a single afternoon.
I’m super happy with how my calendar turned out! I don’t think Theo will really get the concept of it this year, but I know all the fun colours and patterns will tickle him pink!
This is the first post in my month of holiday DIYs series! If you’re looking for super simple DIY holiday decor ideas, then stay tuned!
xoxo