
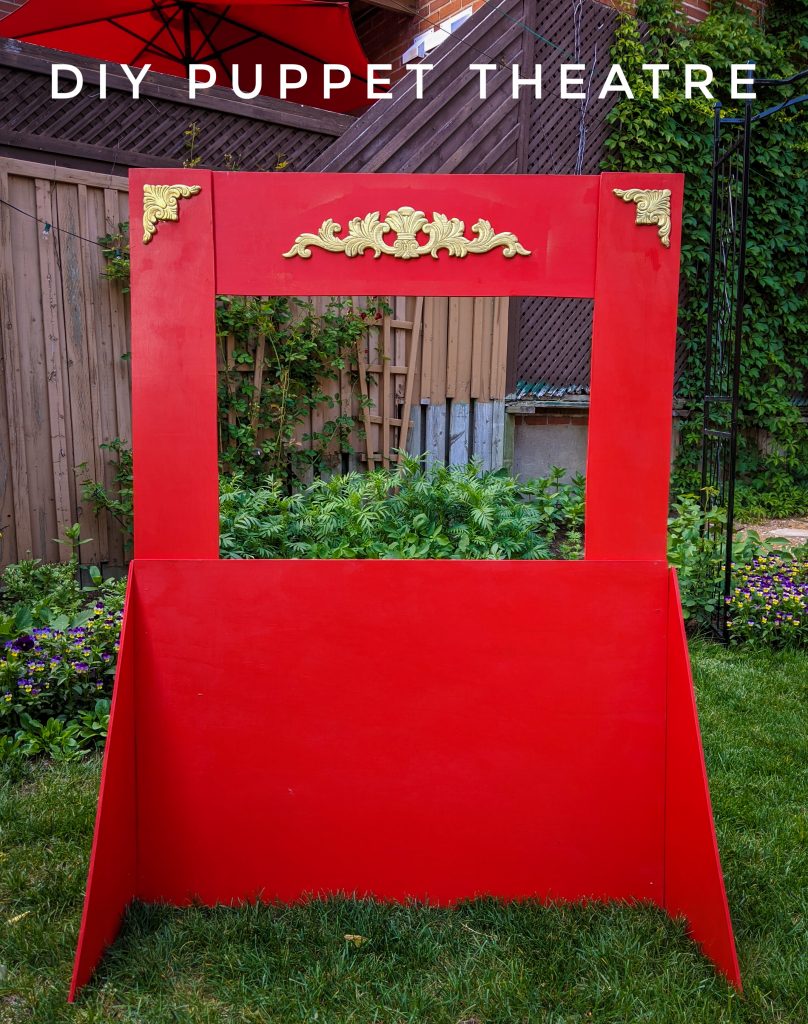
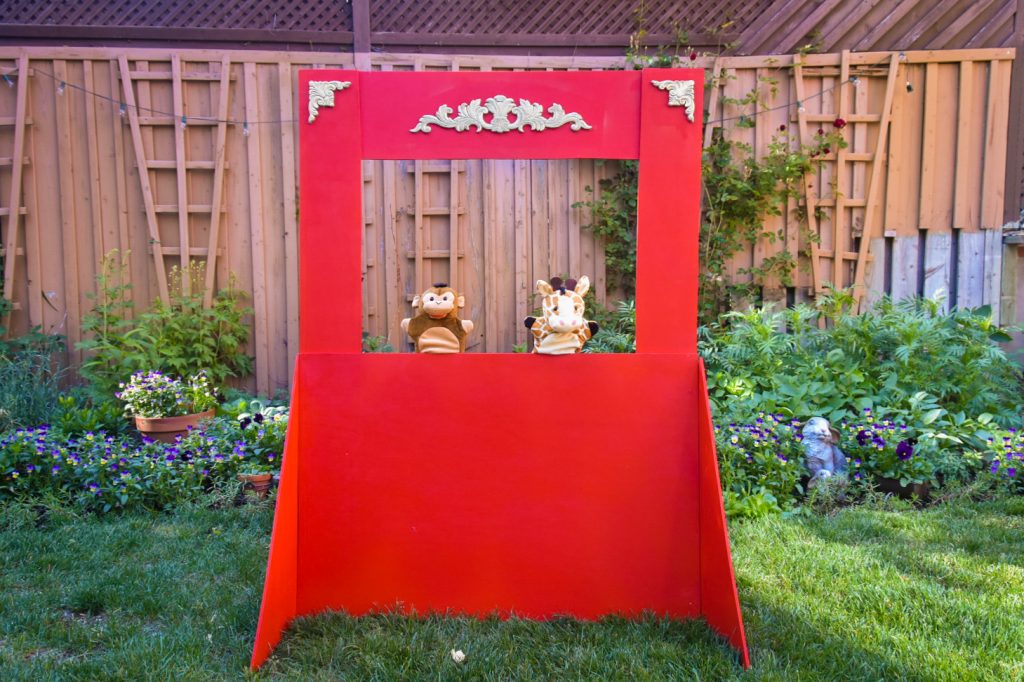
I had been toying with the idea of making a puppet theatre for Theo for a while, just because I, myself, have a soft spot for puppets. And I kind of feel like this could be a fun, imaginative toy that can be enjoyed for years. I had been inspired by this regal design, but reimagined it with my own little tweaks.
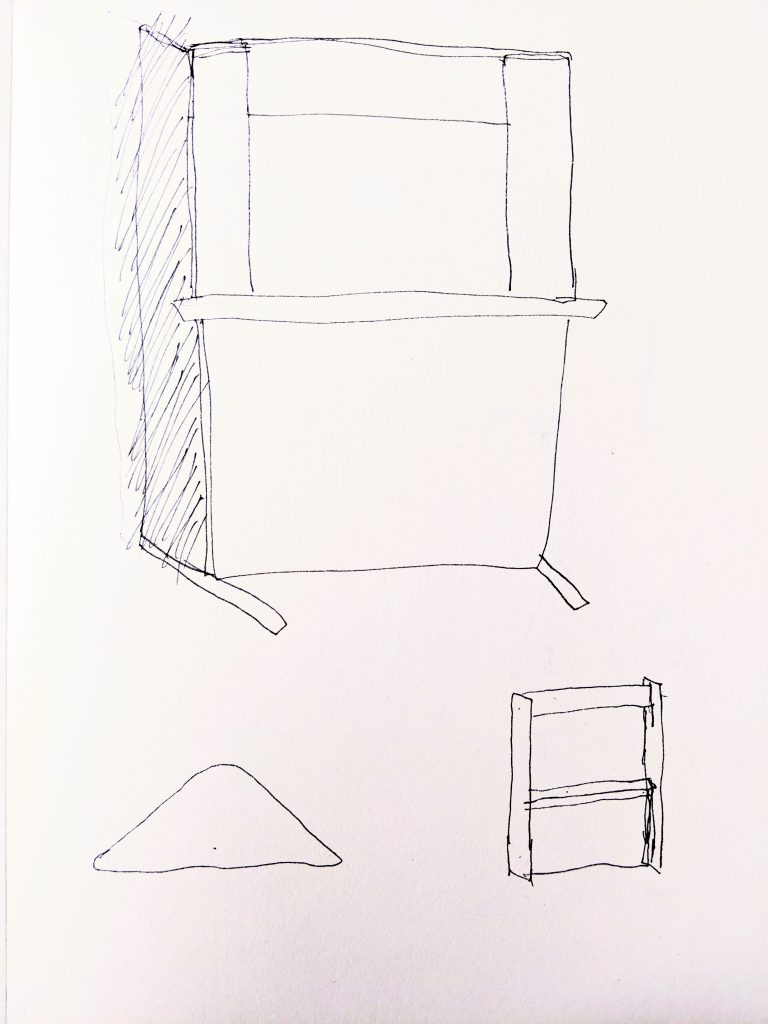
I knew I wanted it to be the kind of theatre where a kid could sit down on the ground behind it and just stick their hands up to reach the “stage.” So it needed to be fairly big and be able to stand on its own on the ground. I made several sketches of my design ideas, mostly with different bases.
The design I ended up going with actually turned out quite well. The only thing is the hardware store didn’t have the type of moulding I wanted to use for the “stage” and at the bottom of the frame. So I ended up cutting that out of the design completely. The size of theatre was also not what I had originally planned, but I had anticipated needing more plywood, so I already had accounted for tweaking the size. Always get more materials than you think you need!
Here’s how to make your own super cute puppet theatre!
Materials
-3 sheets of 1/4″ 2’x4′ plywood
-wood appliques
-paint/spray paint
-two lengths of wood screws (depending on thickness of wood you use)
-wood glue
-paint brush/roller
-saw
-sandpaper
-painter’s tape or masking tape
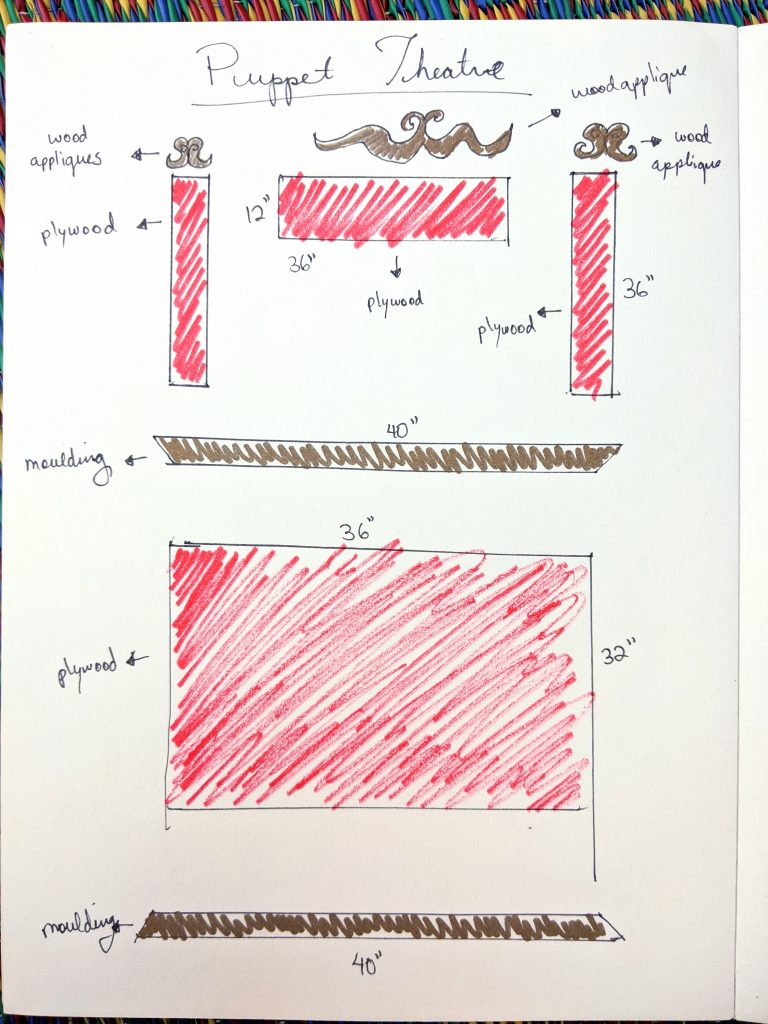
1. Cut wood to size
I’m not sure 1/4″ was the best choice of thickness for the plywood we used. But because I was making it kind of big, I didn’t want it to be too heavy. The base really helps to add stability and I don’t worry about it tipping over or anything like that. But the top half of the structure is just a little bit wobbly/flimsy. Maybe 1/2″ would have been better.
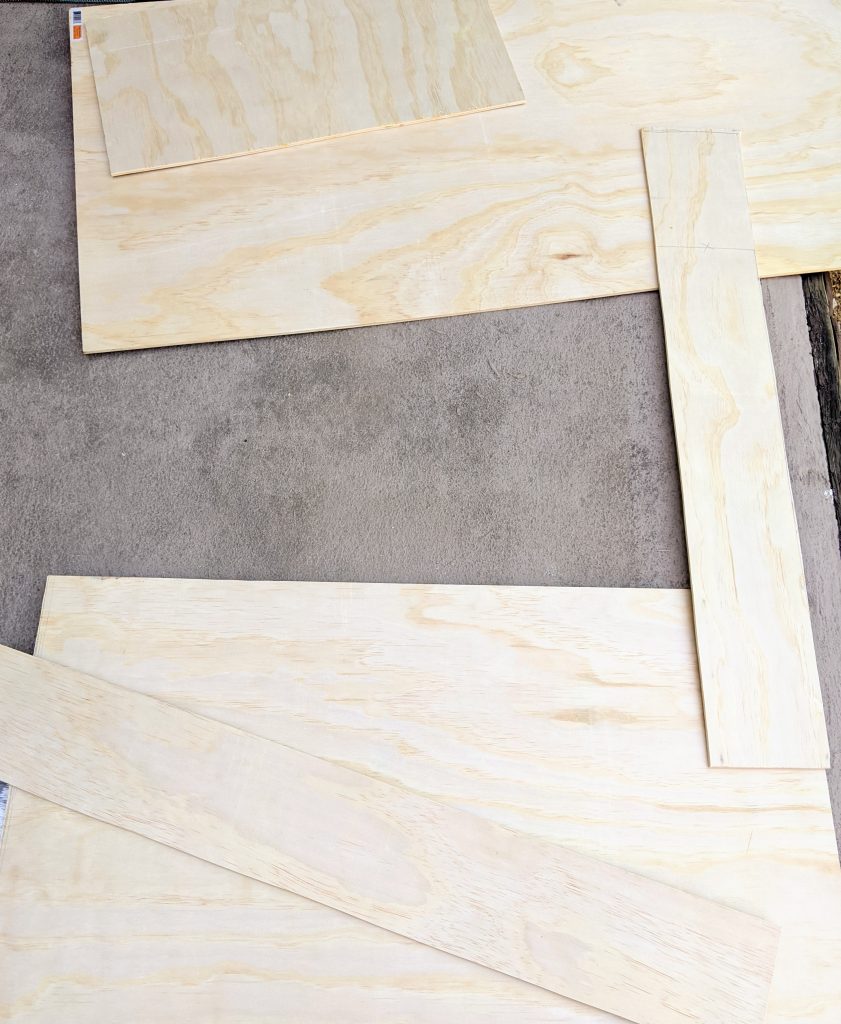
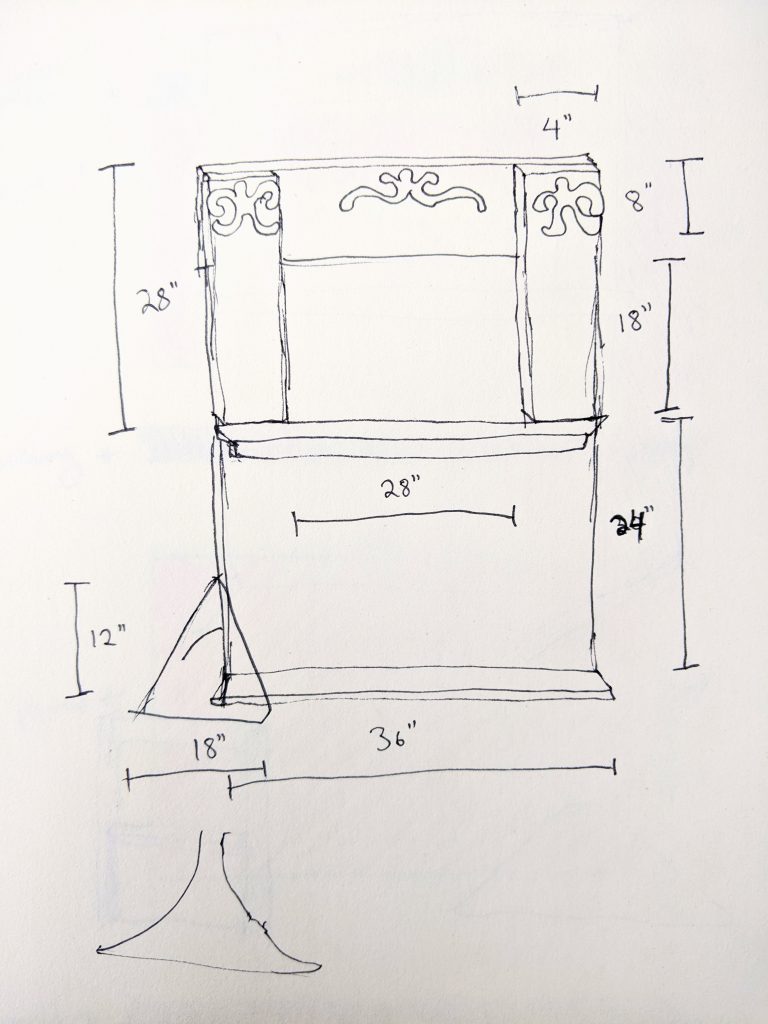
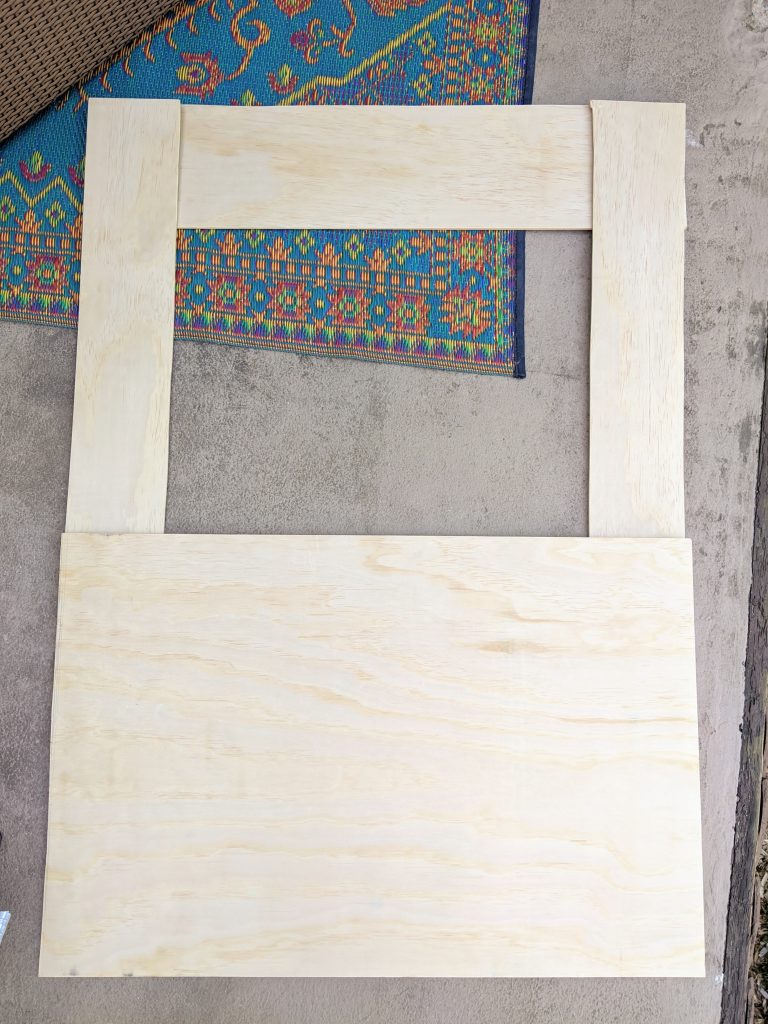
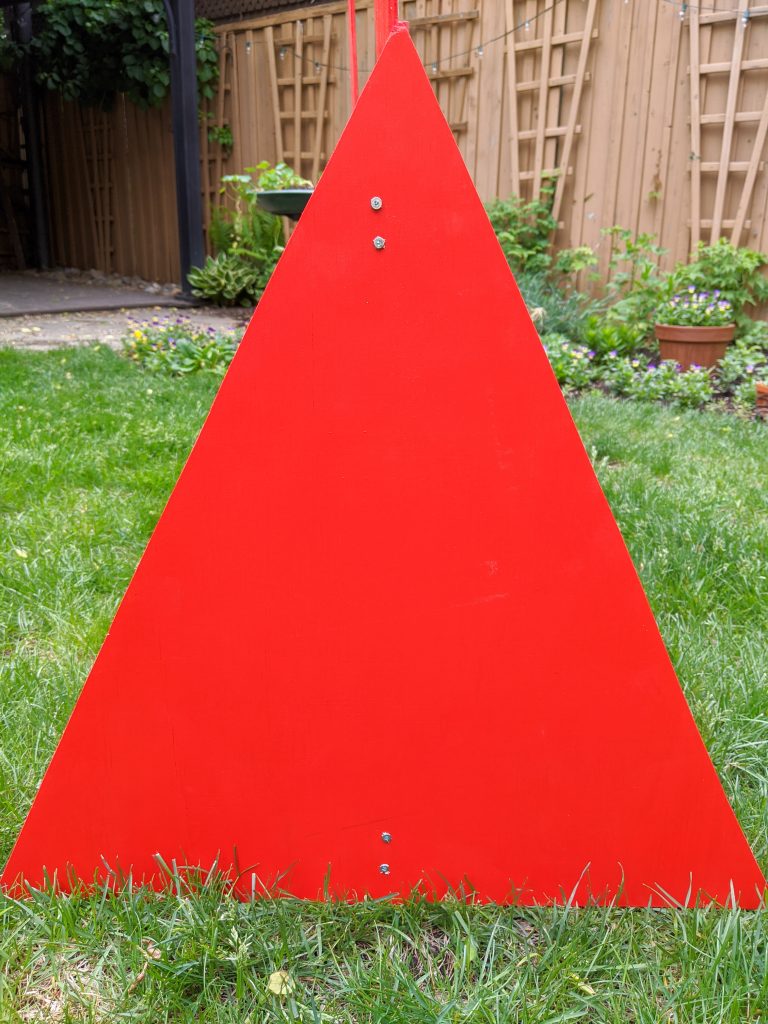
Anyway, the main part of the theatre is four pieces: the base, two vertical columns, and the top. And then there are two triangle pieces at the bottom that hold it upright. The bottom piece is 2’x3′, the top piece is 8″x3′ and the two “columns” are 5.5″x3′.
I couldn’t decide on the base until near the end of the process, but I settled on two 2′ triangles. Make sure you sand the corners so they are slightly rounded and not so sharp.
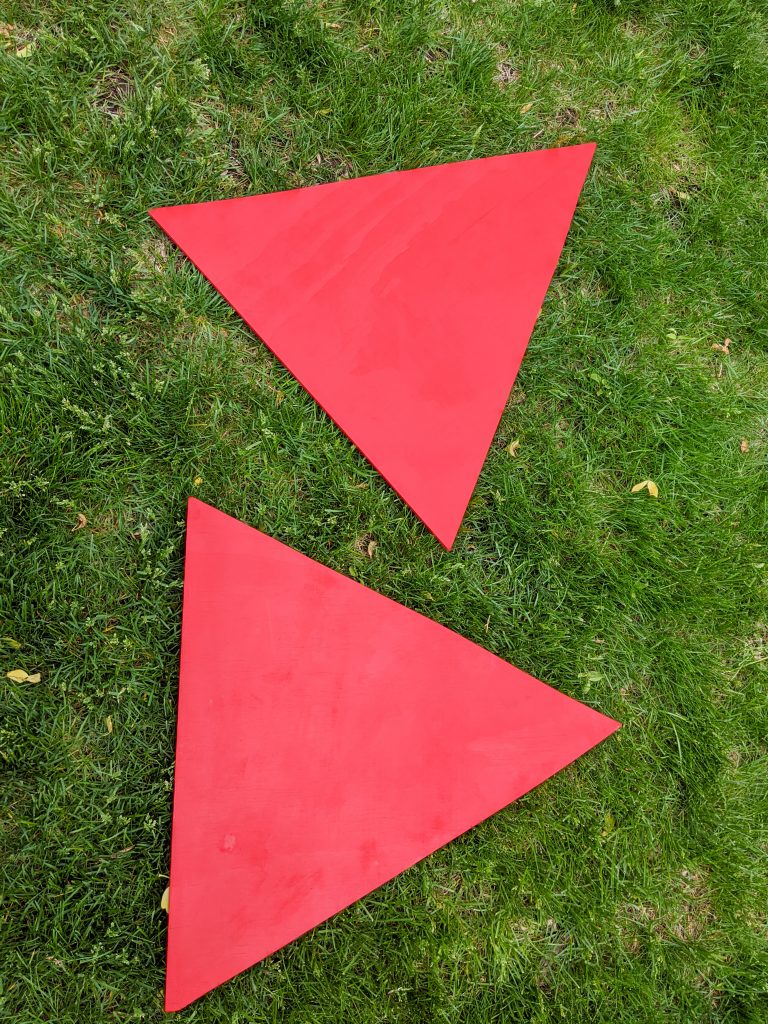
2. Paint all the pieces
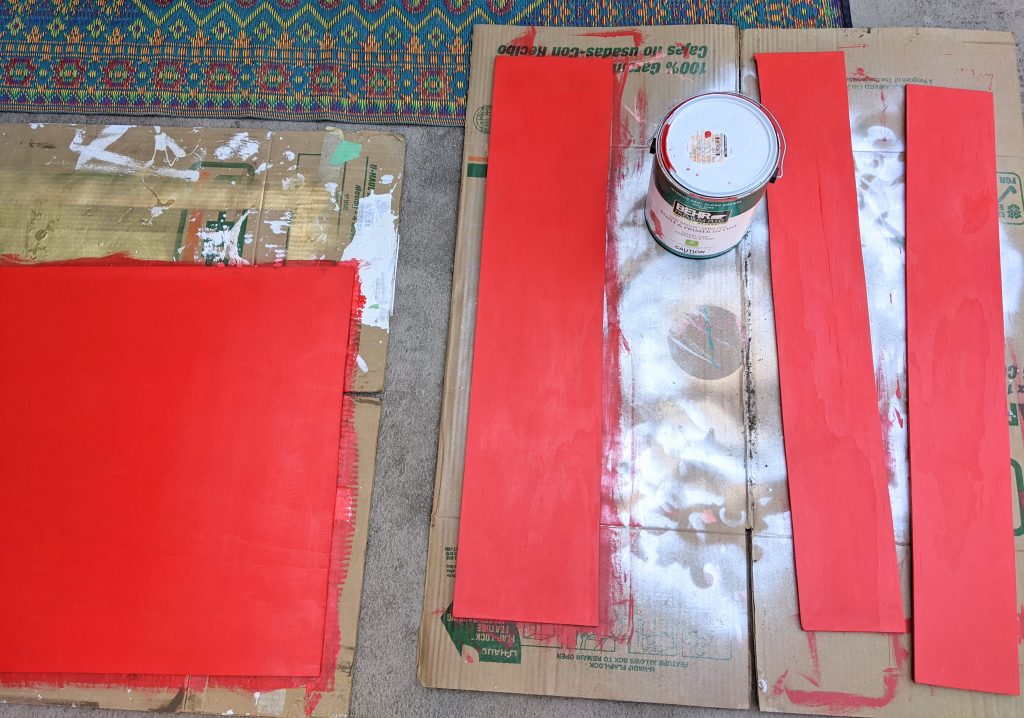
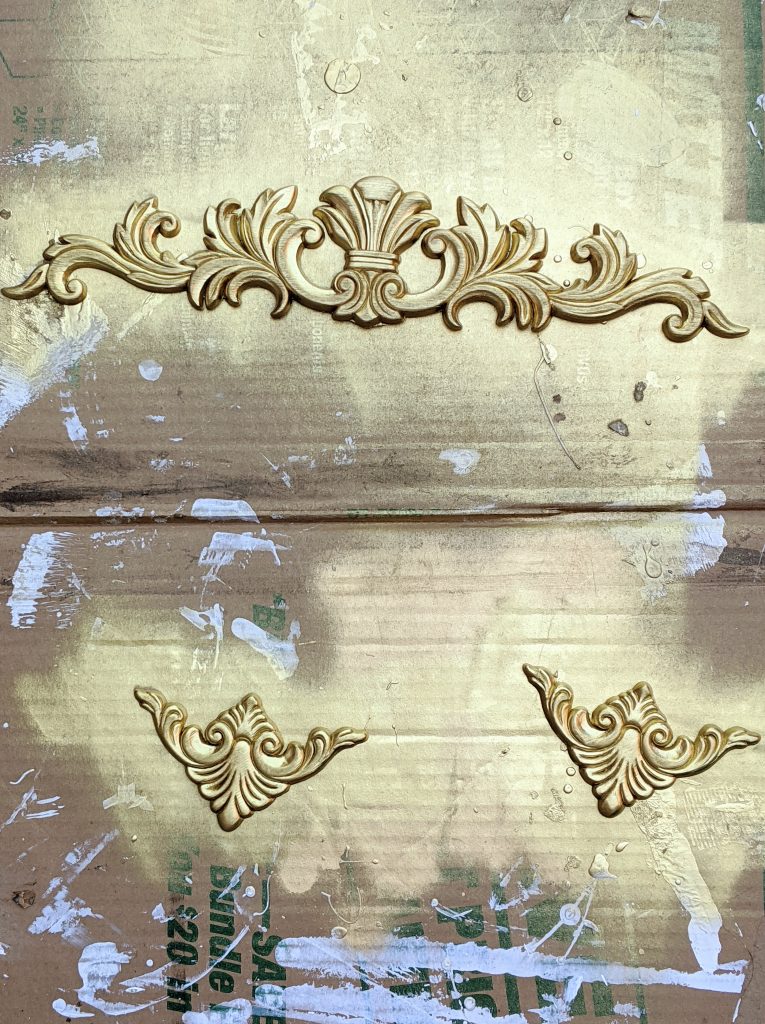
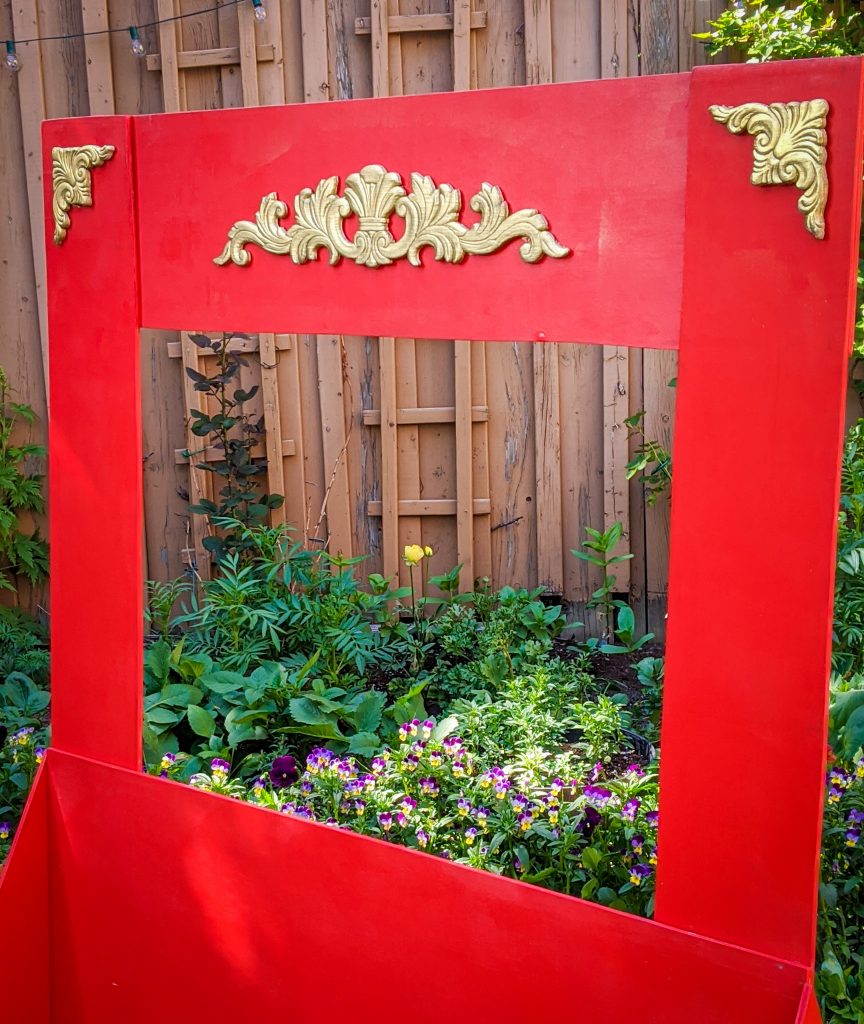
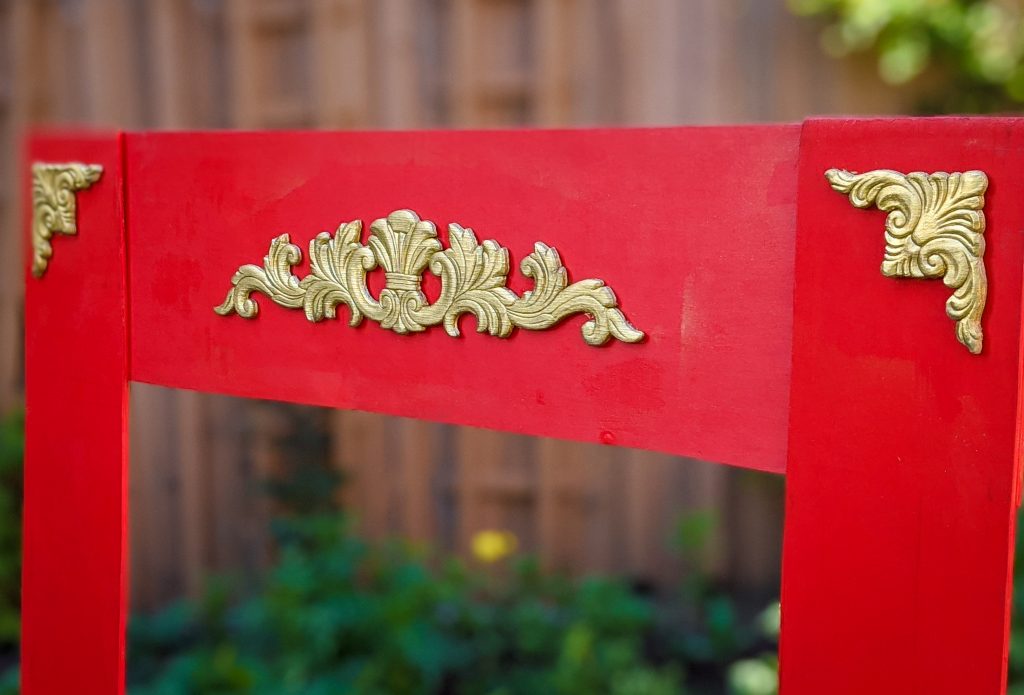
I used some leftover red paint for the theatre and gold spray paint for the appliques. Pro-tip: DO NOT leave gold spray-painted wood out in the rain, even a light rain. It will ruin the finish! I had to learn that the hard way…
3. Screw pieces together
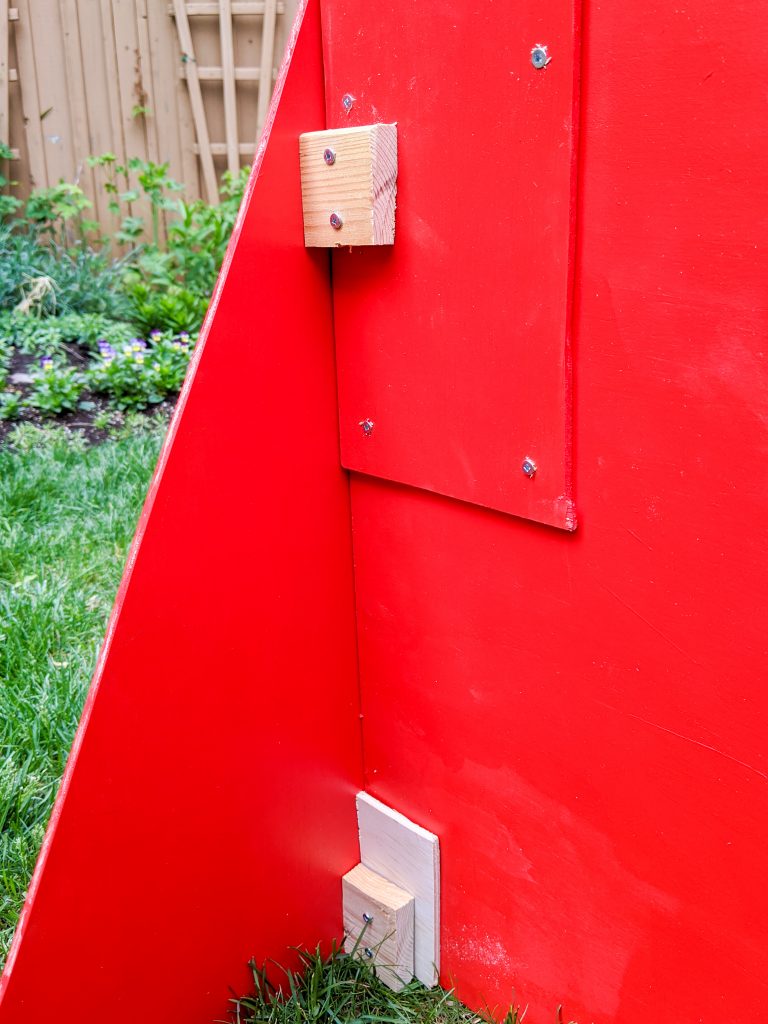
Screwing the frame together was super easy. You just use the correct size wood screw that will fit with two pieces of 1/4″ plywood and screw from the back. We didn’t drill them in as tightly as they can go so the screw wouldn’t break through the front of the wood. The tricky part is screwing the base onto the sides of the frame, since the plywood is so thin.
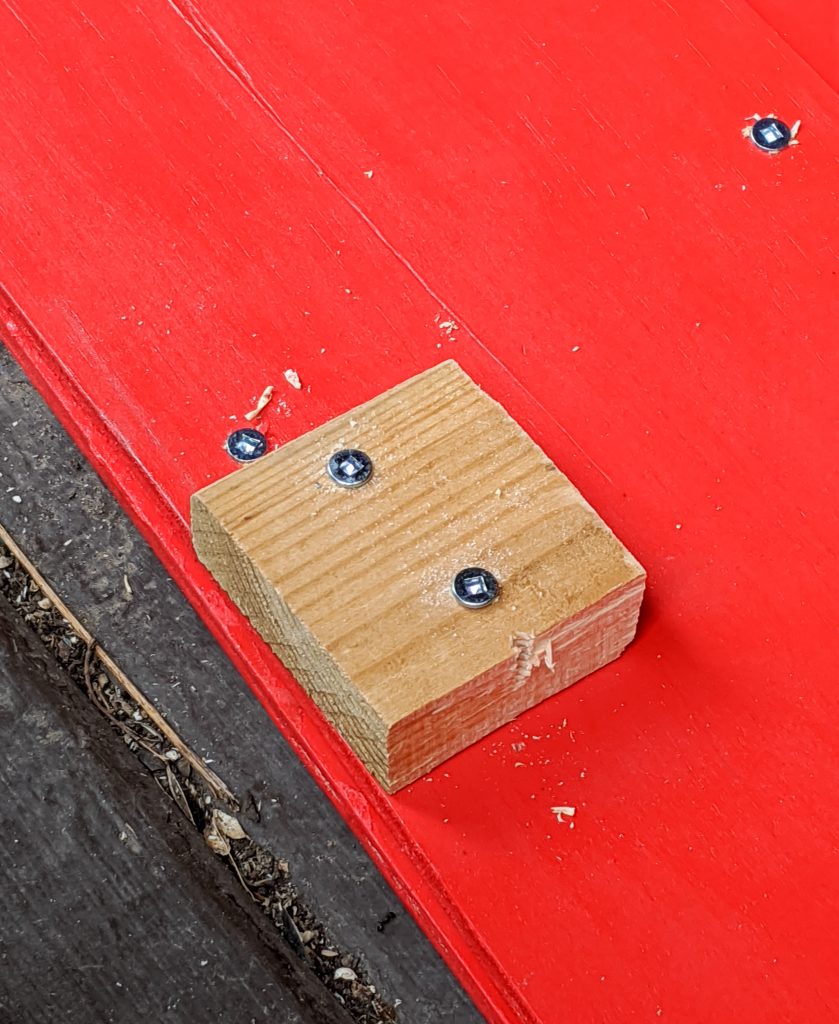
If you can use thicker wood for the frame, I would suggest you do so, ’cause then you can just screw the base directly onto the frame. We had to screw on pieces of thick scrape wood to the back of the frame where the tops and bottoms of the two triangles would go.
Then you have to screw the base to the thicker pieces of scrap wood. Don’t forget to add an extra piece of plywood to the bottom piece of scrap wood to account for the thickness difference between the middle and the bottom of the frame.
4. Attach appliques
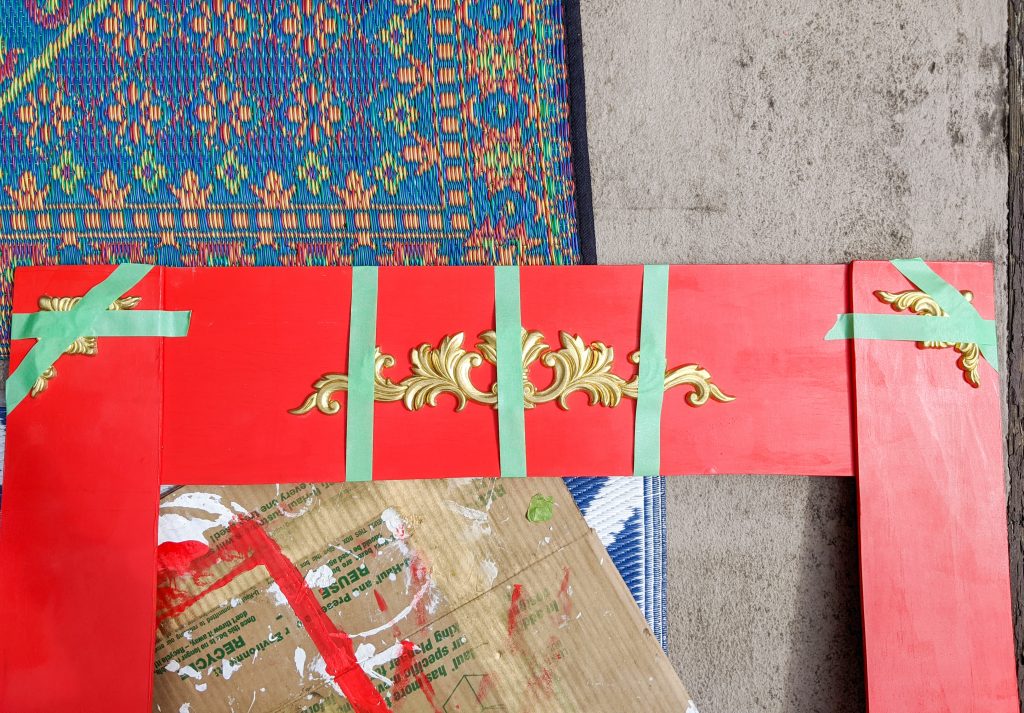
Glue your wood appliques onto the front of the frame. I used E6000 and then some painter’s tape, just to hold them in place until they dried.
And there you have it! A super easy, super cute puppet theatre that you can make yourself.
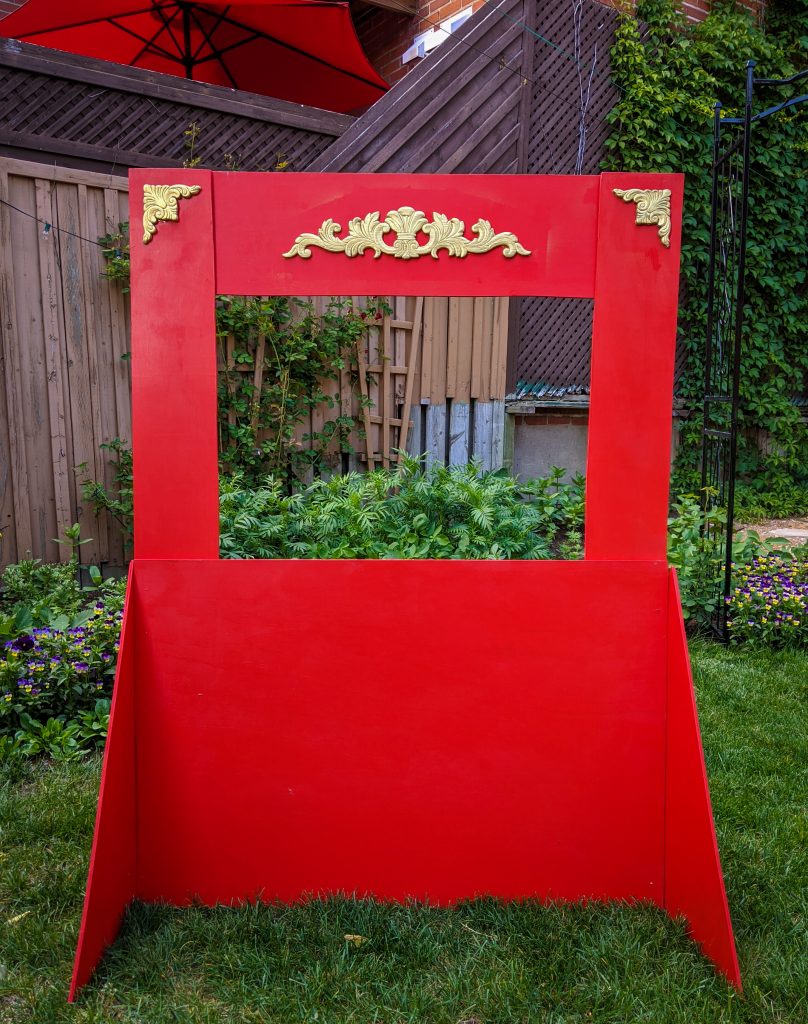

I’m super happy with how the puppet theatre turned out. It’s even better than I imagined. Theo just loves standing up by the stage and kissing the puppets! I hope he’ll get a lot of joy out of this for years to come.
xoxo
Awesome post! I’m currently making this for my nephew’s 2nd birthday. Would you know how I’d be able to attach curtains to this?
I’d probably attach some screw eye hooks to either side of the opening and just tie some string to them. Good luck!