
Every year, I make the trek to one of my local garden centre/nurseries and leave with a car full of mostly perennial seedlings. I’ve been trying to make a low-maintenance perennial garden for the past three summers and I’ve finally accepted that it’s probably not gonna work out. Year after year, only a handful of my perennials re-emerge come spring and I’ve come to realize a couple of reasons why this is.
First of all, did you know “perennial” sometimes doesn’t mean forever? I was under the impression it kind of meant forever, but some flowers only come back for five years, some only for two years….well the whole point of having a perennial garden, to me, is so you never have to replant anything. Of course, you can just choose the flowers that actually do come back year after year, but my garden goals include having a lot of different colours/varieties including some good cut flower options.
Secondly, I probably am not adequately protecting some plants from the harsh Montreal winters, so they end up dying. Now this can probably be fixed by overwintering some varieties indoors, covering them in mulch and other protective covers, and just babying them more. But to be honest with you, if I’m gonna do that much extra work, I kind of feel like I should just put some annuals in my garden rotation. I mean, if we’re just talking about my favourite flowers, many of them happen to be annuals. But I was trying to make a perennial garden because they’re supposed to be less work!

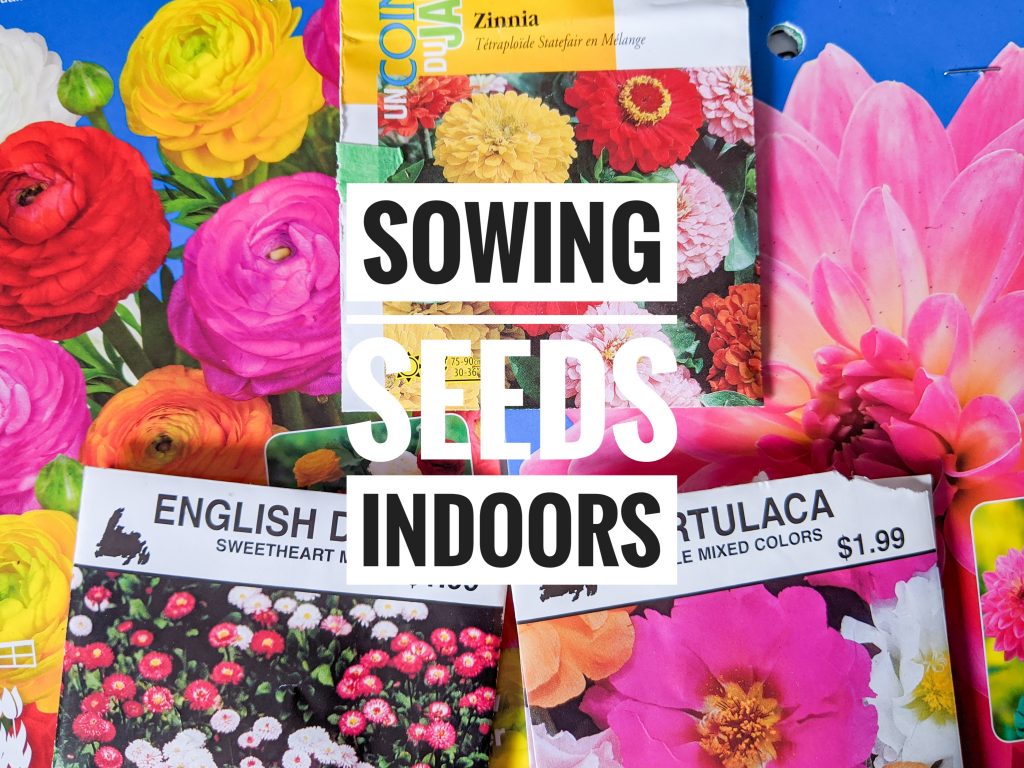
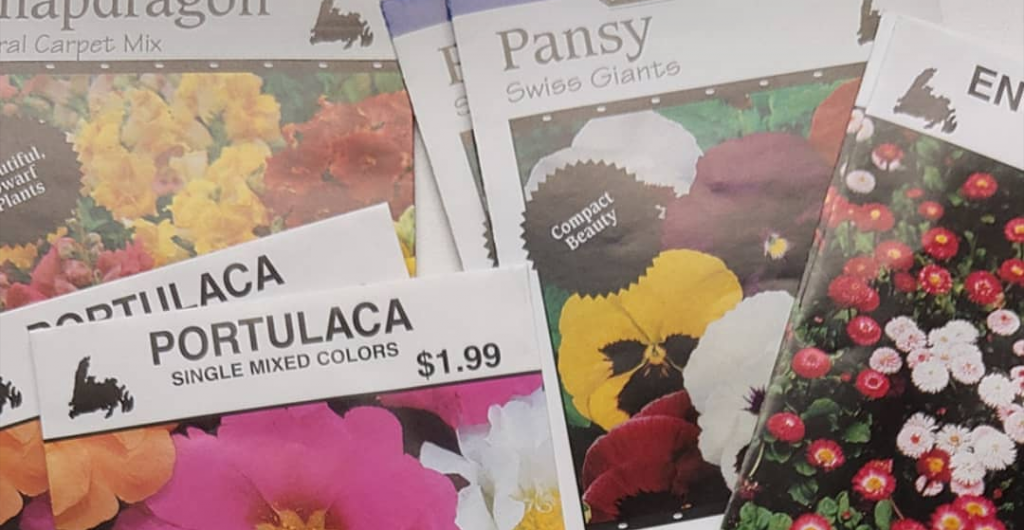
So basically, this year I decided to dive head-first into making a mixed annual and perennial garden! I ordered a bunch of seeds from the The Seed Company, in addition to buying some tubers/corms/seeds from my local stores with gardening supplies. I got a lot of annuals, but also some perennials. You never know! Maybe they’ll survive.
In case you’re wondering, I got:
- two types of dahlias
- marigolds
- snapdragons
- phlox
- delphiniums
- violas
- pansies
- statice
- English daisies
- portulaca
- nasturtium
- zinnias
- ranunculus
- poppies*
- sunflowers*
*I didn’t sow these indoors as they are not recommended for indoor sowing, so I’m just gonna put them in the ground once the danger of frost is over
I decided to make a post about my journey into seed sowing indoors since I’m putting a lot of time and effort into it, and I’ve definitely already made some mistakes that I thought could be helpful to share with others.
Seeds Need Ample Room To Grow
Now the first mistake I think I made was sowing a lot of seeds haphazardly into trays without any kind of system and without adequate soil. I was kind of ready for this whole thing to not go well so I just wanted to do things the easiest way possible. The last time I tried growing anything from seeds, I don’t think anything grew, so I figured it wouldn’t hurt to have a bunch of seeds just randomly strewn about a tray. I didn’t imagine that after only a few days, most of the seeds would begin germinating!
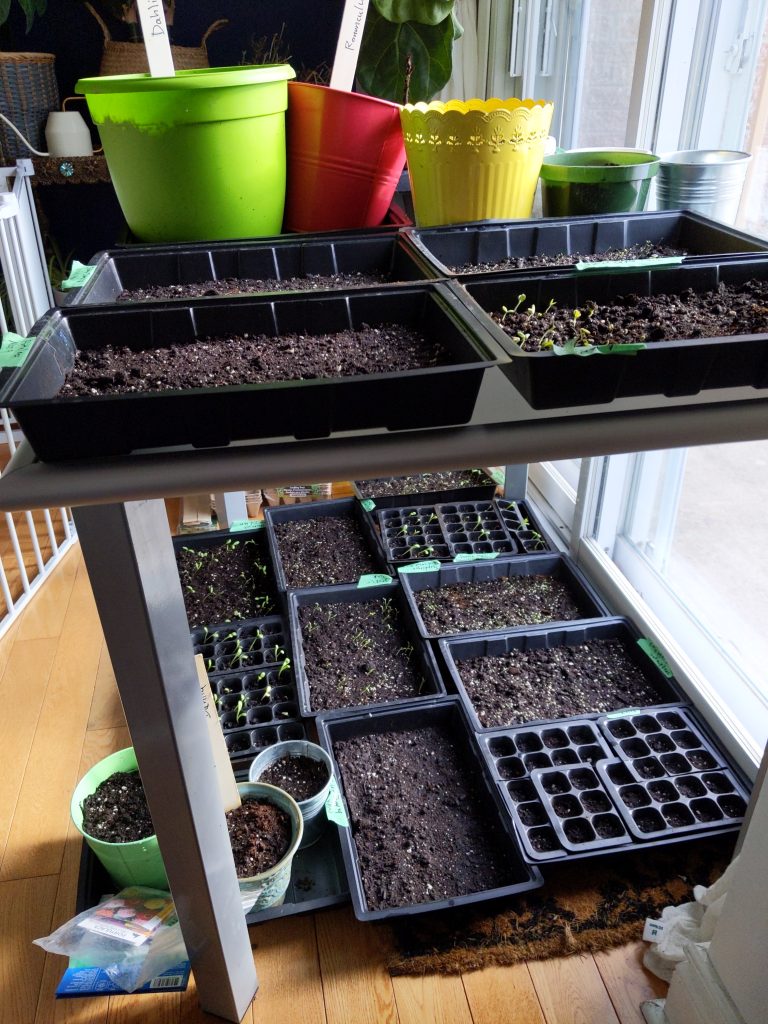
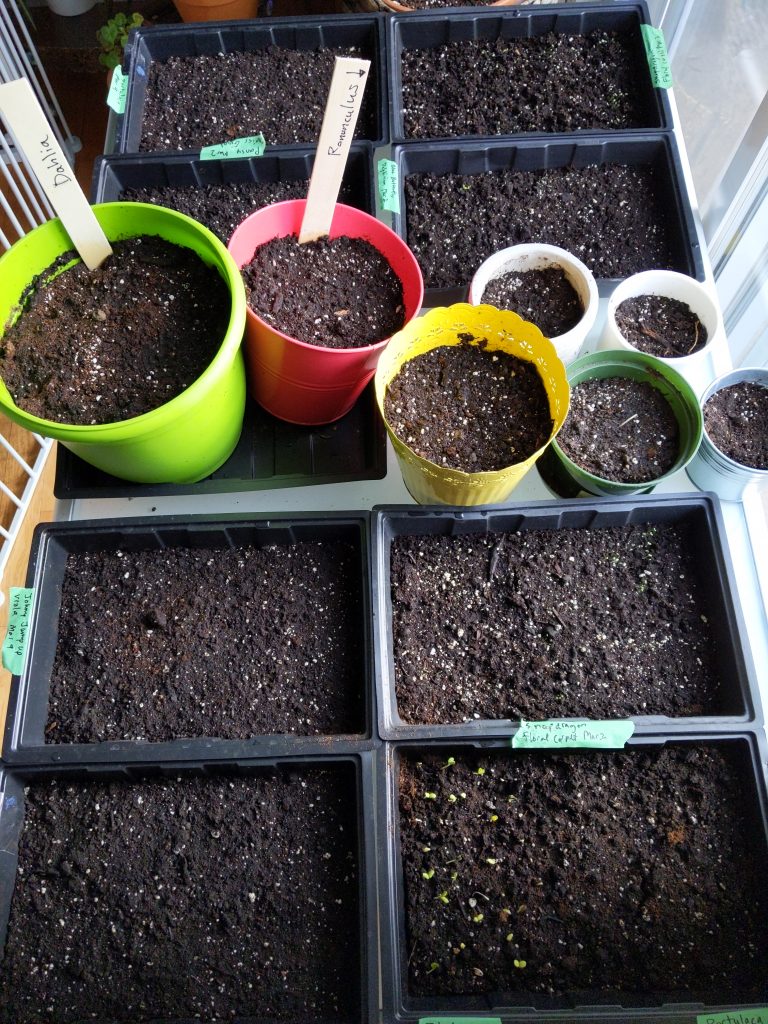
I also didn’t get enough trays so I ended up using random planter pots I had lying around the house, but it ended up working well for my dahlia tubers and ranunculus corms, since they’re so big.
When you grow seedlings in trays, you’ll likely have to thin out the seedlings and transplant them into larger pots or planters before you are able to transplant them outside. This was an issue I knew I would have to face if my seed germination rate was high (it was) but I didn’t really want to deal with it until I saw for certain I would need to.
I think this was a mistake. Thinning and transplanting the seedlings is soooo time consuming! It took me, like, four or five days (working for hours each day) to do them all. And every time you uproot a little seedling, you risk damaging it. A bunch of my seedlings ended up getting tangled up together and I couldn’t separate them afterwards, so definitely don’t just randomly throw them wherever.
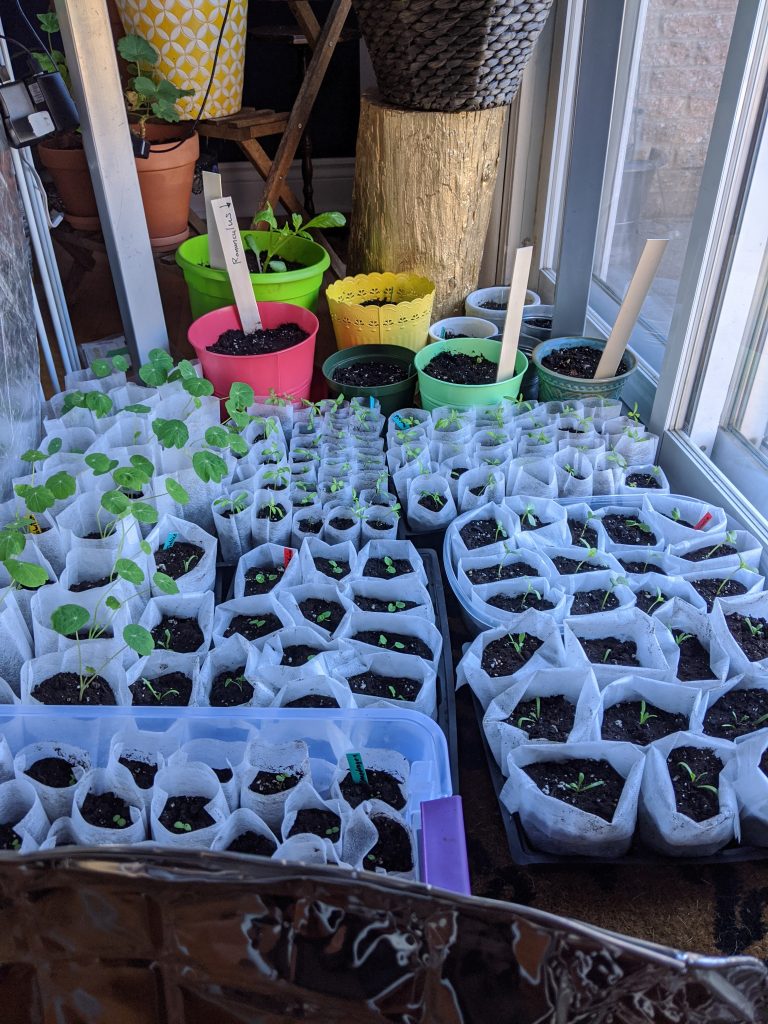
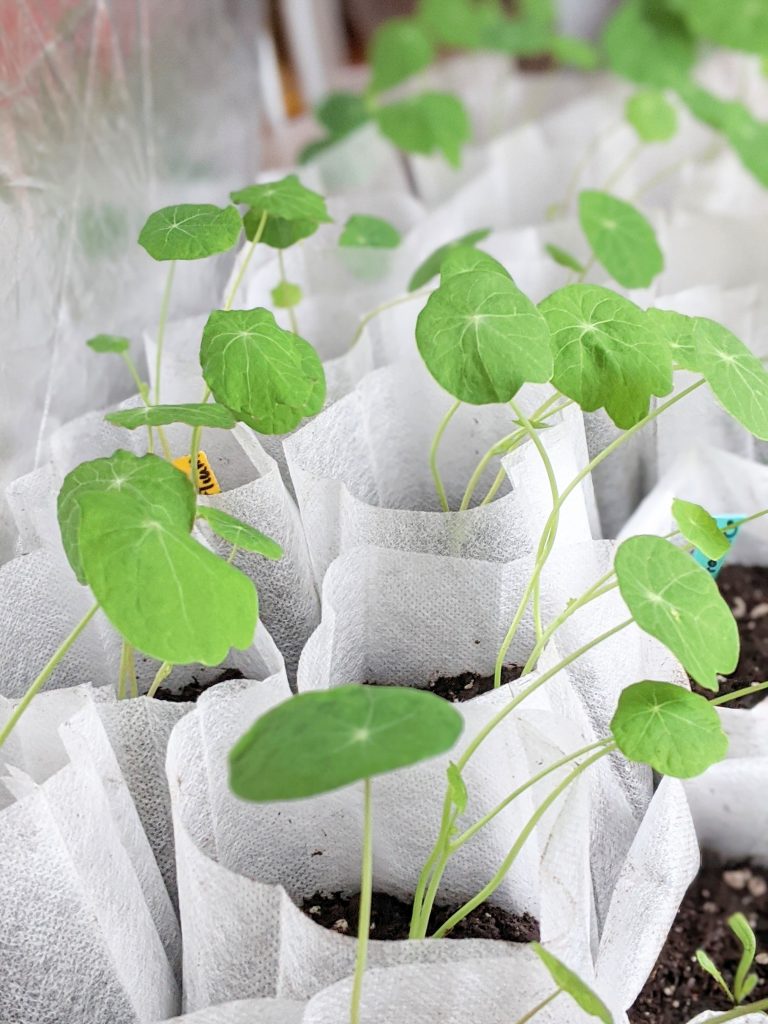
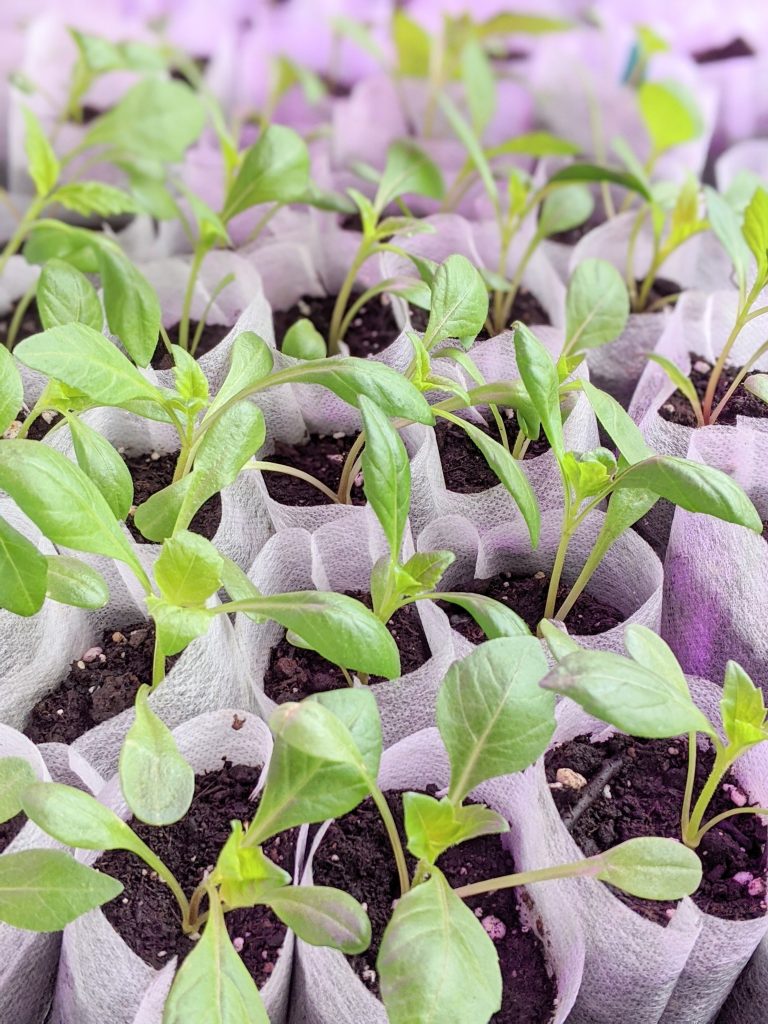
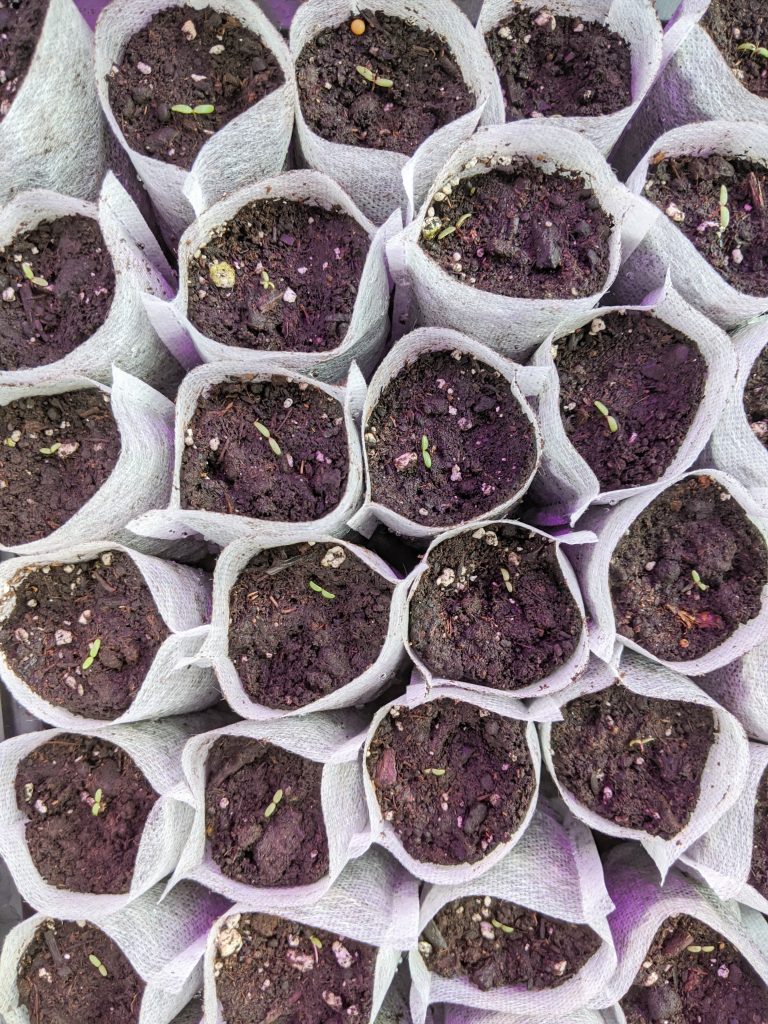
With a couple of exceptions, I basically waited until the seedlings grew their first set of true leaves or I could at least see that they were coming in to start transplanting them. But I have limited space by my best windows and I also didn’t want to spend a ton of money on getting hundreds of 3-inch pots. That’s when I discovered grow bags! These are basically biodegradable bags that can act like pots that allow your seedlings amply room to grow before transplanting outside. I got a variety of sizes, but I’m using mostly 3 or 4-inch bags.
Once they were in, I also gave them some fertilizer using a water-soluble fertilizer at about 1/4 strength. For the most part, they seem to be responding really well to the extra growing room and the fertilizer. They are growing faster than ever before!
Although I have yet to see how well my seedlings will live for weeks in these grow bags, and how they’ll transplant into the garden, I still prefer them to the trays with bigger cells or individual pots for the following reasons:
- You save space. These are flexible, so you can fit more together in one area than traditional seedling pots or trays.
- You can transplant the bag directly into the ground. Obviously I have not tested this yet, so I’m not sure if this is totally true, but since they claim to be biodegradable, you should be able to plant the bags directly into the ground. A lot less work come transplanting time!
- You save money. These bags are much cheaper than trays and pots. I got 900 bags for around $40 CAD.
Seedlings Need Tons Of Light
The next issue I faced was that all my seedlings were getting quite leggy. The stems were getting really long ’cause the plants try to stretch up towards the sun for more light. This leads to really unstable, weak plants, so not ideal! The best light in the house is by the sliding doors in the dining room or the kitchen window (both southwest facing). But still, Montreal winters don’t offer a ton of sunlight.
So after noticing this problem, I implemented a couple of solutions I probably should have done from the beginning:
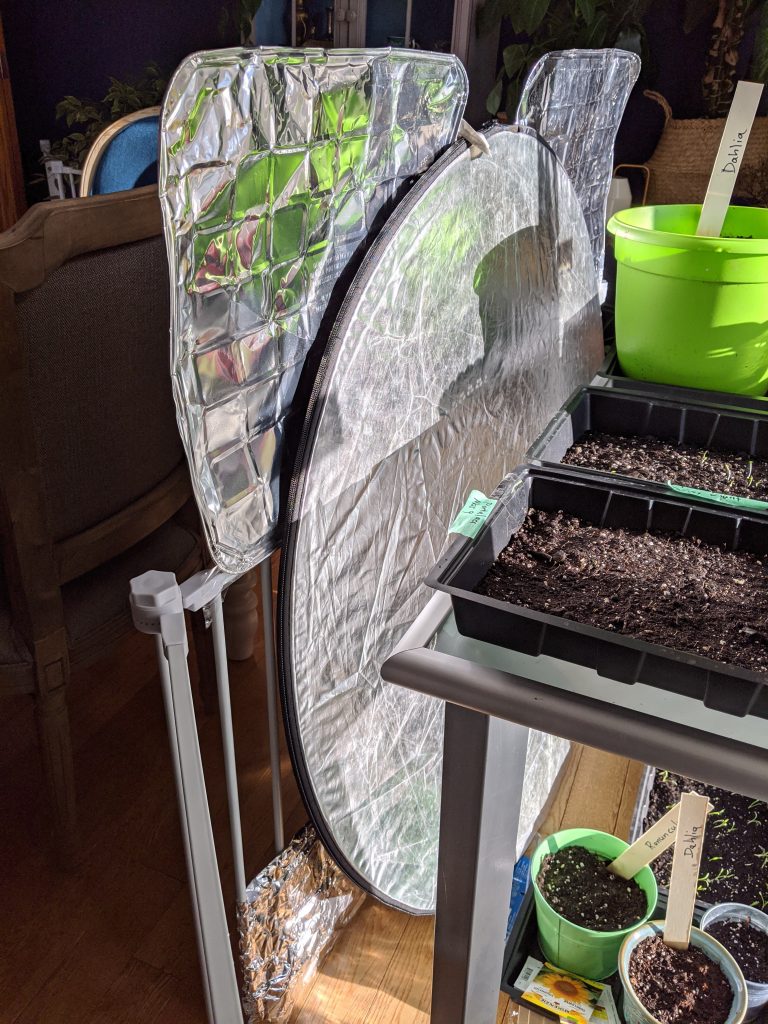
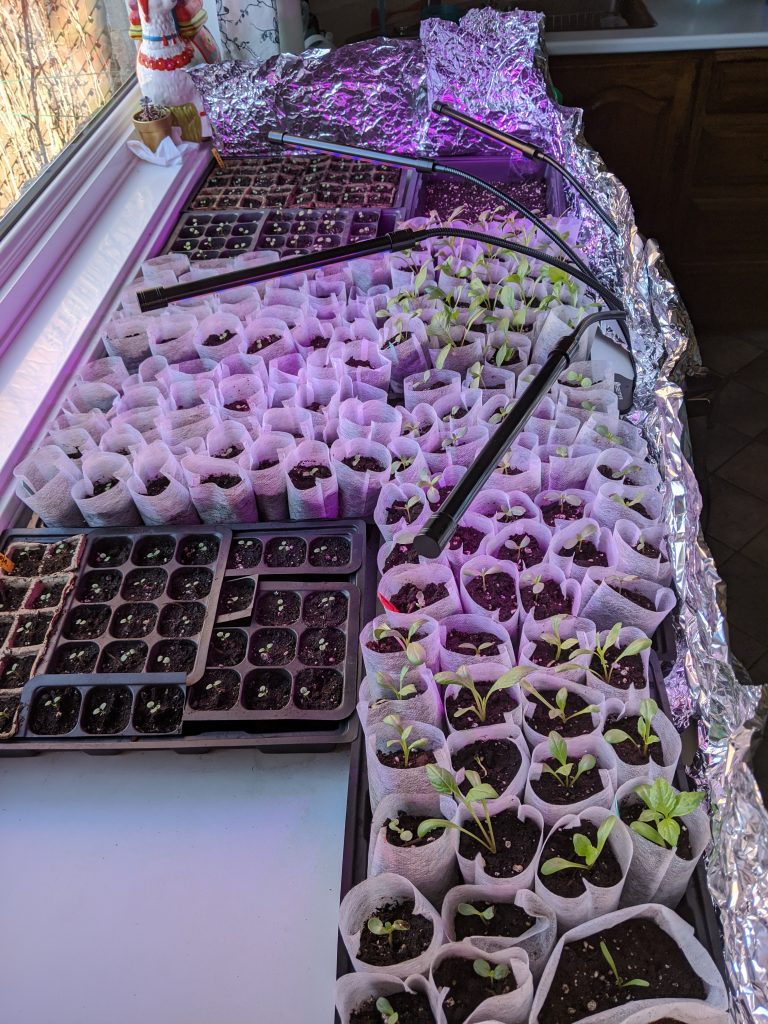
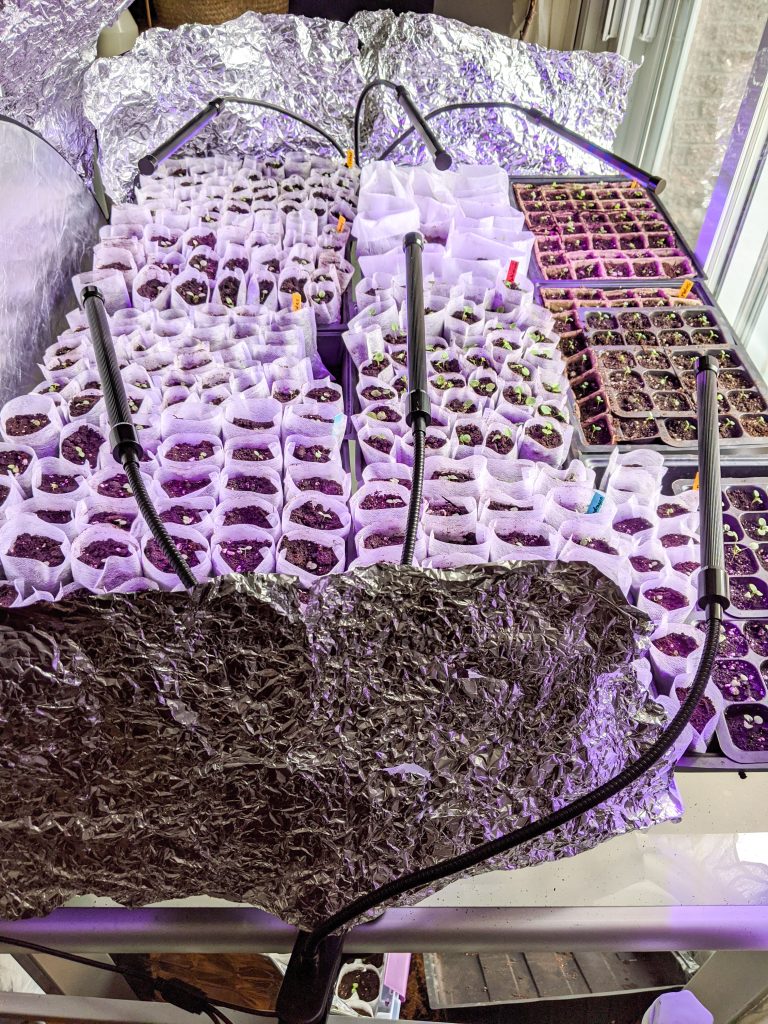
- Put something that can reflect sunlight behind the seedlings. This not only helps them to receive more light, but it evens out the light source so they don’t all end up leaning heavily towards the window. The stems will be straighter and hopefully, shorter! I used a photo reflector I got a long time ago off Amazon, tin baking trays taped to baby gates, and aluminum foil.
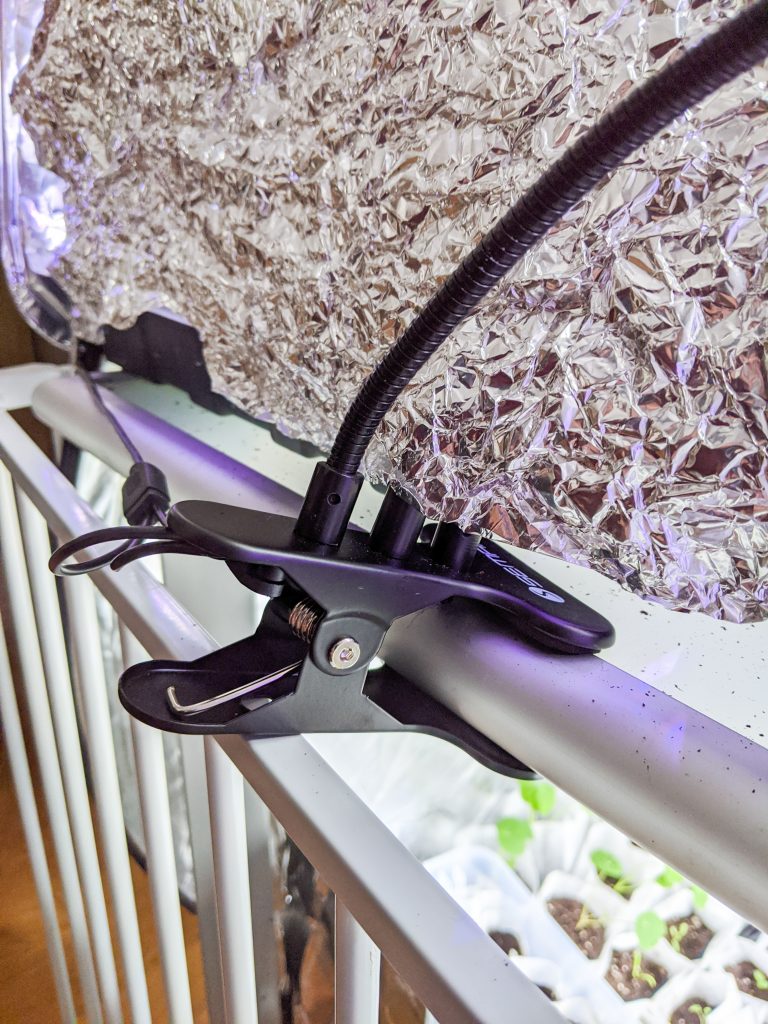
- Get some grow lights. It seems like the light requirement for seedlings is just not compatible with the natural sunlight available in March in Canada. They need, like, 12 or more hours of light! So after hemming and hawing about getting some grow lights (they are kinda expensive) I ended up getting some very basic LED rod lights that can be clipped onto a surface. I think the better solution would be to get one of those two or four feet rectangular lights, but I don’t know how I would suspend them. Also they are hundreds of dollars.
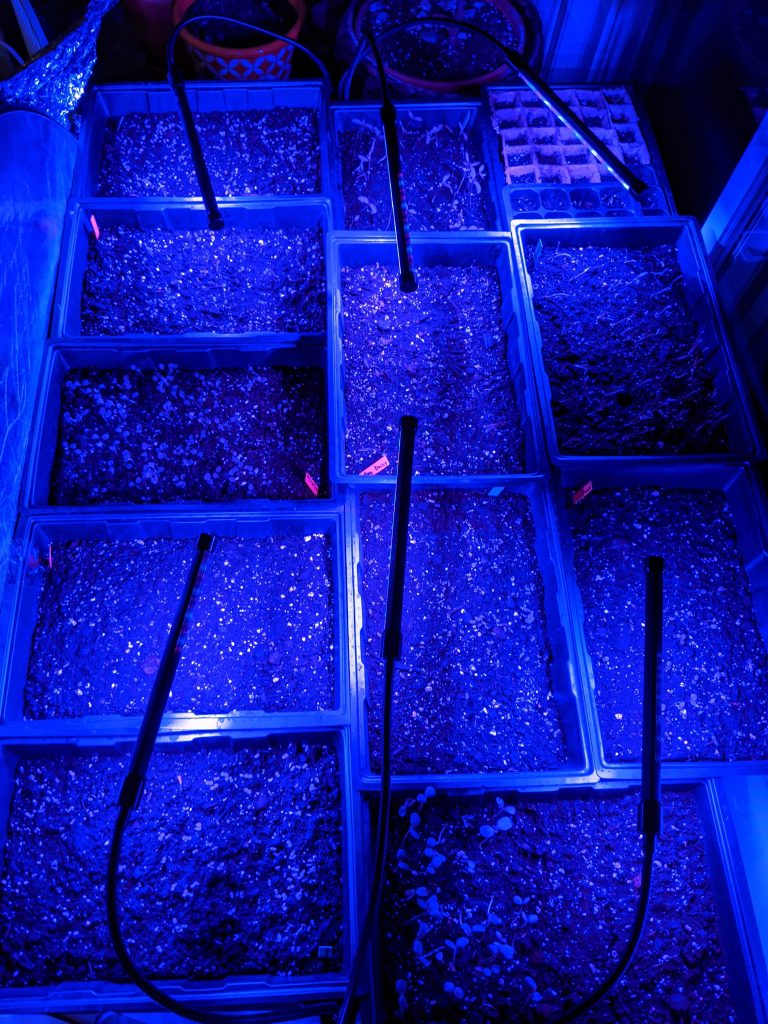
If I decide to do this again, maybe I would consider getting proper grow lights. Also, I didn’t get enough lights for the trays and pots underneath the table by the sliding doors. I figured I would just put the vigourous growers down there who seem to be doing fine with the minimal amount of light. Having the tall reflector there helps to keep them growing straight and they get a good amount of sunlight, at least for part of the day.
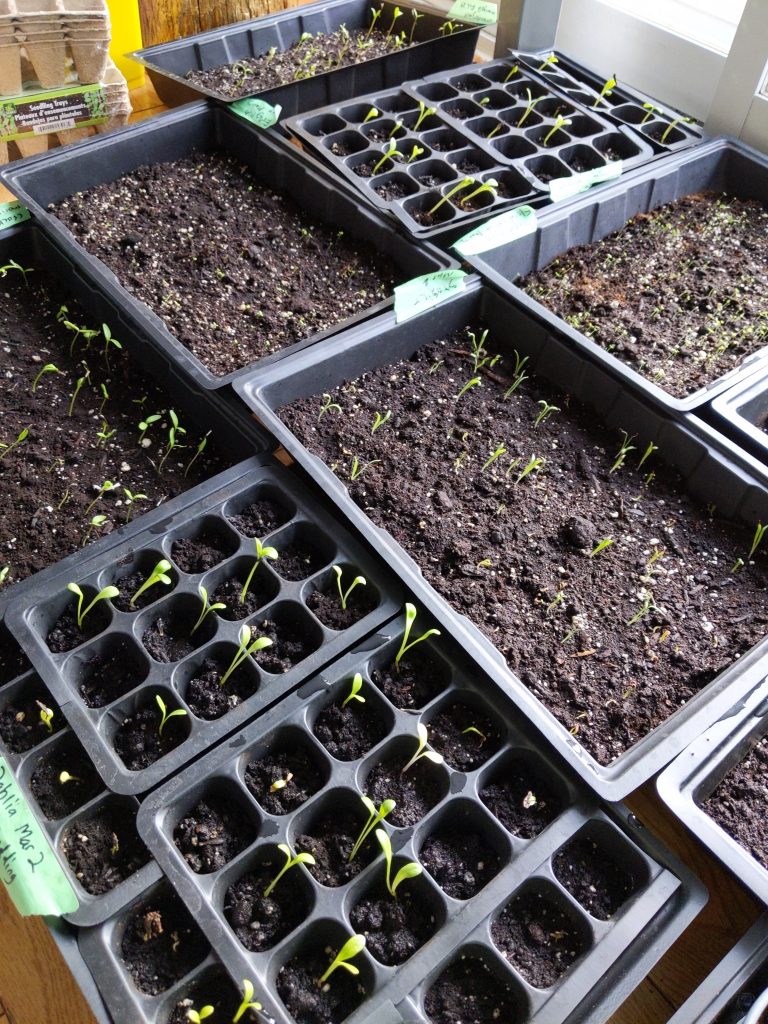
So this is the state of my little grow op! Many of my seedlings are doing pretty well. Some are growing so well, I might have to put them in even bigger grow bags before the weather is ready for transplanting!
If I had to summarize what I’ve learned so far about starting off your seedlings indoors, I’d say:
- Only use the types of trays with cells or pots or grow bags. If you’re concerned about not enough seeds germinating and wasting space like I was, just put two or three of them in each cell/bag/pot, just in case one doesn’t end up germinating. If they all germinate, it’s much easier to separate two or three seedlings than seven.
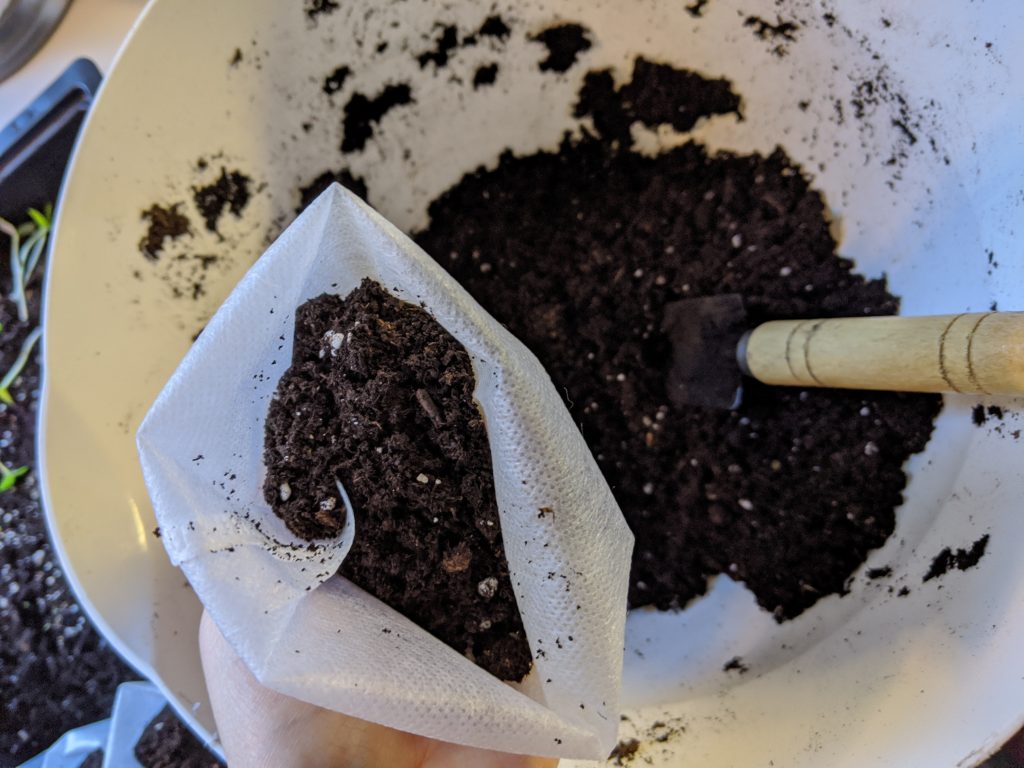
- Pack the soil much tighter and put more in each bag/cell. It keeps the seeds/seedlings from getting pushed around when you water them. I know some people say to water from the bottom, but I just do it from the top anyway. Also, I think having more soil helps the seedlings to grow stronger and sturdier roots.
- Water your soil BEFORE you put seeds in/transplant seedlings. It makes the soil much easier to work with, and again, it prevents the seeds or seedlings from getting pushed around.
- Start fertilizing your seedlings as soon as possible. Most people say to only start when their first set of true leaves come in, but I did fertilize some of my seedlings before that and they seem to be doing fine. Proceed with caution and make sure you dilute the fertilizer, as seedlings cannot handle as much as a regular houseplant.
- Give them tons of light. Get some grow lights and use tin foil or whatever you have on hand to give them as much sun as possible.
In case you’re wondering, here’s a breakdown of how all the flowers are doing:
Vigourous growers:
- Nasturtium
- Dahlias
- Zinnias
Doing well, but slower growth:
- Pansies*
- Violas*
- Marigolds
- Statice
- Snapdragons
- English daisies
- Delphiniums
- Ranunculus
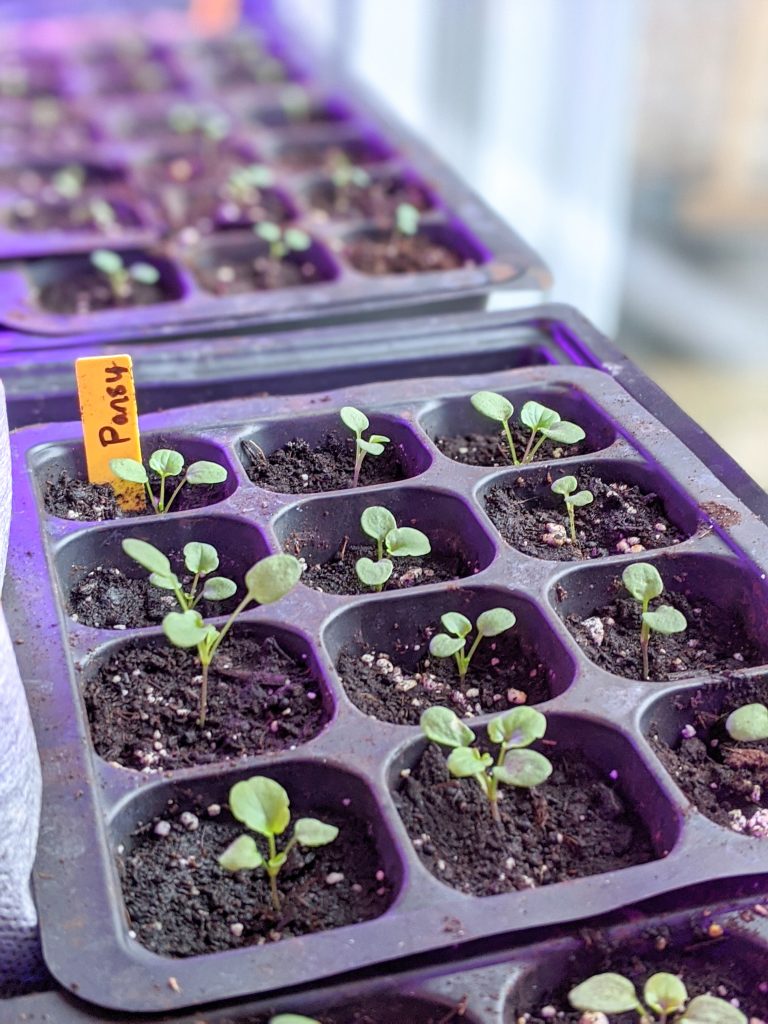
*Apparently these seeds need darkness to germinate. I just put them into garbage bags until I saw some germination, then took them out and put them with the other trays.
Super tiny and I don’t know if they will survive (also I’ve never seen them before, so I don’t know if these seedlings look right):
- Portulaca
Not a single seed germinated:
- Phlox
I have no idea what happened with the phlox, but that was a bit of a disappointment. I wonder if I got a bad batch of seeds. I’m sure I waited a good three weeks and not a single one germinated. Nevertheless, I am quite happy with how well the rest of my seedlings are doing. Only time will tell if they can survive being transplanted into the garden and actually end up flowering well!
Let me know if you have any indoor seed sowing tips to share! I’m still kind of learning as I go and probably won’t know if any of this advice is any good until June or July when we can see the results of all my effort.
I will definitely be coming out with a part 2 post!
xoxo