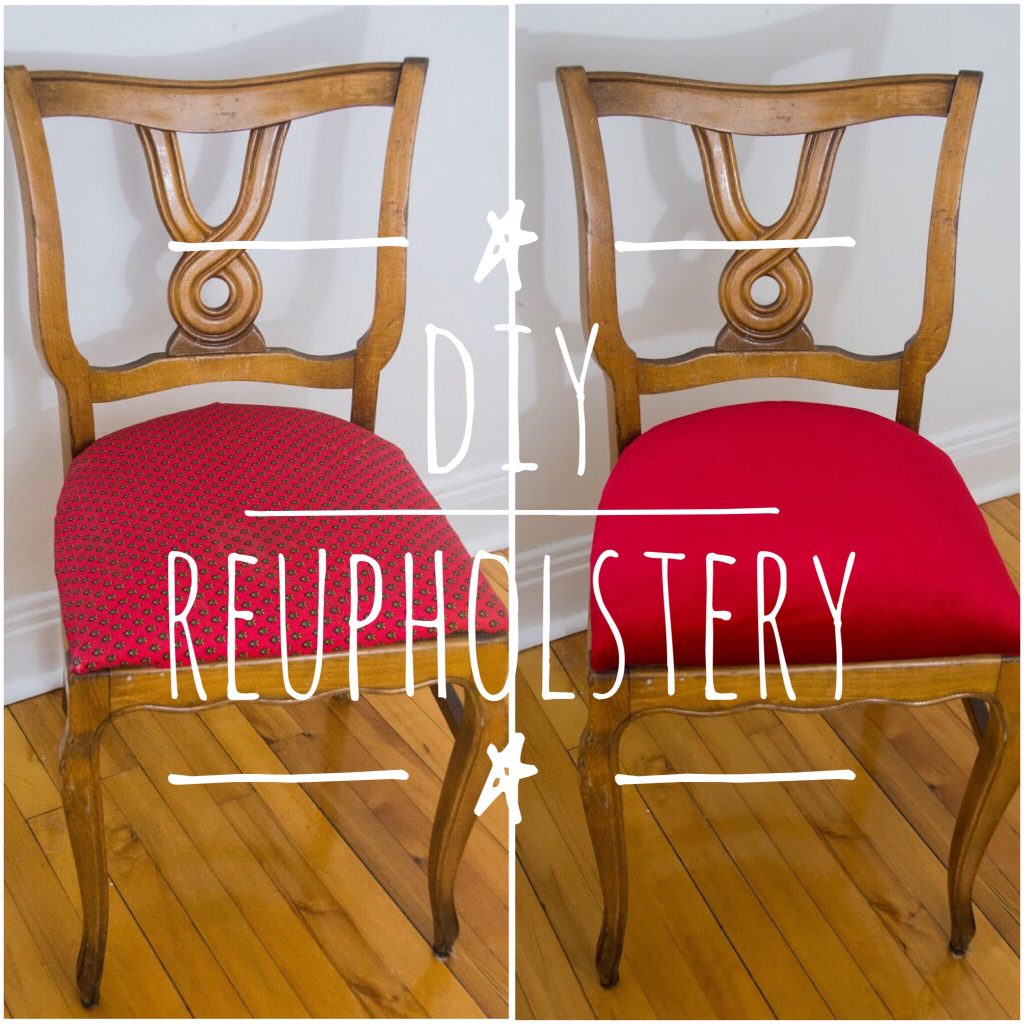
After a recent excursion to one of my favourite secondhand haunts for used/vintage furniture, we came home with a couple of new dining chairs, one of which had some pretty dated upholstery with several unsightly stains. But it was only $20 and the wood frame was lovely, so we got it anyway with the idea that I would reupholster it.
I’ve never tried reupholstering before, but I think this was a great introduction to it. It was super easy to take the seat off, slap on some new fabric and make it look like a million bucks. Here’s how I did it:
Materials
-screwdriver
-staple gun
-scissors
-chalk

1. Remove the seat from your chair
This might not be as easy as it sounds, depending on the chair you want to reupholster. Luckily, our seat easily unscrewed from the frame of the chair. I didn’t even need a drill, a simple screw driver did the trick.

2. Trace and cut your fabric
Lay out your fabric with the good side facing the floor and place the seat on top of it with the underside facing up. Trace the outline of the seat into the fabric using chalk. You should leave plenty of extra fabric on all sides so you can hide the undone edges neatly on the underside of the seat.
Depending on the fabric you want to use, you might have to use fabric scissors. I decided on a red velvet fabric which was pretty easy to cut just with regular scissors. Since the edges of the fabric will be hidden underneath the chair, you don’t have to be too neat or precious about this.

3. Staple the corners of the fabric to the chair seat
I did the corners first, so it would be easier to hold the whole piece of fabric in place while I worked. Also, this way, you can be sure all the sides are even from the get-go. You want to make sure the fabric is pulled taut to make it less prone to wrinkling when you sit on it. I used a regular fabric staple gun from Michaels.
4. Staple the rest of the fabric to the chair seat
Check the good side of the seat periodically as you work, to ensure the fabric looks good the way you are gathering it. While you are working, you should mark where the original screw holes are on the fabric with the chalk. This isn’t strictly necessary, but it will make it easier to screw the seat back the frame. Once it’s stapled all the way around, you can trim off the excess if there is any and cut out holes in the fabric where the screws would go.
5. Reattach the seat to the chair

Now, I realize that we have the easiest possible chair scenario to reupholster. I know not every chair will be so simple and I wouldn’t even know where to start with an armchair or sofa.
But this is a great way to breathe new life into your old furniture or if you’re on the hunt for something specific, don’t let a rough exterior stop you from adopting a piece that has good bones. There’s nothing a good DIY project can’t fix!
xoxo


