
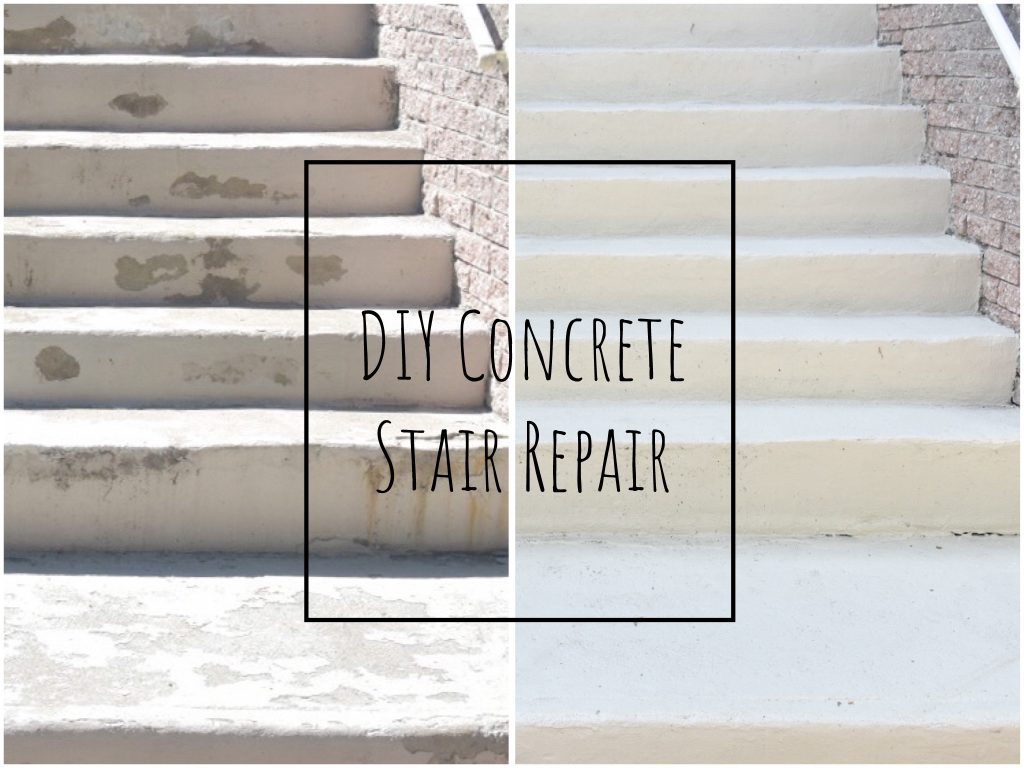
One of the most urgent home repairs I wanted to make sure we finished before winter sets in, was finishing our DIY concrete step repair. If you haven’t read my Part I post, you can check it out for more detailed steps on the actual concrete repair process, which I won’t be going over in this post.
Once again, Kyler took the lead and basically did everything, but in my defense, I wasn’t around at the time. And unless you have multiple sets of tools, this is really more of a one-person job. Here’s how Kyler finished repairing our concrete steps before the snow sets in:
Materials
-all the materials mentioned in the Part I post
-dust mask
-eye protection
-work gloves
-face protection
-hand paint brush
-paint roller with very thick rollers
-TexNov concrete conditioner
-TexNov acrylic coating
-TexNov MET-30 sealant
-angle grinder with diamond cup wheel

1. Grind off the old paint

Be sure to wear all the protections (ear, eye, breathing, etc.) for this! This was probably the most time-consuming step in this whole process. It took Kyler three goes to get off most of the paint. You don’t need to get every speck off, but rather, make the surface as smooth as possible so your hard work doesn’t just chip off immediately due to a super uneven/loose base.

Pro tip: spraying the surface with water while you grind, helps to keep it from getting too dusty!

2. Dismantle wooden box
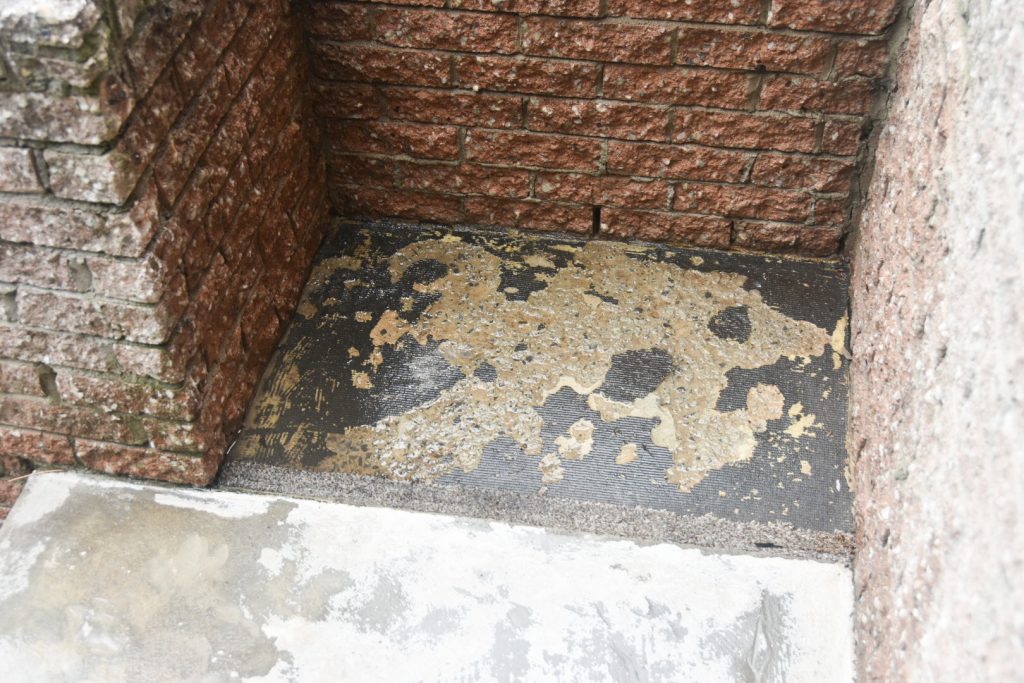
Our front porch had a sort of waist-high wooden enclosure which I believe the old owners of the house used to keep their garbage. We never used it so we decided to remove it and low and behold, any time we go to peel away the layers of our house, we end up finding something kinda weird. I mean, it wasn’t that weird, it was basically really rough, worn and unfinished concrete underneath. But because it was so textured, Kyler decided to refinish it to give it a smoother surface.

He washed it, used a wire brush to remove all the loose parts, cleaned it well, and basically set a layer of new concrete over the area. It looks much better now!
3. Fix concrete chips

There were several spots on the steps where the concrete had chips and entire chunks missing. Using the Part I method, Kyler repaired all the broken concrete parts, but he used a different concrete mix than last time. As always, you should use your preferred brands/products (’cause I don’t think it really matters).

4. Clean/condition stairs
To prepare for the new paint, Kyler cleaned the steps really well using the concrete conditioner sold by the same company that makes the acrylic coating we wanted to apply. He just followed the instructions on the packaging and let dry for a day.
5. Paint steps

Instead of regular patio or concrete paint, we did a bunch of research and decided to use an acrylic coating made by a company called TexNov. We were not impressed with the original paint job on the steps (just look at how badly it chipped and lifted off the concrete!) so we decided to try this type of heavier duty concrete coating.

Kyler used a hand brush to paint the edges and a regular paint roller with a really thick foam roller for the rest of it. The thickness of the roller increases the texturized look of the paint, so if you don’t want that, get a thinner roller. He did two coats of the coating with a day of drying in between.
6. Seal steps

Once the coating dried, we applied two coats of sealant, made again by the same company as the coating. We used their MET-30 sealant, which kind of gave the steps a bit of a shiny finish. I’m not sure if their other sealants give a different finish or not, but I don’t hate the look of it. And if it lasts, I’ll be very happy, regardless of the finish!


So there you have it! I’m quite pleased with how this DIY turned out. I think the steps look so much better than they did before. Hopefully, they will be able to withstand the harsh winter with all the shoveling, ice, and salt. At least, withstand it much better than last year. Only time will tell!
Let me know if you try this yourself, I’d love to know how it turns out!
xoxo
Hi, so you did this concrete steps painting 2 years ago. How did it survive the Montreal winters? Did you need to re-do partly after 1 or 2 winters? Did it chip?
I am thinking of doing something similar, but do not want to have to redo it every year, so your insights would be great! 🙂
Thank you,
Cristina (from Montreal as well)
Hi Cristina! Sadly, it did end up chipping after about a year, and we redid it slightly differently and it chipped again this year. We are thinking the type of concrete mix we used may have been the problem, but at this point, we aren’t really rushing to redo it a third time, so it’s hard to know what the problem is. 🙁
Very good repair. It is beautiful and clean.
Thanks!