I’m not gonna lie guys….I started thinking about baby Halloween costumes since before Theo was born, haha! There just aren’t that many opportunities to dress them up as you please before they start forming their own opinions about what they want to wear. That’s right. He’s pretty much just my doll.
And Kyler has some kind of weird psychological block when it comes to wearing costumes, so I’ve never been able to talk him into doing a couple’s costume with me. I was very excited to do coordinating costumes with my other favourite guy. And who would’ve thought, all it took was the idea of Theo and I doing a duo costume, and leaving Daddy out, to get him on board!
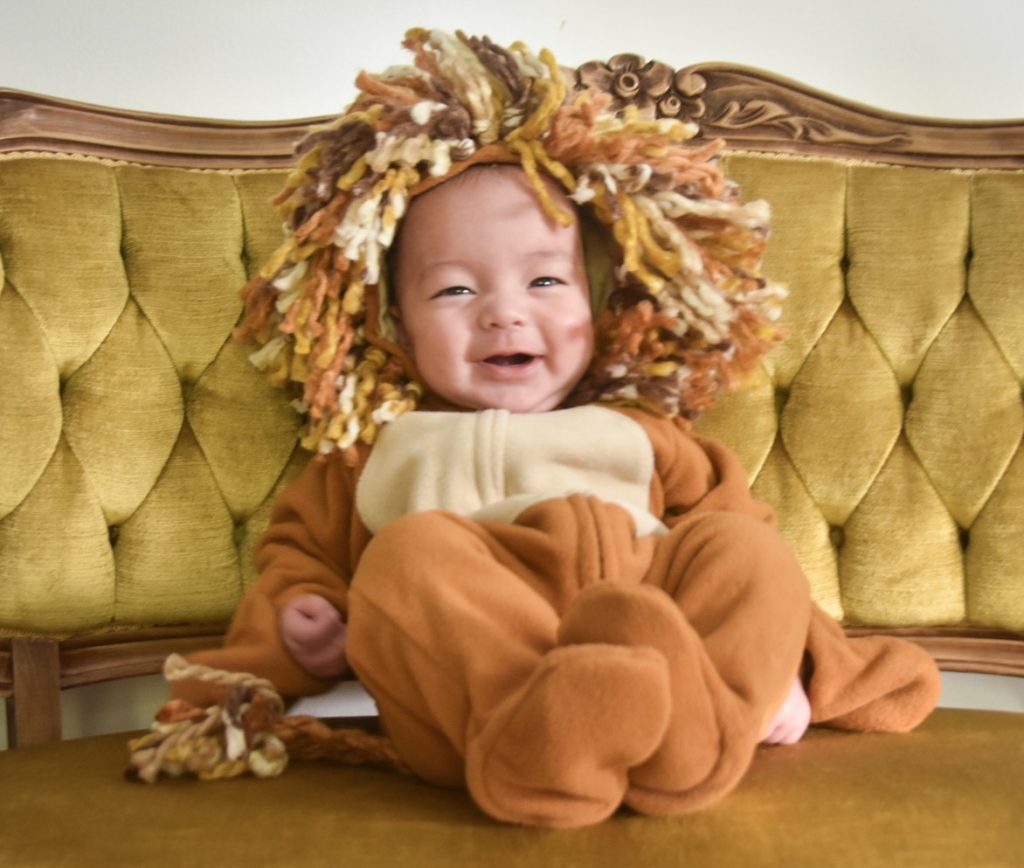
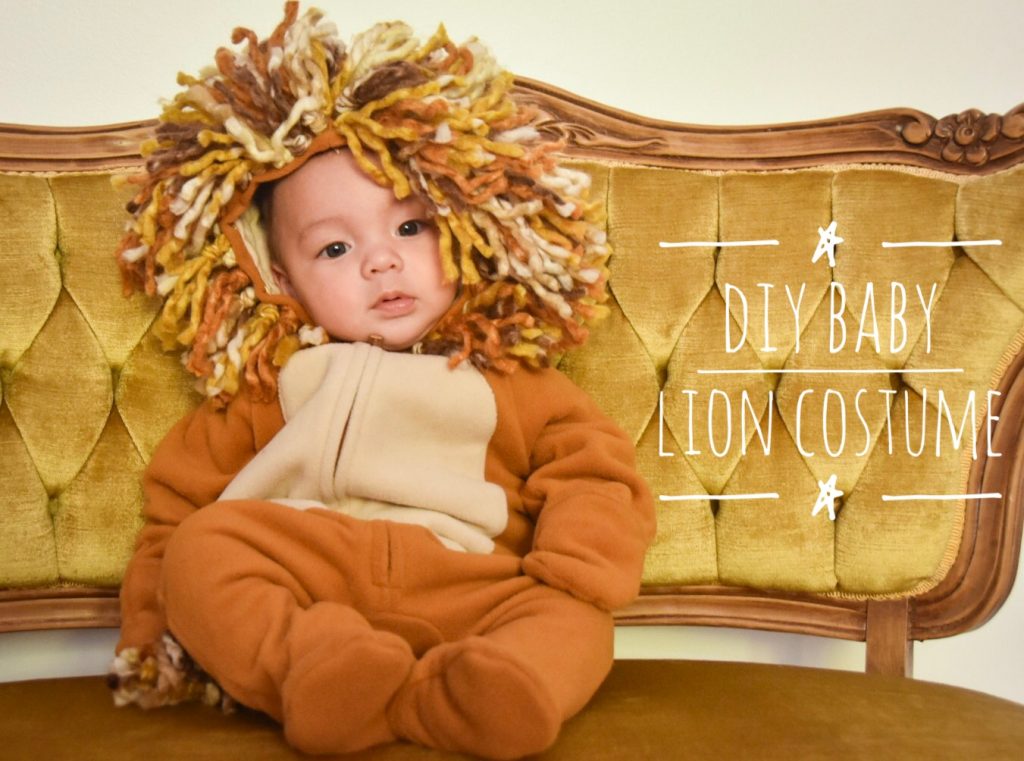
I’m doing a separate post about our family costumes later, so in the meantime, here’s how I made Theo’s baby lion suit!
Materials
-brown/yellow/orange yarn
-orange or brown hooded onesie
-thread
-small sewing needle
-scissors
1. Cut up yarn into pieces
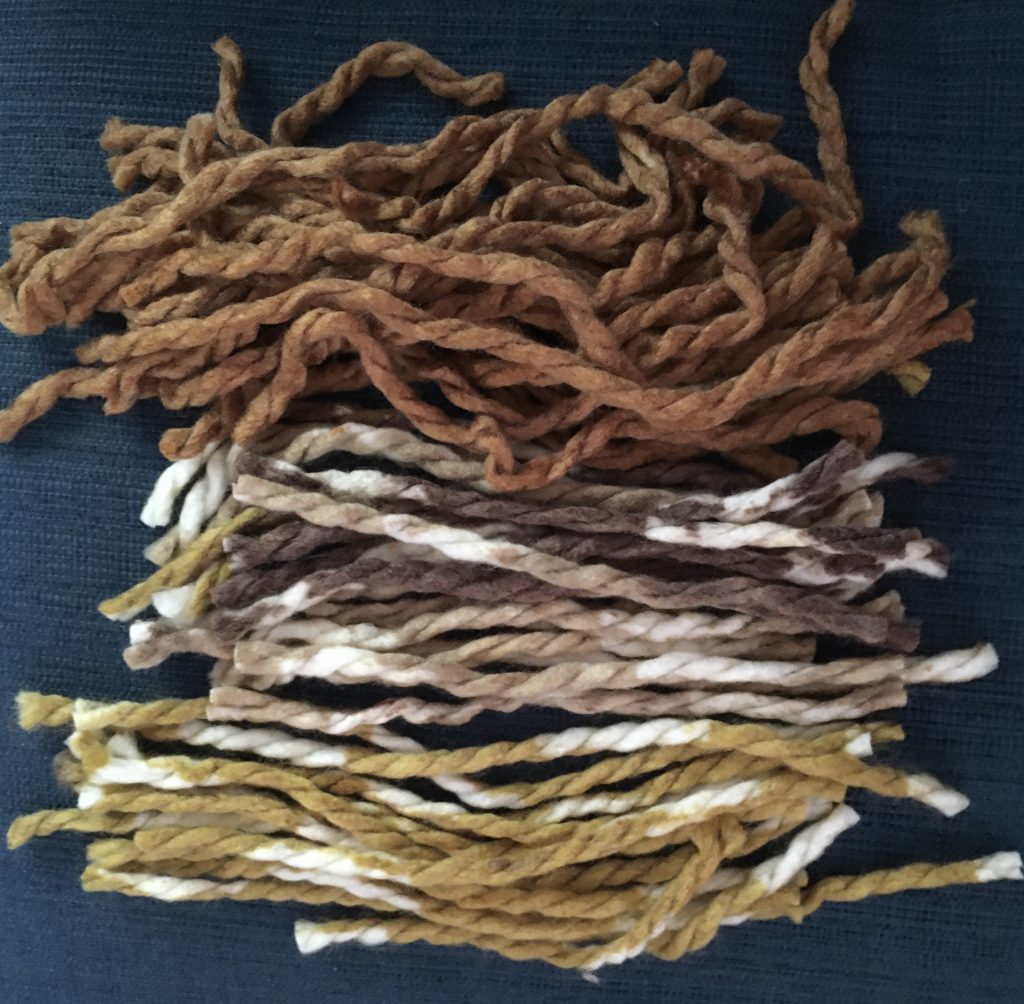
Cut up your yarn into pieces that are about 5-6 inches long.
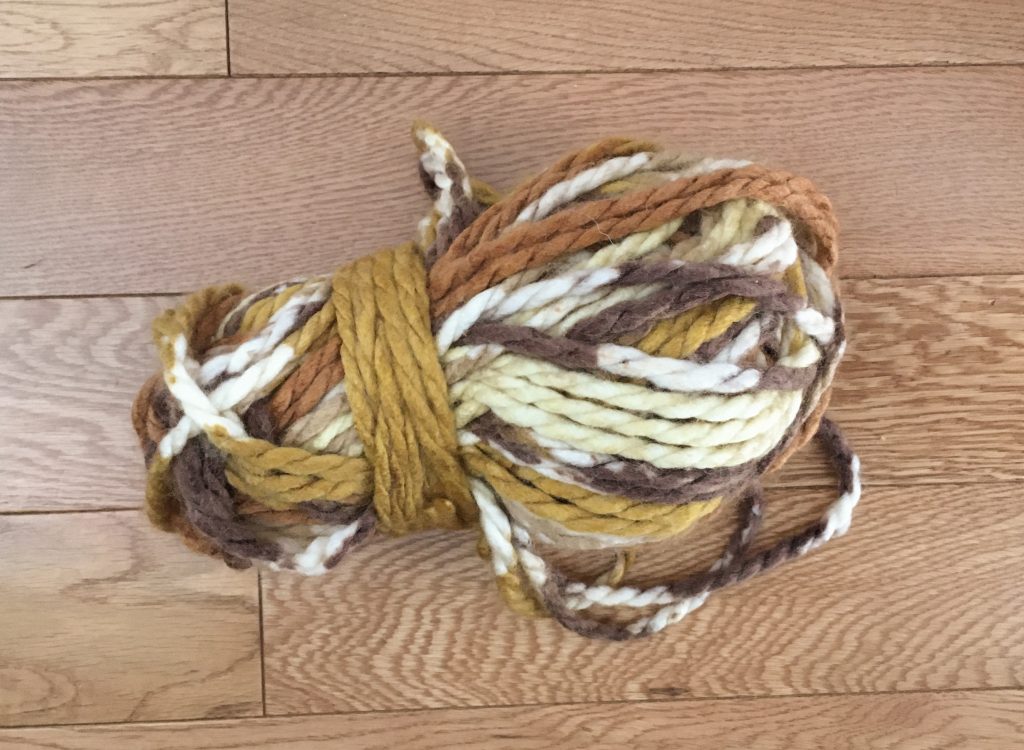
I found this multi-coloured yarn at Michaels on clearance and thought it was just perfect for a lion’s mane! You don’t have to use a multi-coloured yarn necessarily, you can just go with one solid colour. It’s also easier to work with a thicker/bulkier yarn if you can.
2. Sew loose stitches to hood
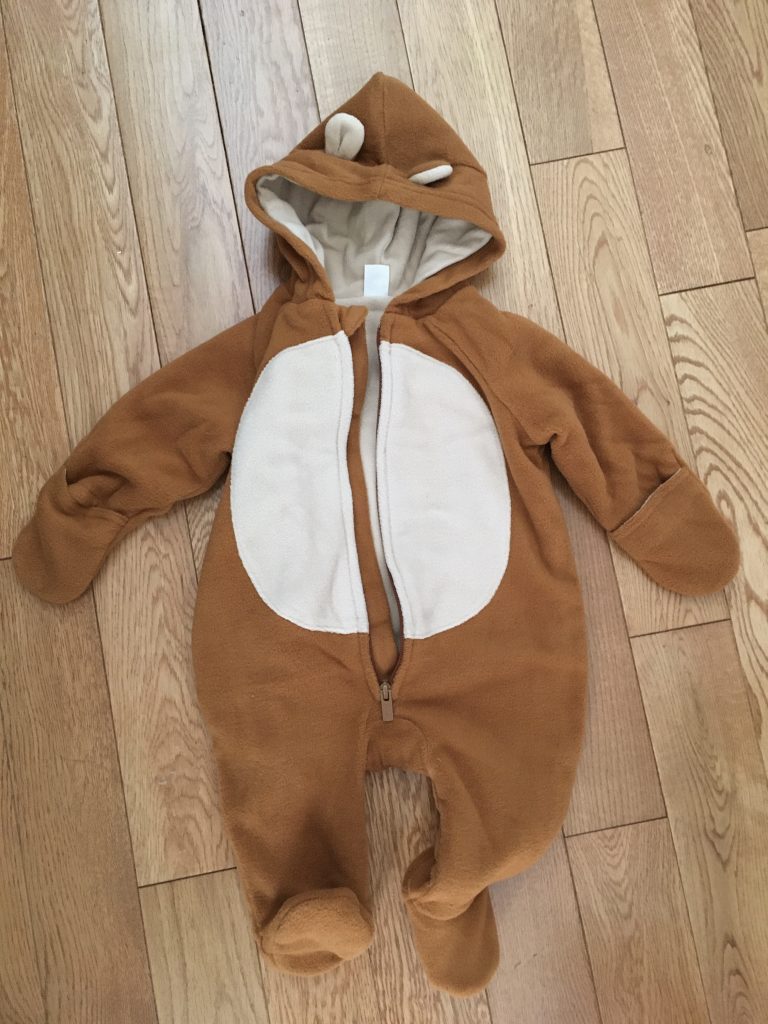
I made it as easy on myself as possible and bought a cute animal onesie with a hood to make this costume with. You can also just get a coordinating pants and shirt set with a hat, or use whatever you have on hand. The important thing is to use a good hat.
String some thread through a sewing needle and knot it closed. It doesn’t matter what colour the thread is because it’ll be hidden later. Starting on the inside of the hood, sew through to the outside of the hood, move around 1-2 cms in any direction, then sew through to the inside of the hood, move another couple of cms and sew through to the outside again. Make sure each stitch is very loose.
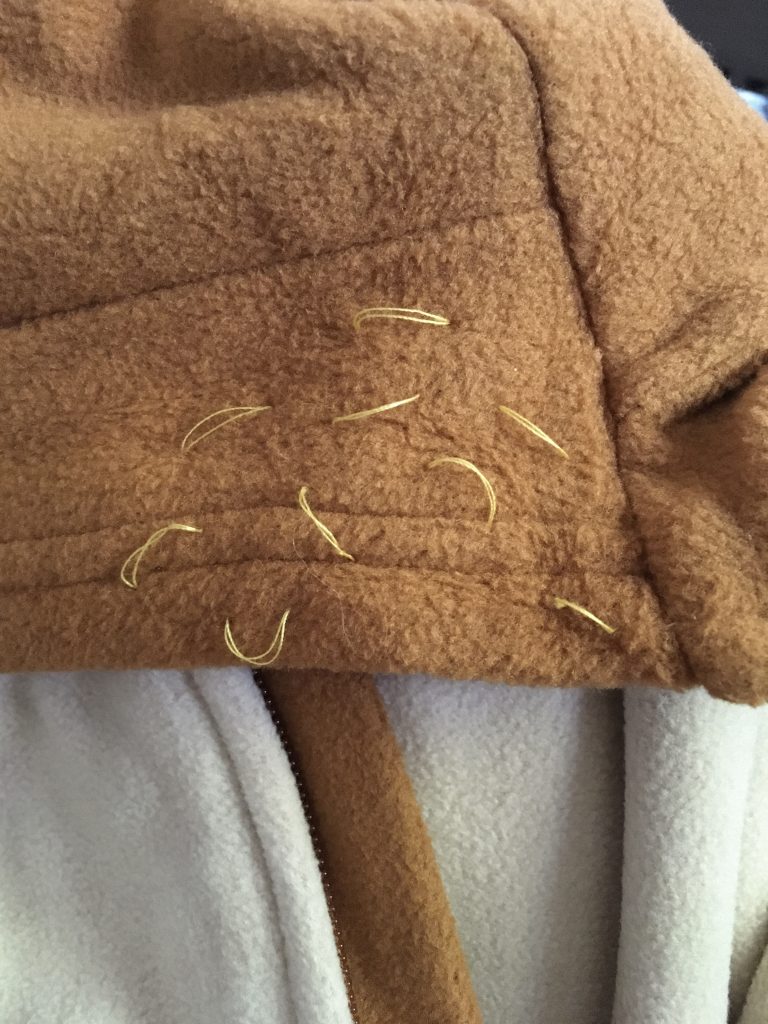
Repeat in a haphazard pattern until almost the entire piece of thread has been sewn. I think the mane looks more wild when you sew random patterns, rather than a straight line.
I also found it helpful to NOT tie off the thread and cut it from the needle once the stitches were in because it’s important to leave them quite loose. You won’t be able to fit the yarn pieces through each loop otherwise, and I found that as I started attaching the yarn, the whole piece of thread would get pulled tighter and tighter. By leaving a few inches of unstitched thread with the needle intact, you’re giving yourself some extra wiggle room in case you need to loosen the stitches more as you go.
3. Attach yarn to hood
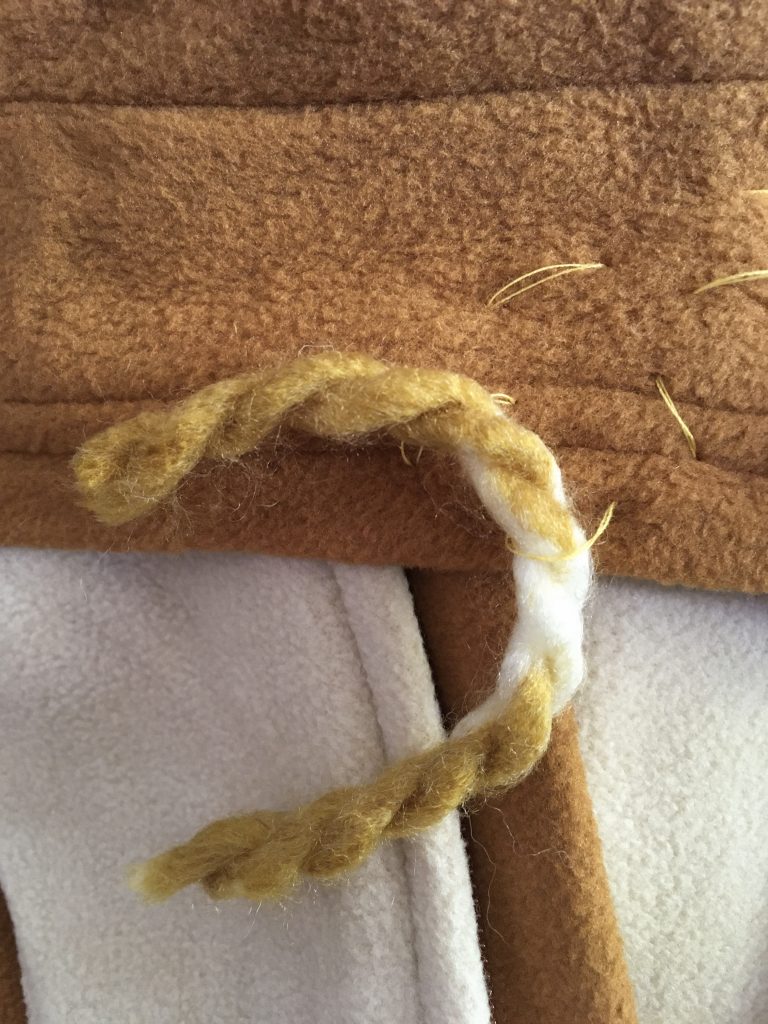
Pull a yarn piece through one of the loose stitches.
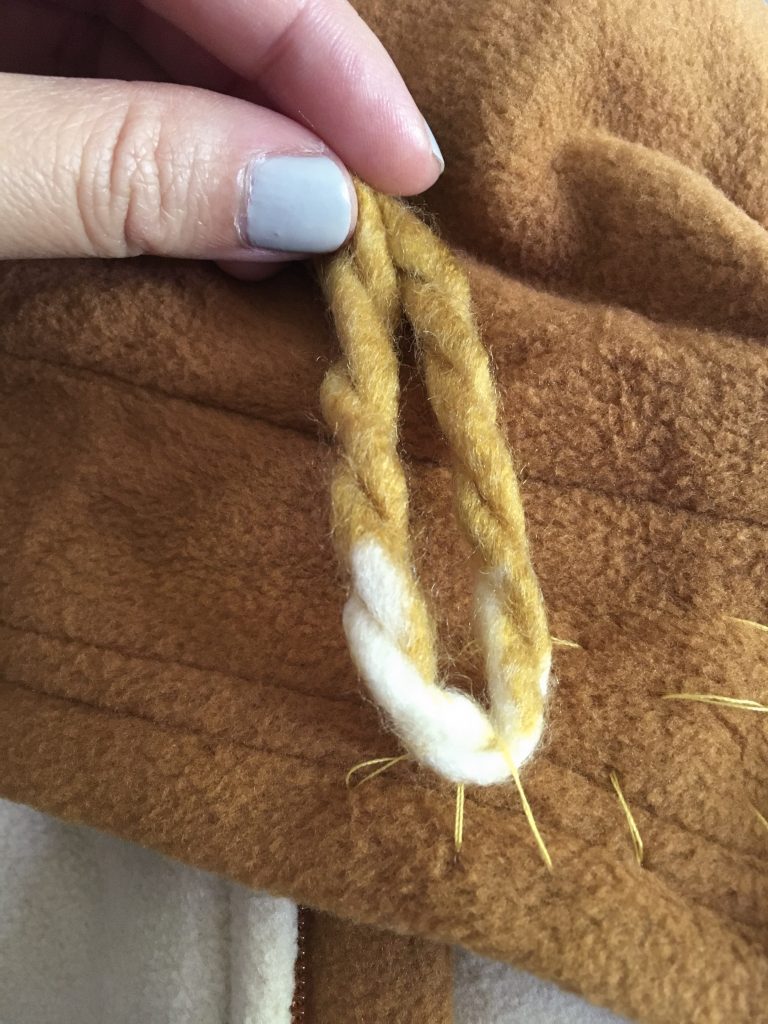
Pull both ends together and wrap them around your finger.
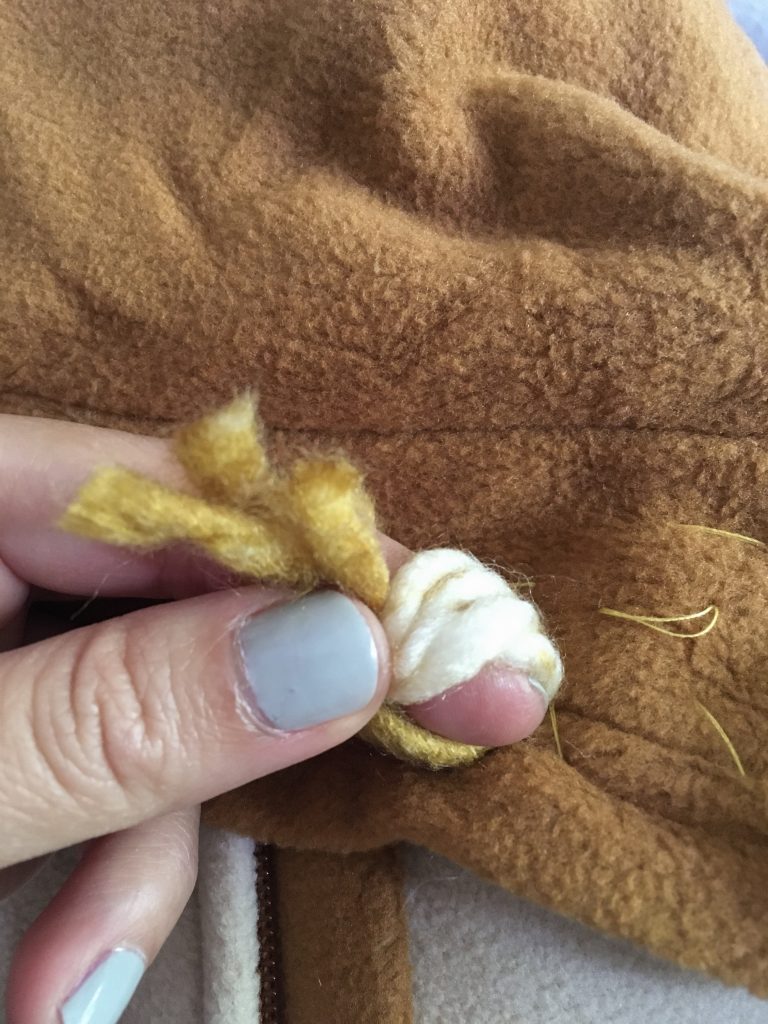
Pull both ends through the hole and pull the ends tight.
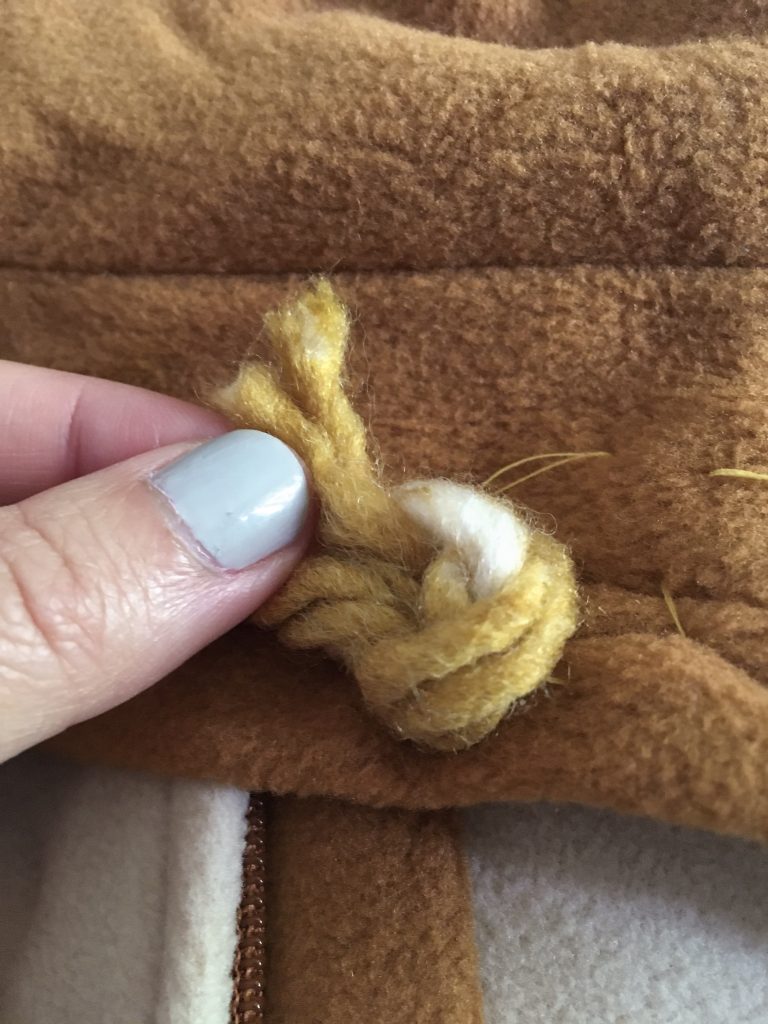
Knotting the yarn like this will ensure the ends stick up instead of out to the sides.
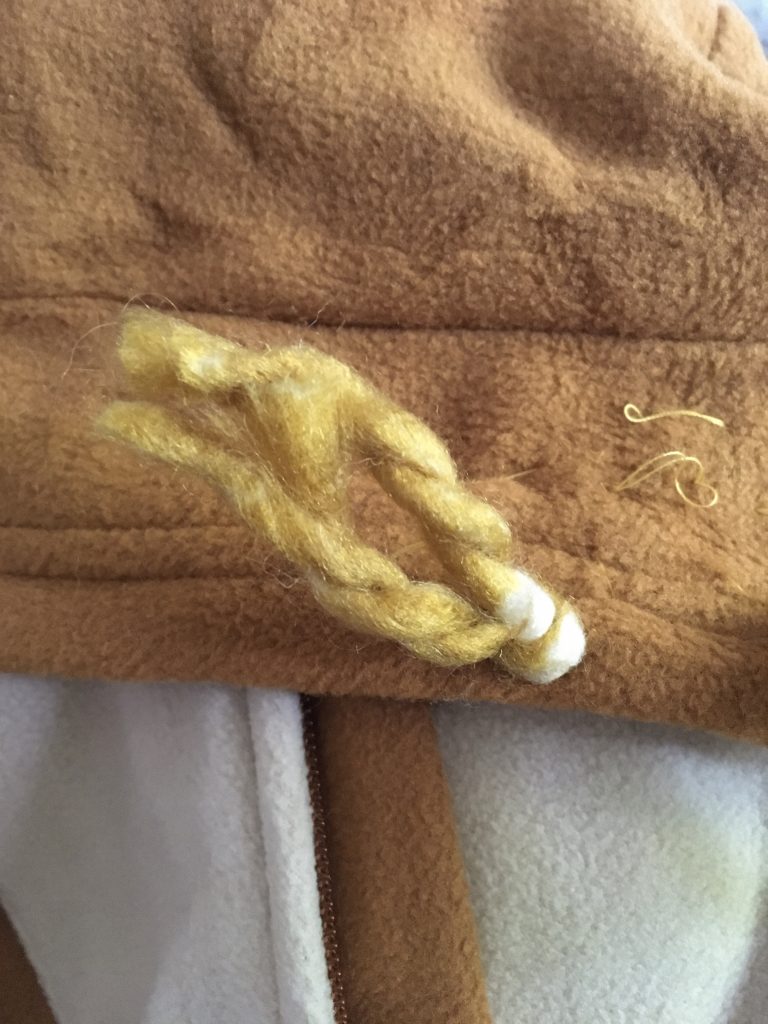
Once the yarn pieces are knotted securely, unravel the yarn ends. I think it makes the mane look even more full and wild.
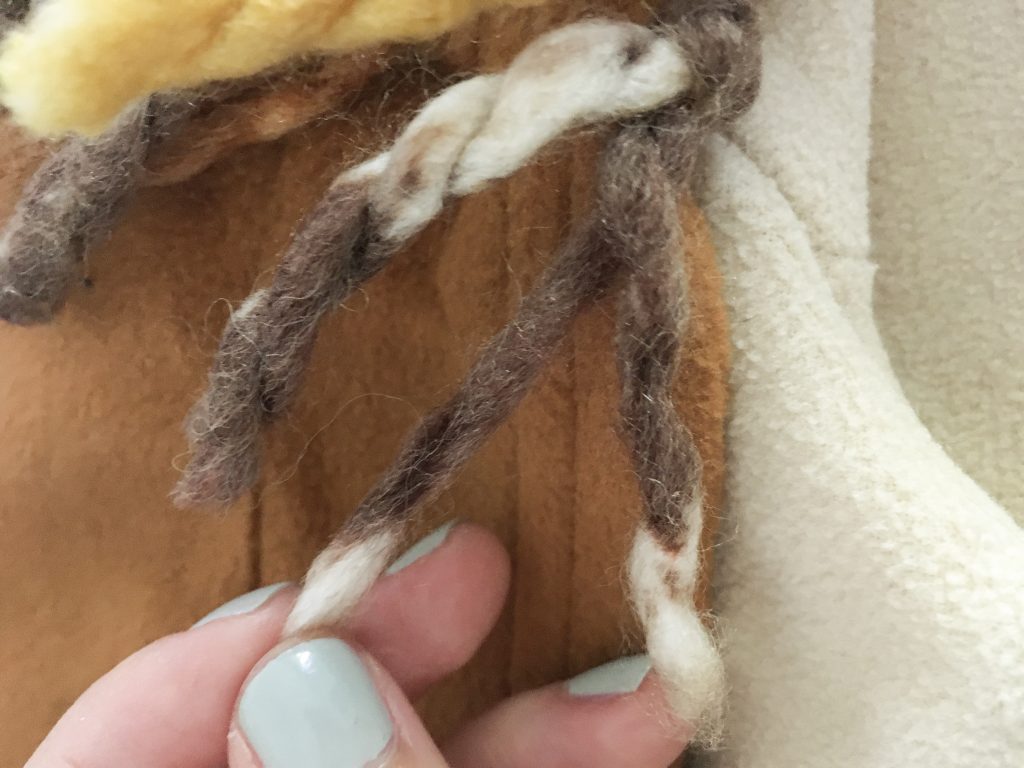
Repeat until the entire hood is covered!
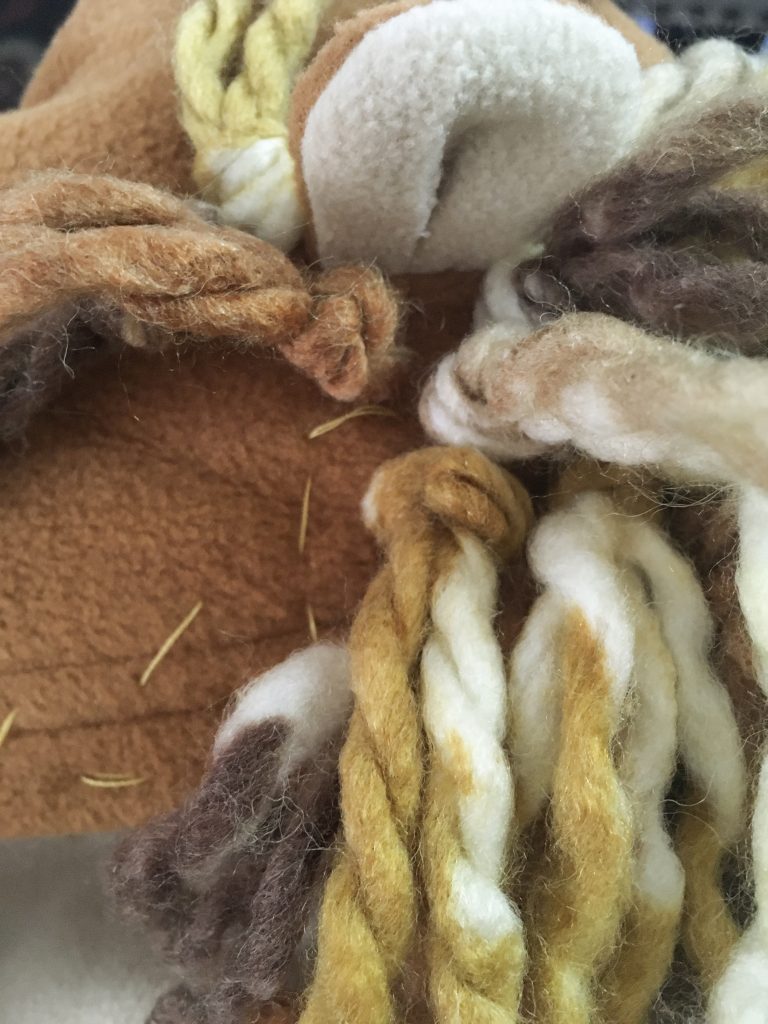
4. Make the tail
Ideally, I would have used some fabric in a similar colour to the onesie to make the tail, but I did not have anything similar on hand, and then I noticed, the orange portions of the yarn I got are the exact same colour as the onesie I got. So I improvised!
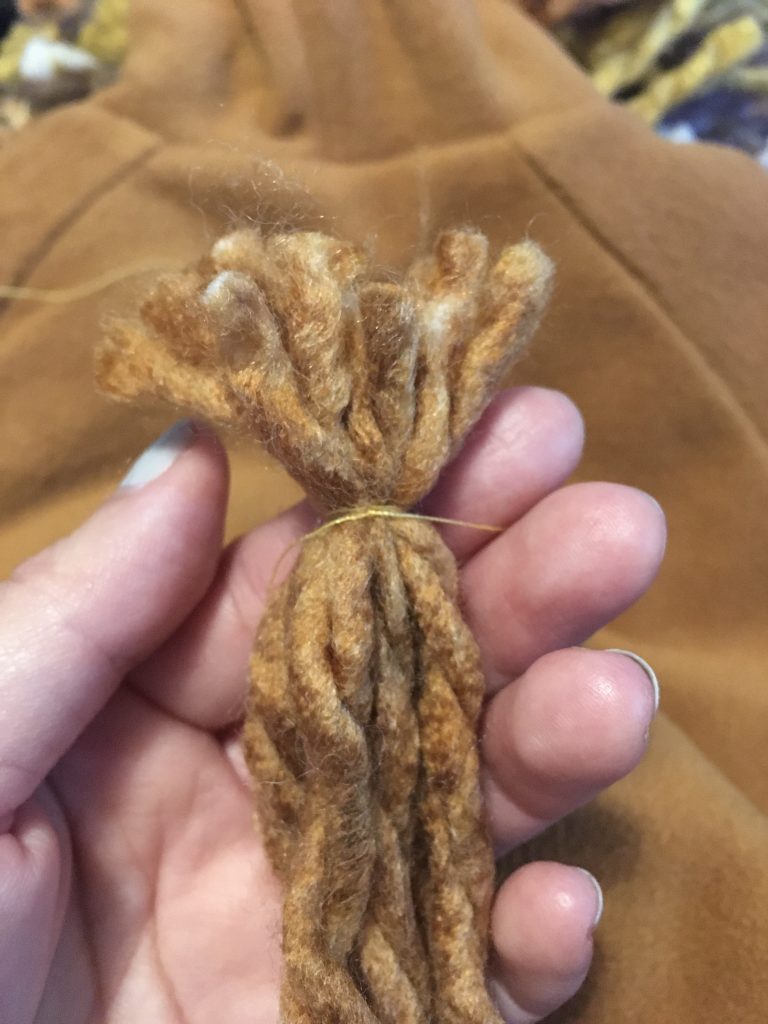
I took six pieces of pre-cut yarn and tied them all together with some thread. Leave one end of the thread quite long.
String the long end of the thread through a needle and knot it closed (as you normally would), except that instead of two loose ends of thread being knotted together, it’s one loose end and one end that’s attached to the bundle of yarn. Tie the knot as close to the bundle of yarn as possible.
Start sewing the bunch of yarn to the bottom of the onesie by sticking the needle through the back, from the outside to the inside, and then back out, wrapping around the bunch of yarn. Repeat several times, until the tail feels securely sewn on.
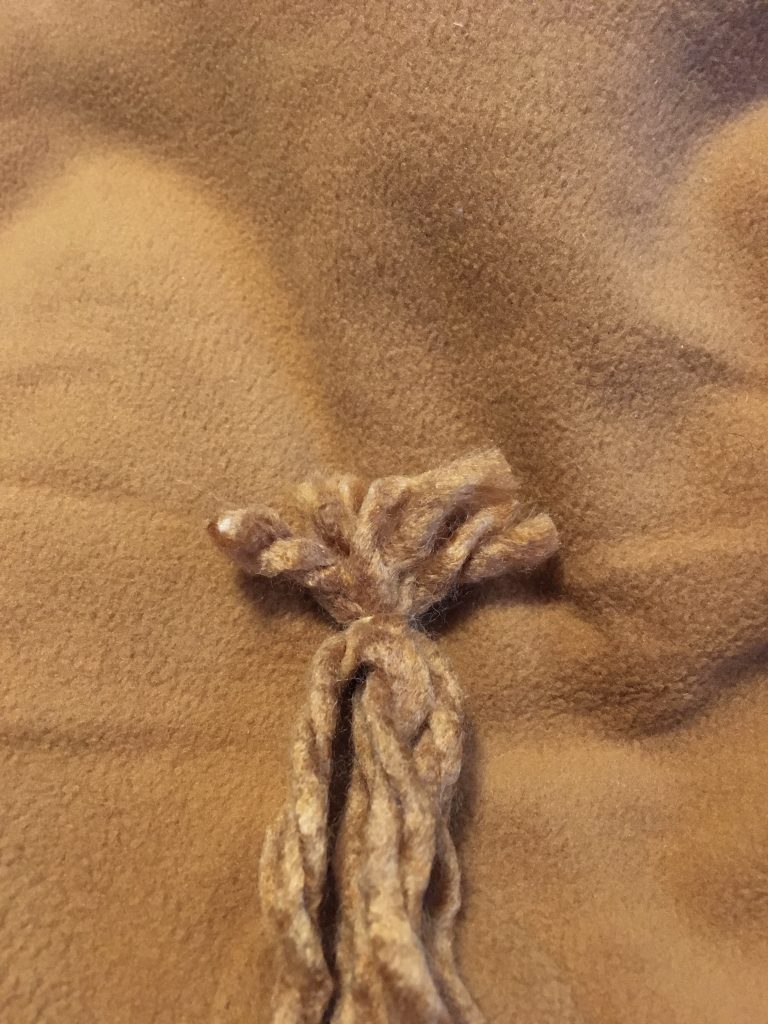
I think tying the individual pieces of yarn together BEFORE trying to sew them onto the onesie with the same piece of thread, makes the whole thing more secure.
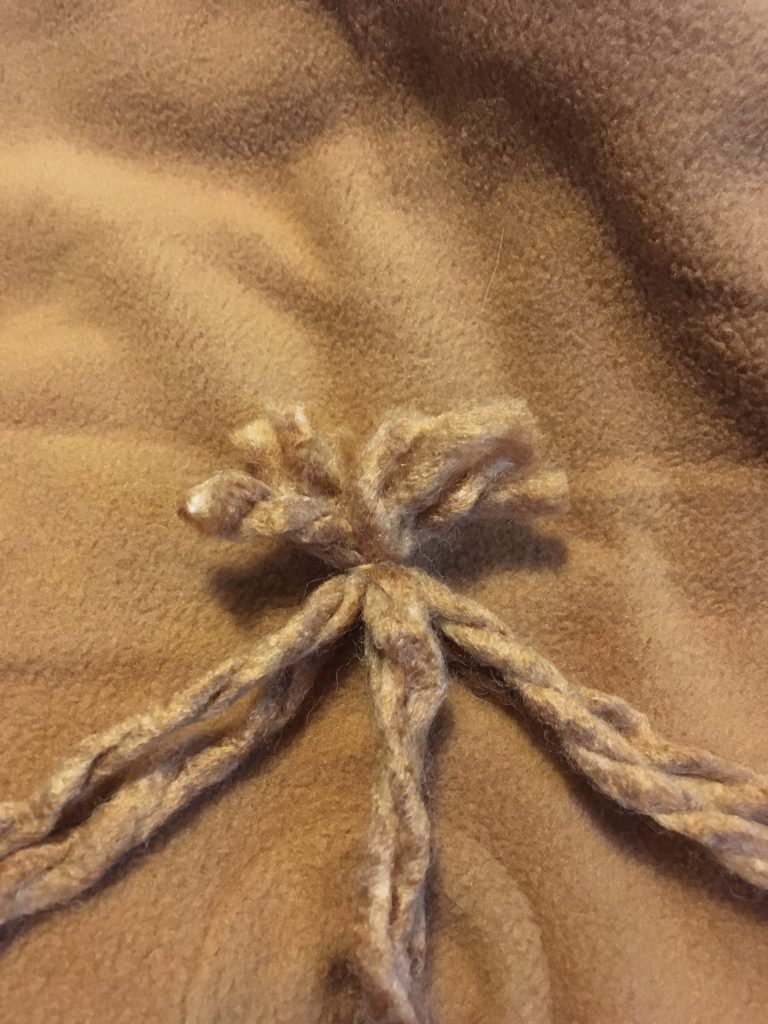
Now, separate the yarn into three sections of two. Braid the sections into a loose braid leaving the bottom 2-3 inches unbraided.
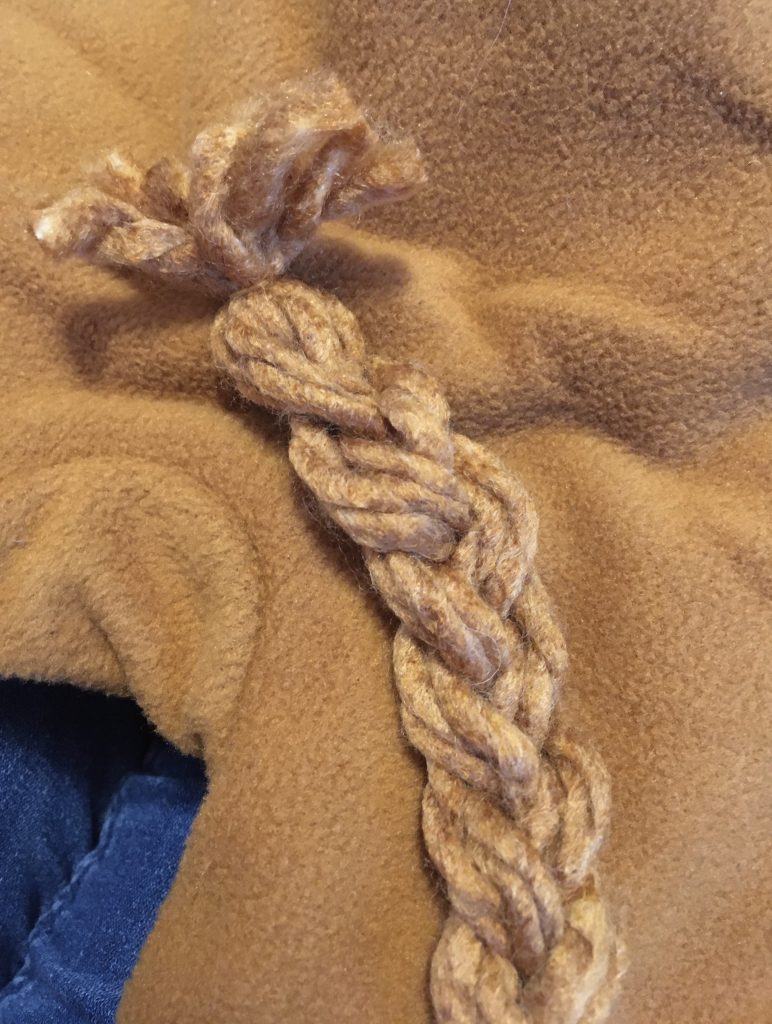
Take other pieces of yarn in different colours and lay them with the loose end of the tail.
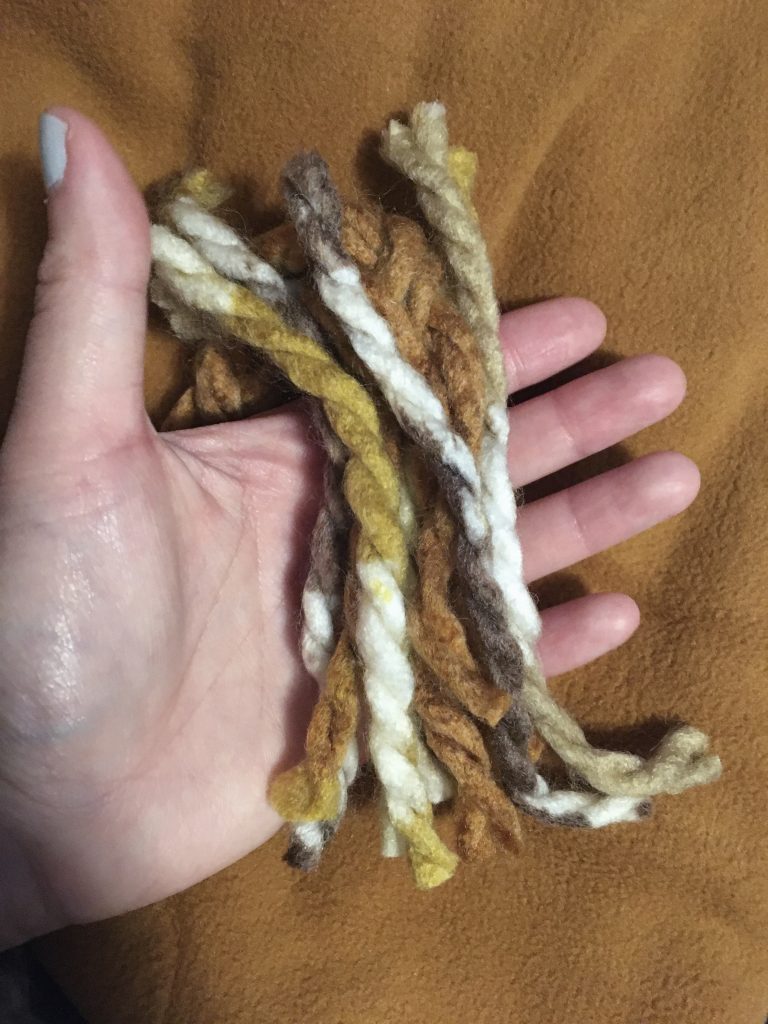
Tie all the end pieces together about halfway down with some thread.
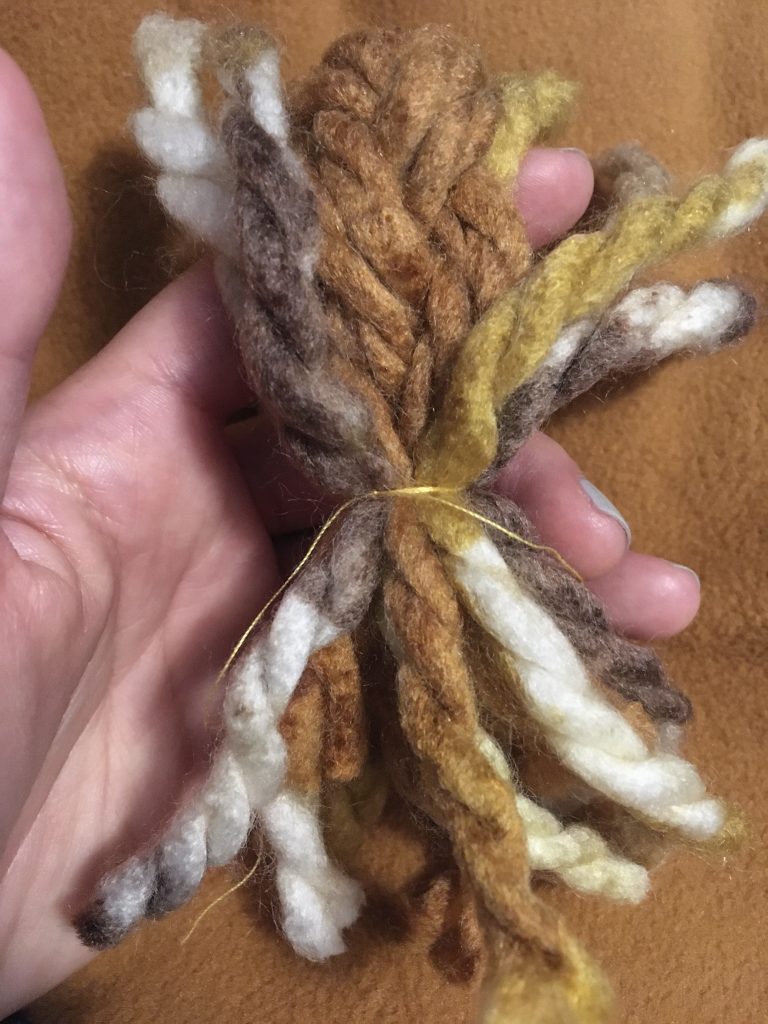
Fold the top ends of the yarn pieces over the thread to create the bushy end of the tail.
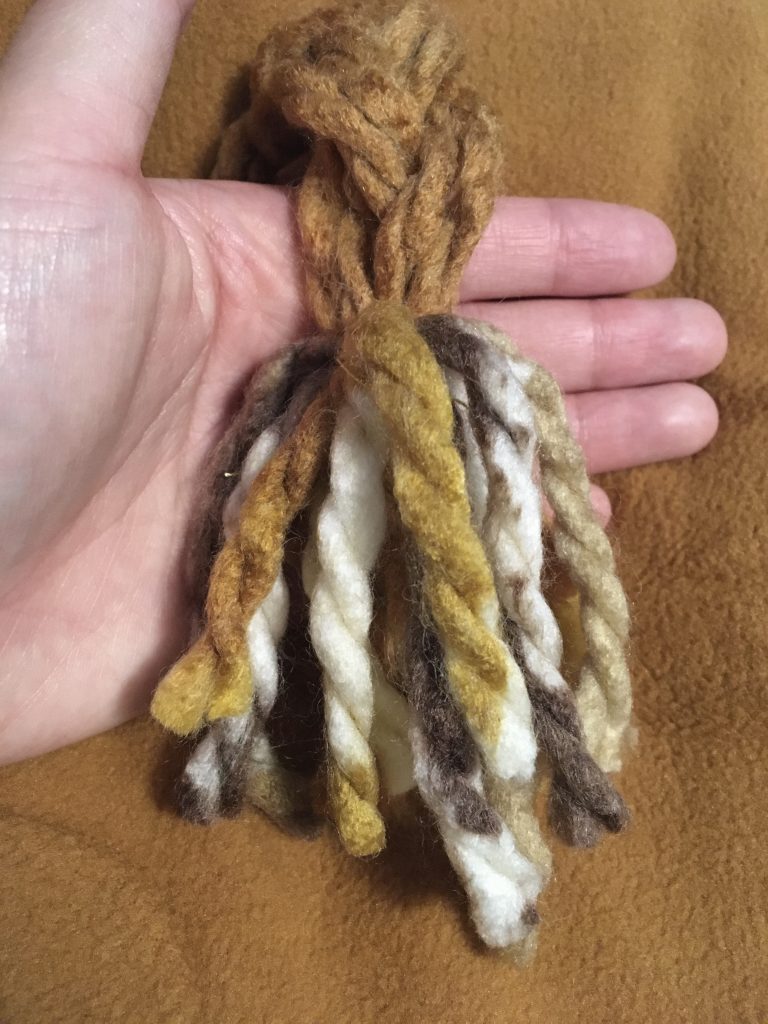
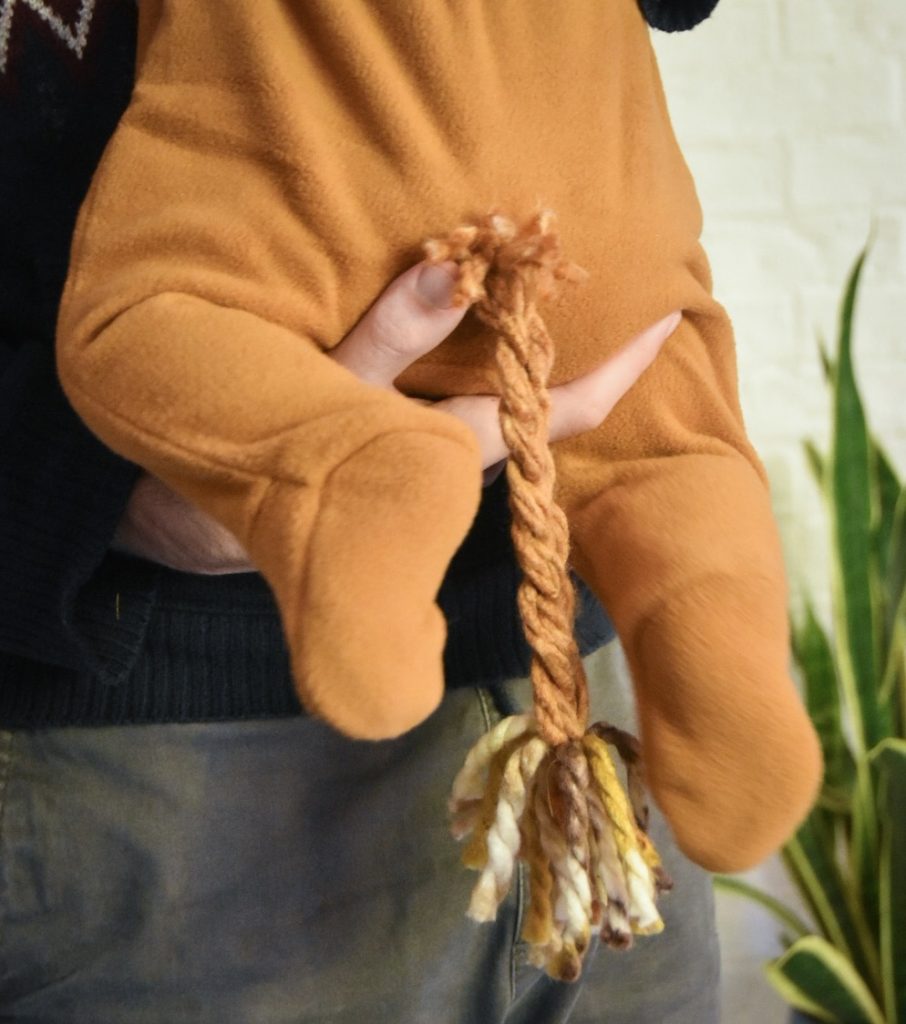
And once you try the costume on your model, you may notice you have to tidy the mane or tail up a bit by trimming some of the yarn here and there. Obviously, take the costume off the model before you do this!
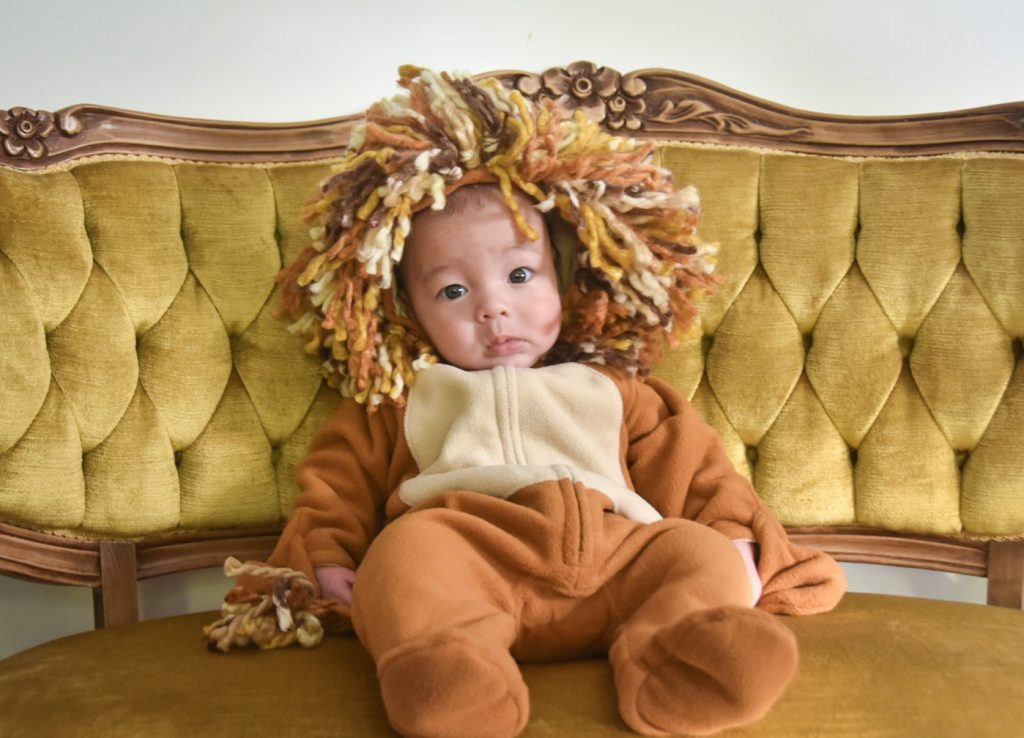
And that’s it! A super easy costume for your baby this Halloween.
Theo looks even cuter than I imagined he would! I can’t wait to reveal our family costumes in a later post. Do you have any guesses about what we might be?
xoxo

This looks so cute, but I really don’t understand what you did with the stitches on the hood. Can you please help clarify?
Sure! I was basically making loops with thread all throughout the hood. You push the needle from the underside of the hood through to the outside of the hood and then back down through to the underside WITHOUT pulling the thread taut each time. The loose thread on the outside of the hood then acts like a loop that you can tie the yarn to. You do this throughout the whole hood until you cover it with loose thread loops. Does that help?
Thanks! I made this and it was adorable.
Yay, so glad it worked out!