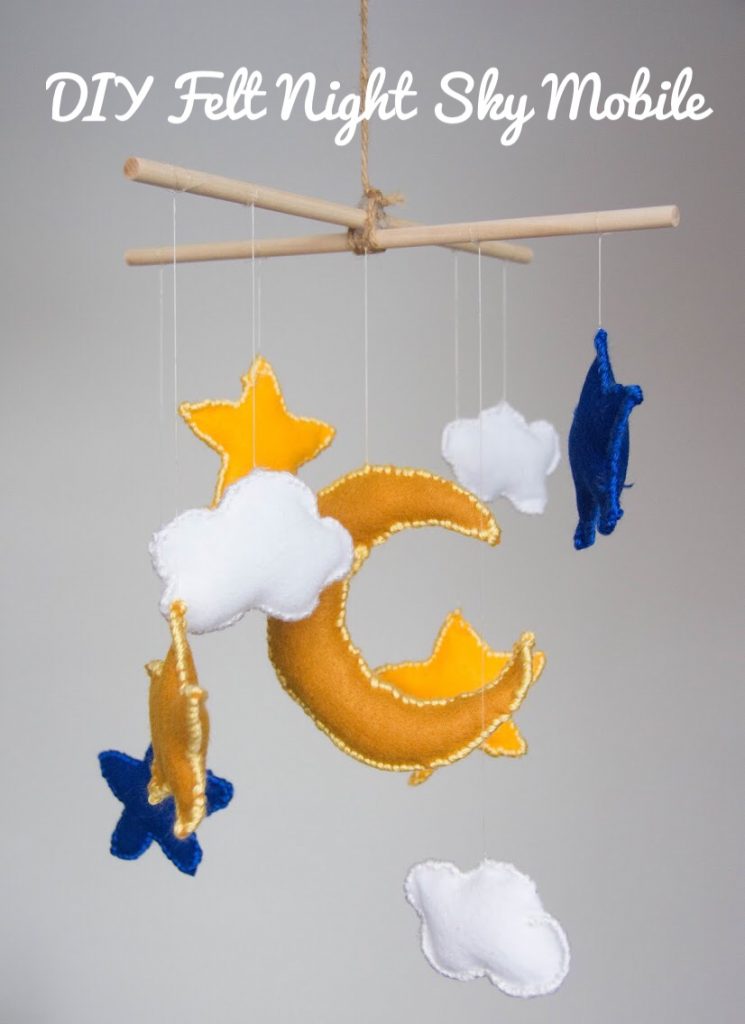
Continuing the DIY mobile theme from a couple of weeks ago, I had another idea to make a 3D felt night sky mobile and I think it turned out pretty well! It’s cute without being too childish, with just the right amount of whimsy. Here’s how I did it:
Materials
-felt
-stuffing
-wooden dowels
-twine/rope
-clear string /stretchy cord (the kind used for beading)
-hot glue
-yarn
-large sewing needle
1. Create the mobile frame from two wooden dowels
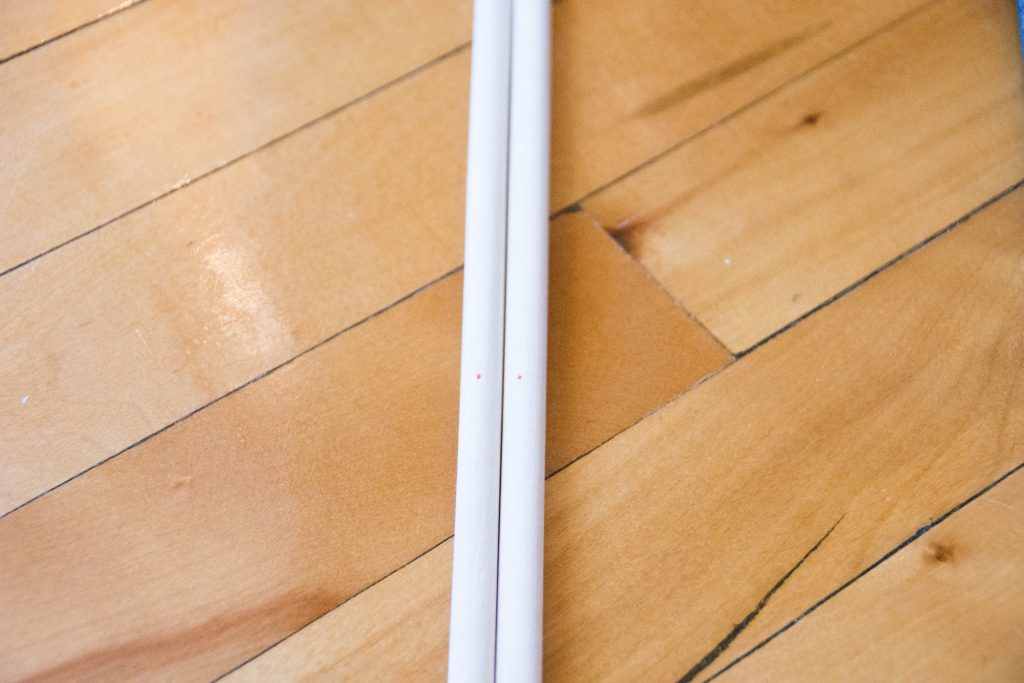
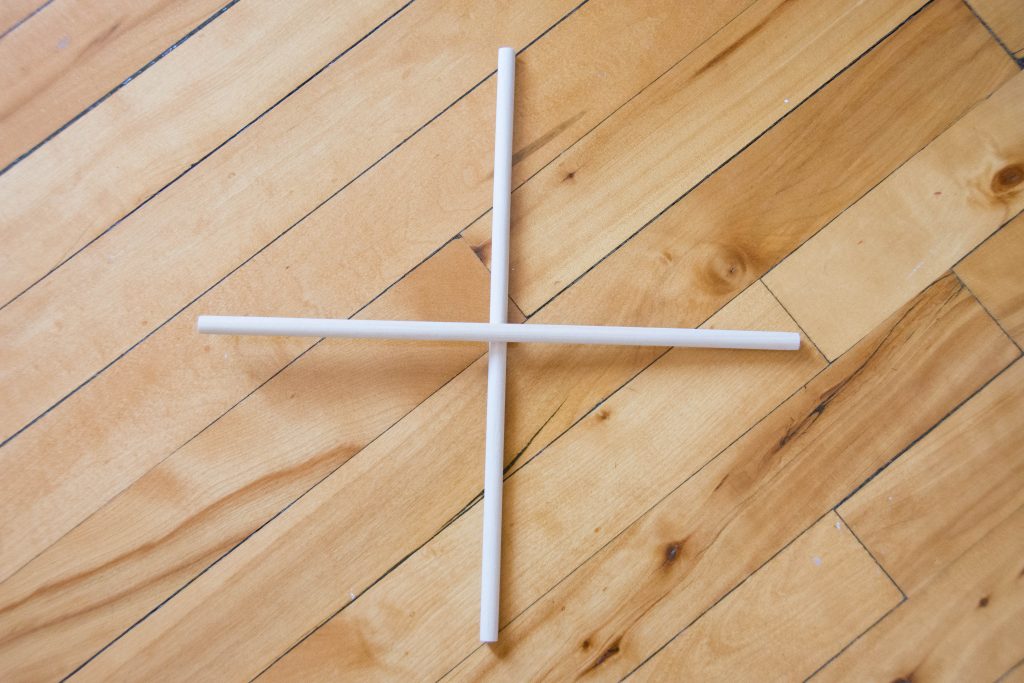
In order to get an even cross shape, I marked the halfway point of each dowel with a red marker before attaching them together with hot glue.
2. Cut out your mobile shapes
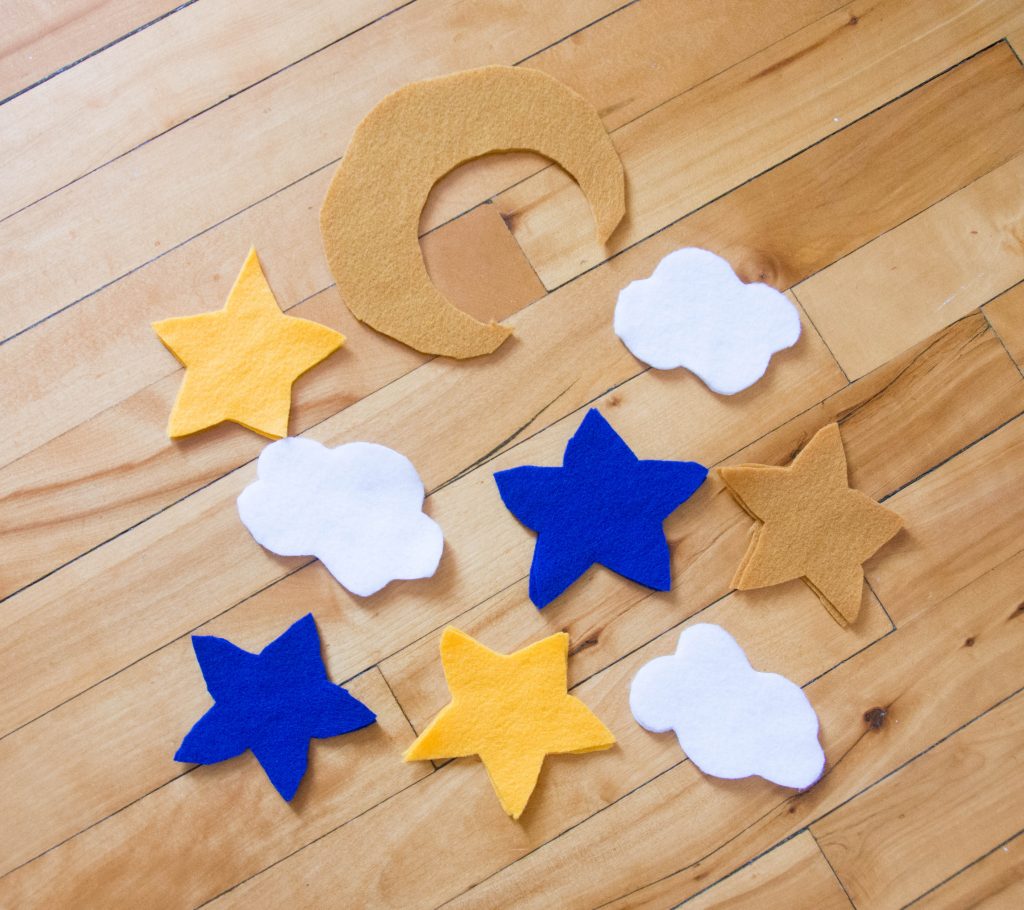
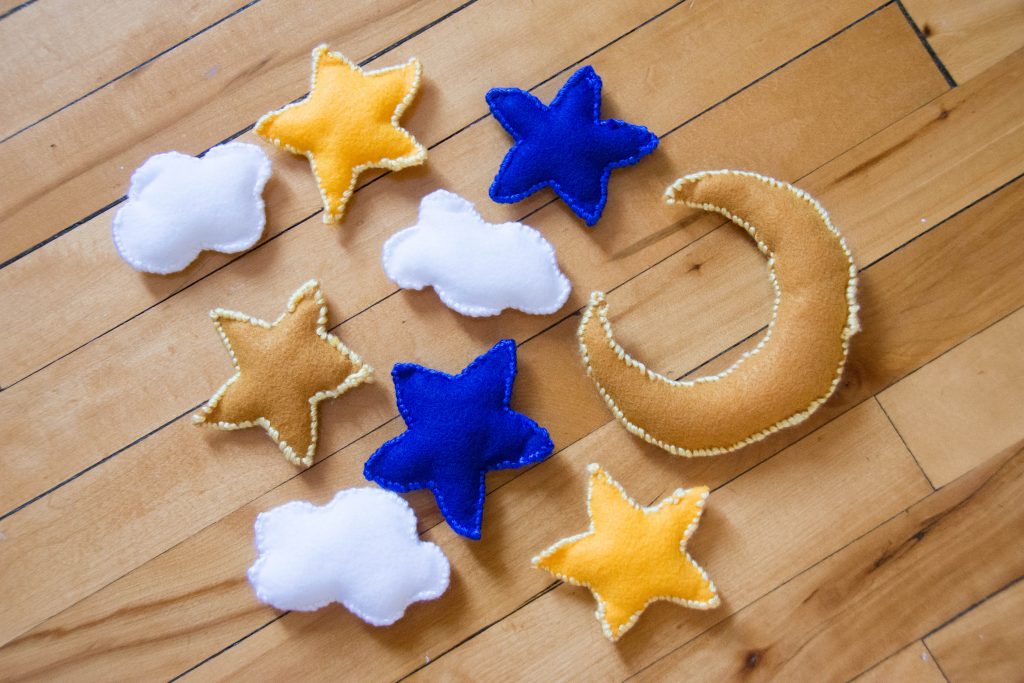
Cut out various shapes from your felt. You’ll need two identical shapes for each hanging piece. Much like the 3D stars DIY, I went with a “sky” theme to my felt mobile. I don’t know what it is, but I just love stars, moons and clouds! Obviously, you can do any theme you want!
3. Sew the two sides of your shapes together
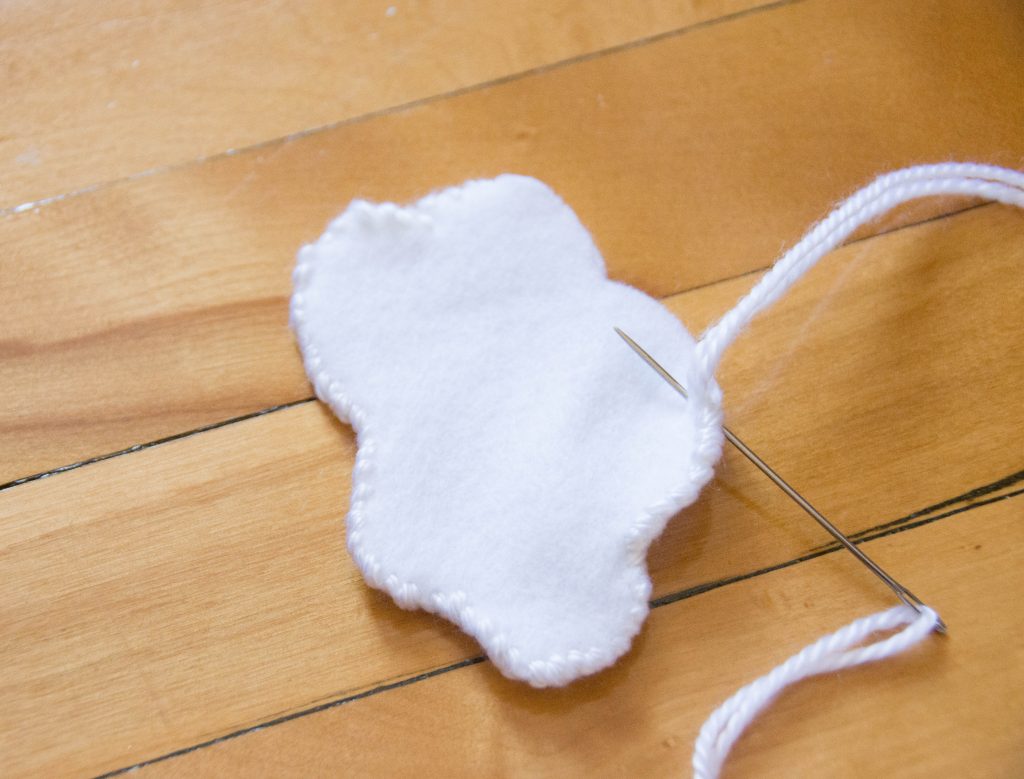
You can do this part however you want. I’m sure some people don’t like having exposed seams or such thick seams, but I really love the look of yarn with felt. It’s kinda my thing. I did the type of stitch where the yarn goes over the edges of the felt so it’s more bulky and noticeable, as well. You can easily hide your seams by sewing the sides together and then turning the shape inside out.
The important thing is not sewing it all the way closed and leaving a small opening for the stuffing. Also, if you decide to go with the yarn like I did, you have to use a large needle (like one that would work on leather). I toyed with mis-matching the yarn colour with the felt colour, but in the end, I felt that it was enough of a statement just to have the yarn stitching visible.
4. Insert stuffing
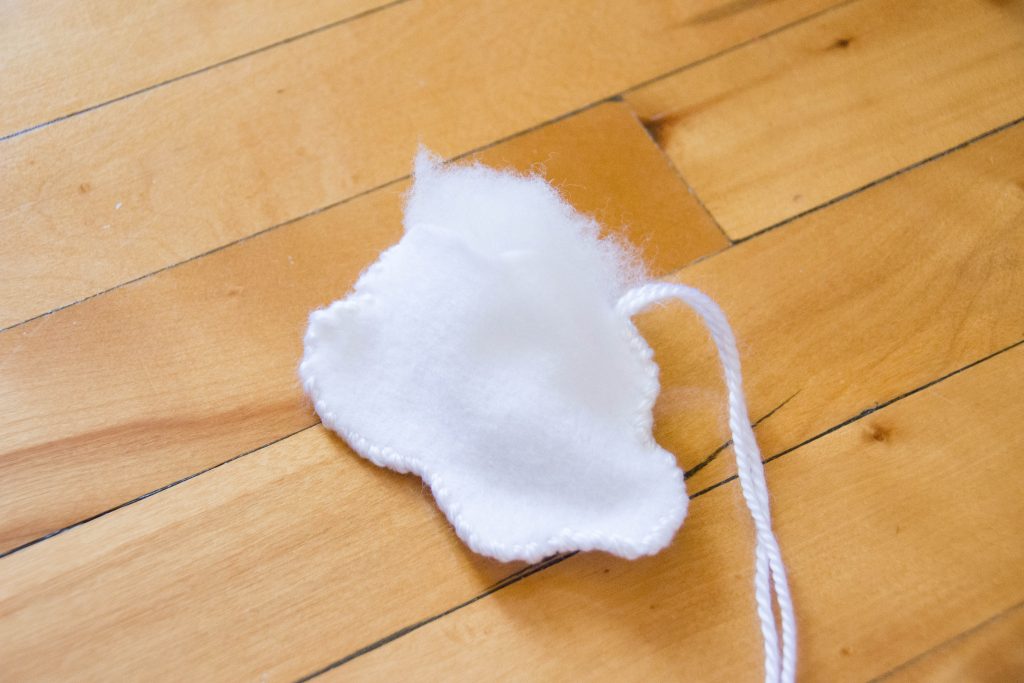
Of course, you can opt to leave the felt as 2D shapes, but I thought it would look much better in 3D, so I stuffed my clouds, stars and moon with regular craft stuffing.
5. Sew up the opening
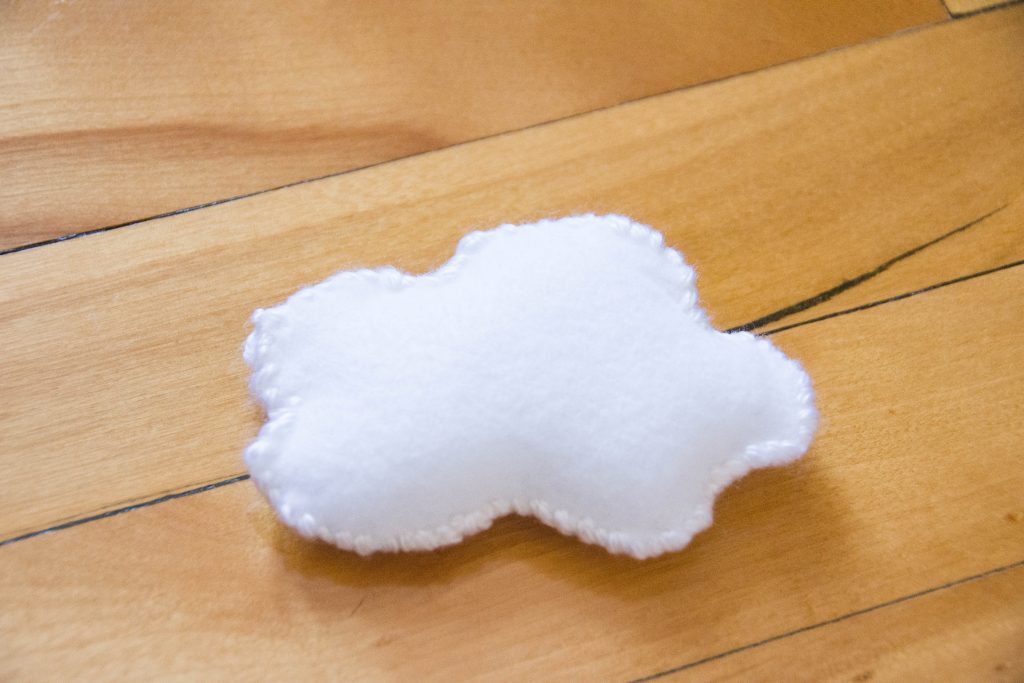
Once your shapes are stuffed to your liking, finish sewing them closed.
6. Tie some clear string/stretchy cord to the felt shapes
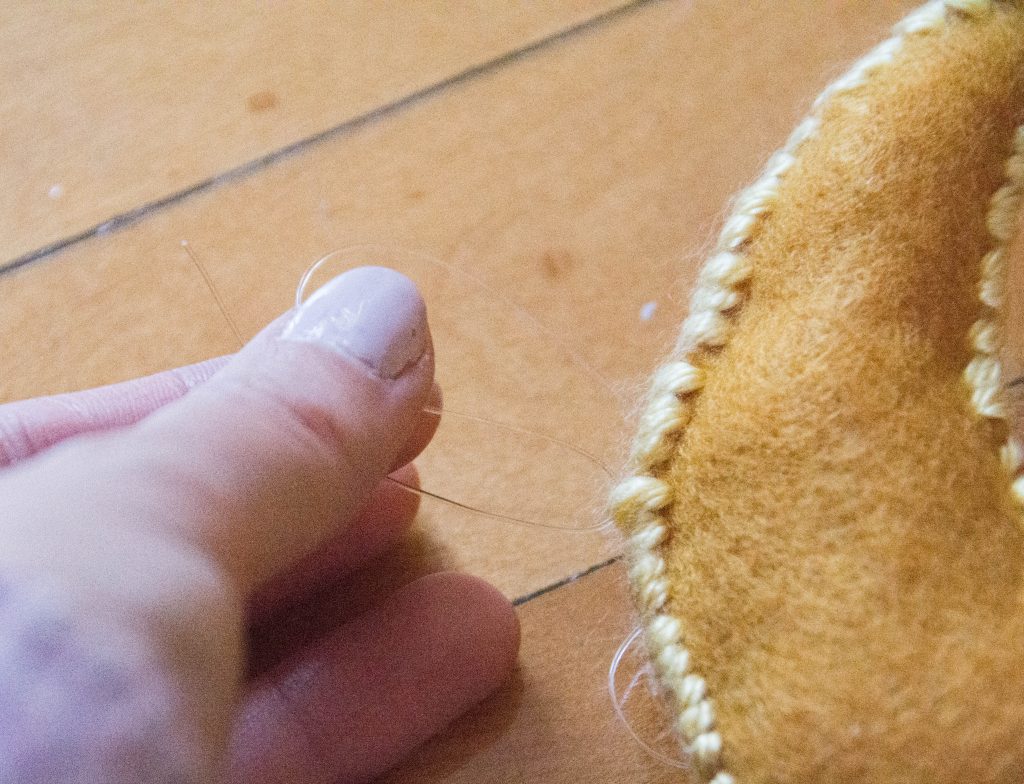
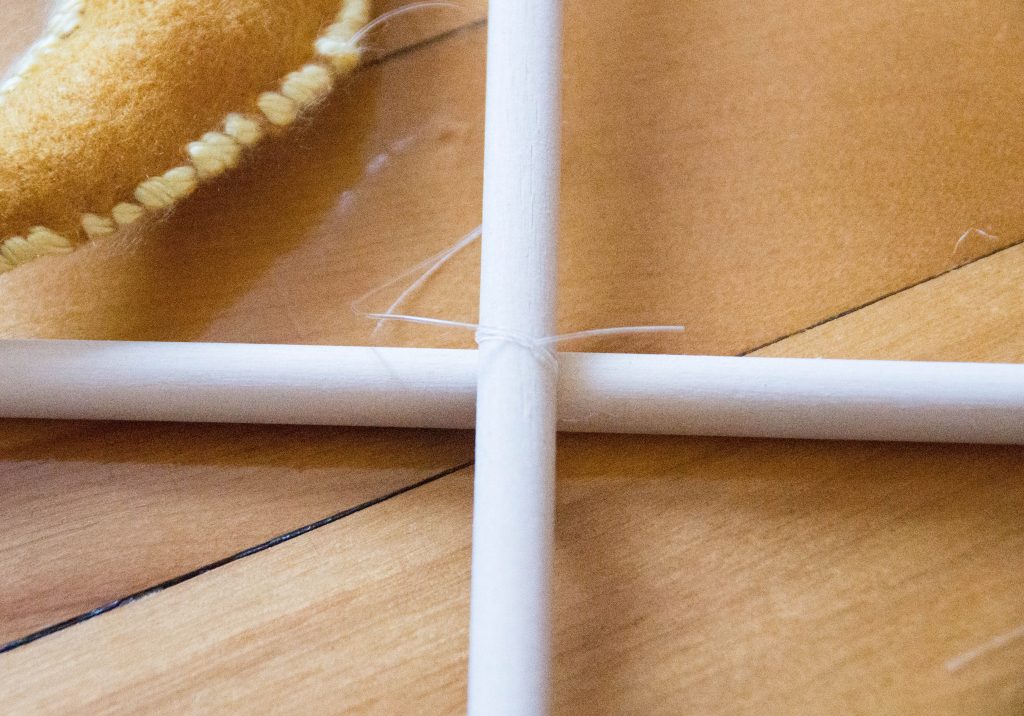
String some stretchy cord or clear string through the yarn stitching and knot it securely. Be sure to cut the cord at different lengths so the shapes hang at different heights. Then, tie the other ends of the cord to the wooden dowels.
Because I wanted the moon to be the centre of the mobile, I tied the moon specifically where the two wooden dowels were glued together.
7. Add rope or twine to hang the mobile with
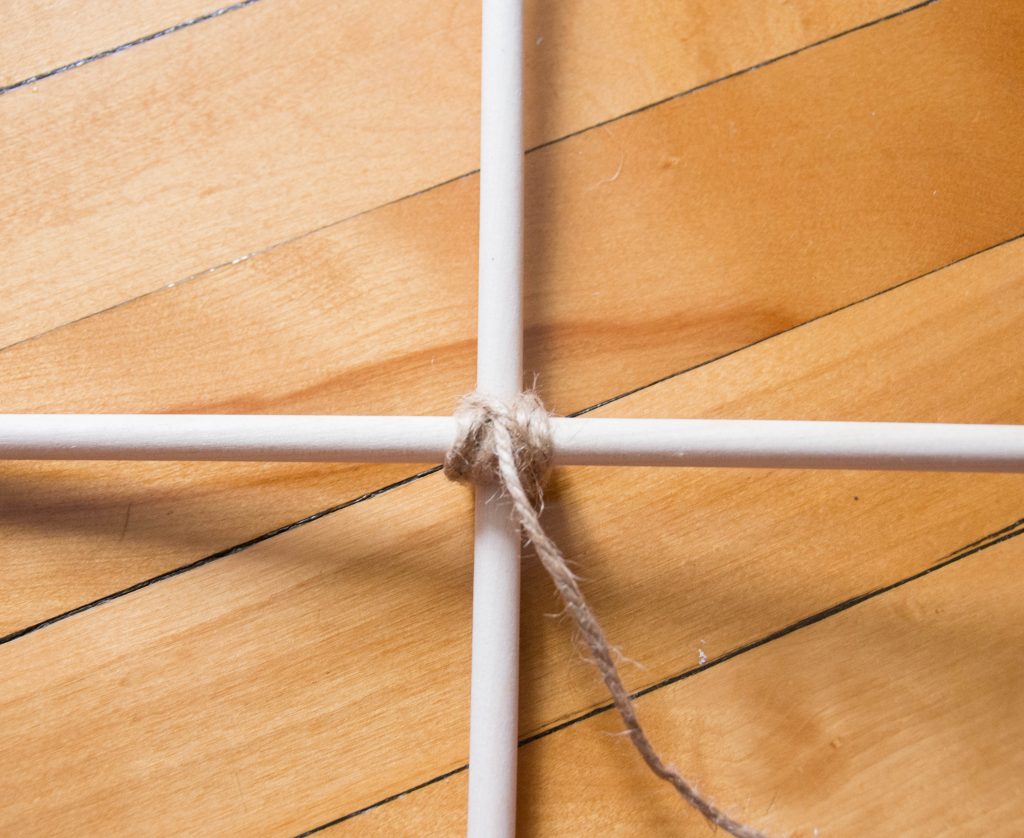
To make the frame even more secure, and to have something to hang your mobile with, wrap some twine or rope several times around the middle, knot it, and secure it with some hot glue.
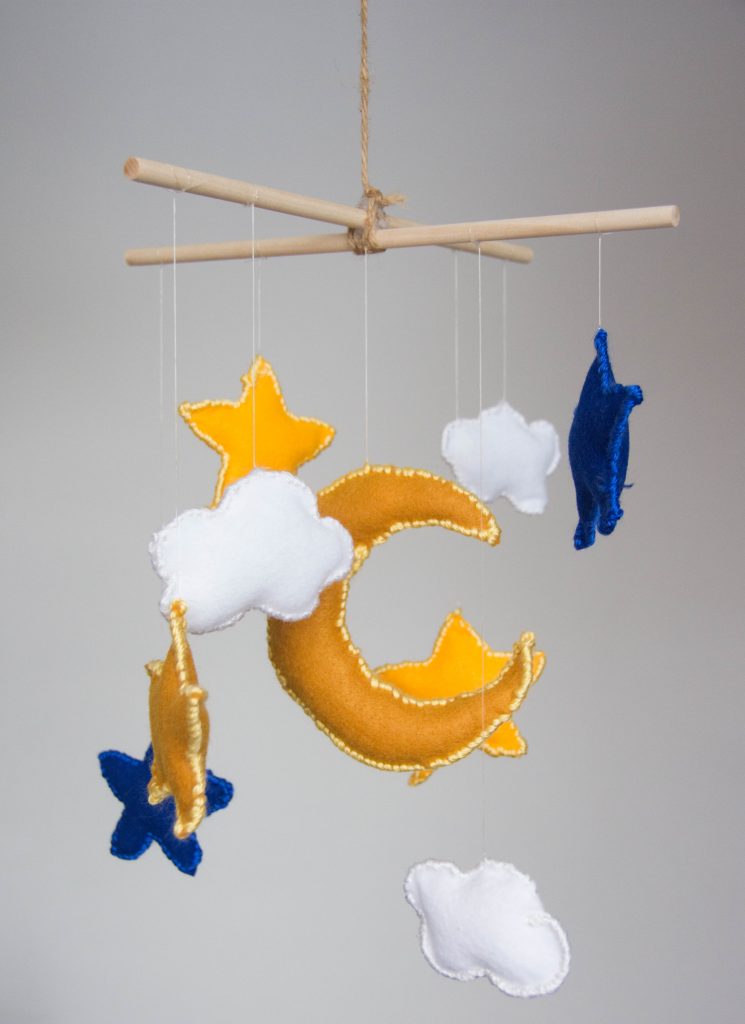
I’m super happy with how this DIY turned out! I think it’s a super cute mobile that says “baby,” without being overly cutesy or loud. Mobiles are actually pretty easy to make and since I have a couple of options, I might end up switching them out every once in a while to keep the nursery design fresh.
On a separate note, although I pride myself on posting frequently to the blog (every Monday), I think I’m gonna start slowing down a bit and only post every couple of weeks for the time being. It’s getting harder and harder for me to even just get around, let alone do all the DIY/house stuff I’m used to doing.
But I am trying to build up content now so I’ll have stuff that will publish all summer automatically while I’m getting into the whole parenthood groove. I love blogging and posting on Instagram, and want to keep it up as much as possible. We’ll see what happens!
xoxo

