

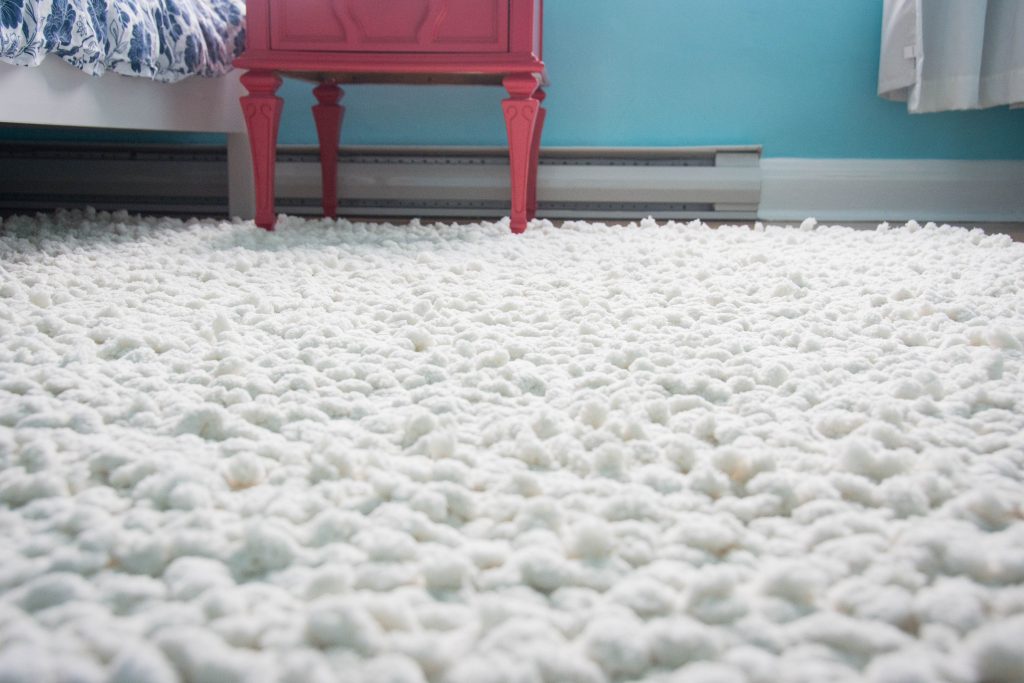
I knew I wanted a really fluffy area rug for the nursery and I thought I’d try making my own instead of spending several hundred dollars on a new one. I’ve never tried making my own rug before, so let me first just say, it took freaking forever! And although I think you can tell it’s not quite up to par with a store-bought rug, it actually doesn’t look too bad (in my opinion). And fluffy, it surely is!
If you’re interested in making your own fluffy rug, here’s a guide on how I did it!
Materials
-rug pad
-scissors
-yarn
-netting
1. Gather your materials
You’re first gonna need some kind of backing to be the base of your rug. There are definitely real rug backs you can get, but I decided to just use this garden netting from Amazon. If the rug you want to make is fairly small, real rug-making materials will probably work way better without breaking the bank.
You’ll also need your rug material. I went with the Bernat Big Blanket yarn in jumbo (7) size, from Michaels. You could also use cotton cording, old t-shirts, pretty much anything you want! I opted to make a 8×6 rug and ended up using 10-12 rolls of yarn (I can’t remember how many exactly I ended up getting).
Finally, I recommend also getting a slip pad to lay underneath your rug so it won’t move around.
2. Cut your netting to the size rug you want
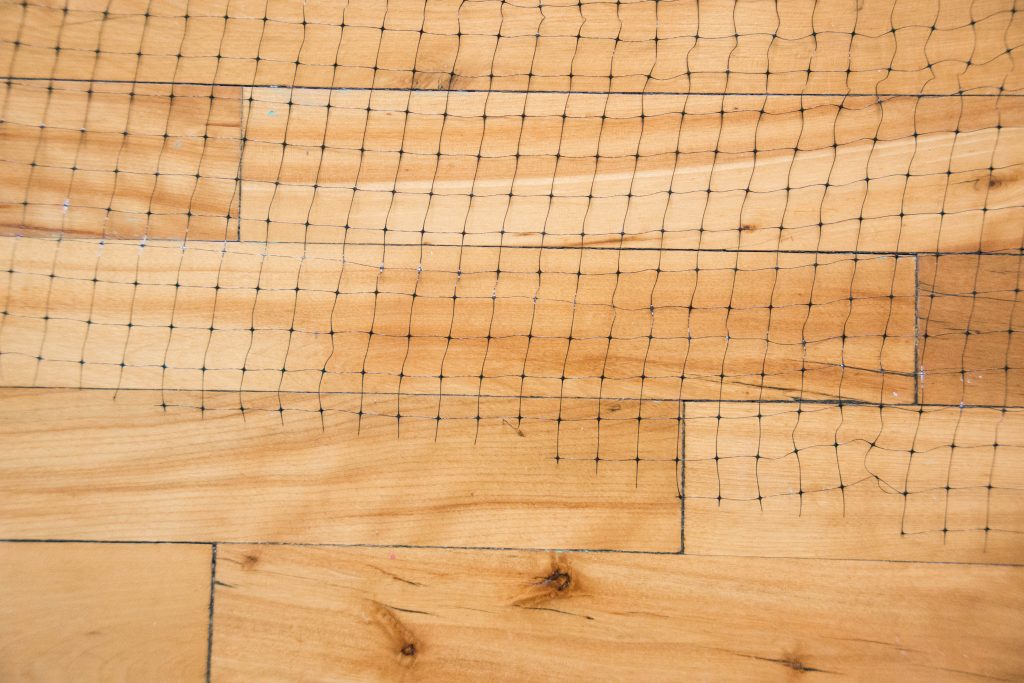
Cut the netting to roughly the size rug you want with at least several inches extra on each end. Pro-tip: if you’re using the same type of netting I am, notice that in one direction, the rows are cut somewhat slanted. What I mean by this is the row of squares gets cut off at some point so that a full row of complete squares going all the way across might not actually begin until you’re several inches down the netting.
So that means (unless you want a slanted rug) you should cut at least 6 inches or more of extra netting on the side where the rows get cut off. I did not realize this when I started cutting so my rug ended up being a little shorter than 8 feet long. I wanted all my edges to be fairly straight (obviously), but the first complete row of squares didn’t start till several inches down from the top of the netting. Live and learn!
And depending on the type of rug pad you got and how thick your rug material is, you might be able to skip the netting and make the rug pad your rug back, which makes things a lot simpler.
3. Cut up rug material into pieces

I ended up cutting my yarn into approximately 2 to 3-inch pieces, just enough for them to fold nicely in half. I didn’t want the rug pile to be too high, but you do have to make sure the pieces are long enough to attach securely to the netting when folded.
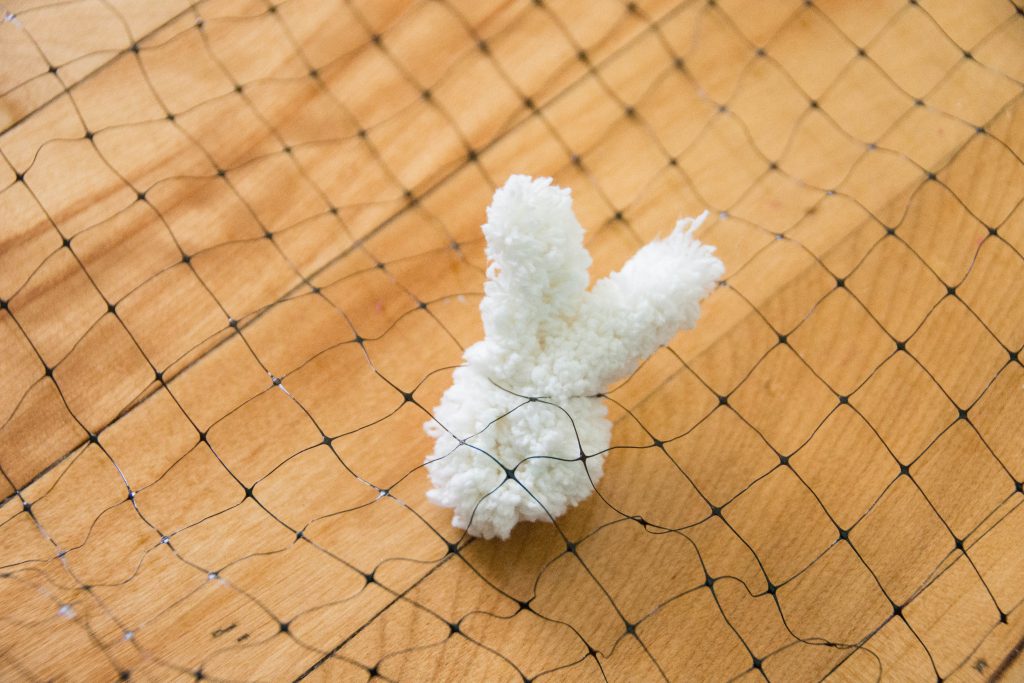
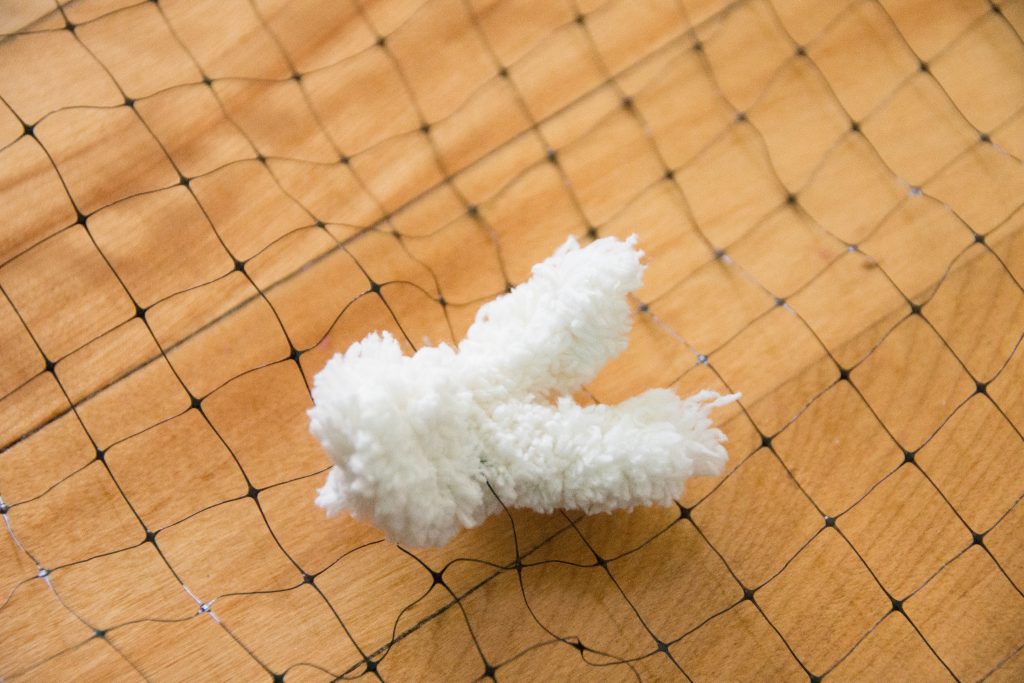
4. Attach the yarn pieces to the netting
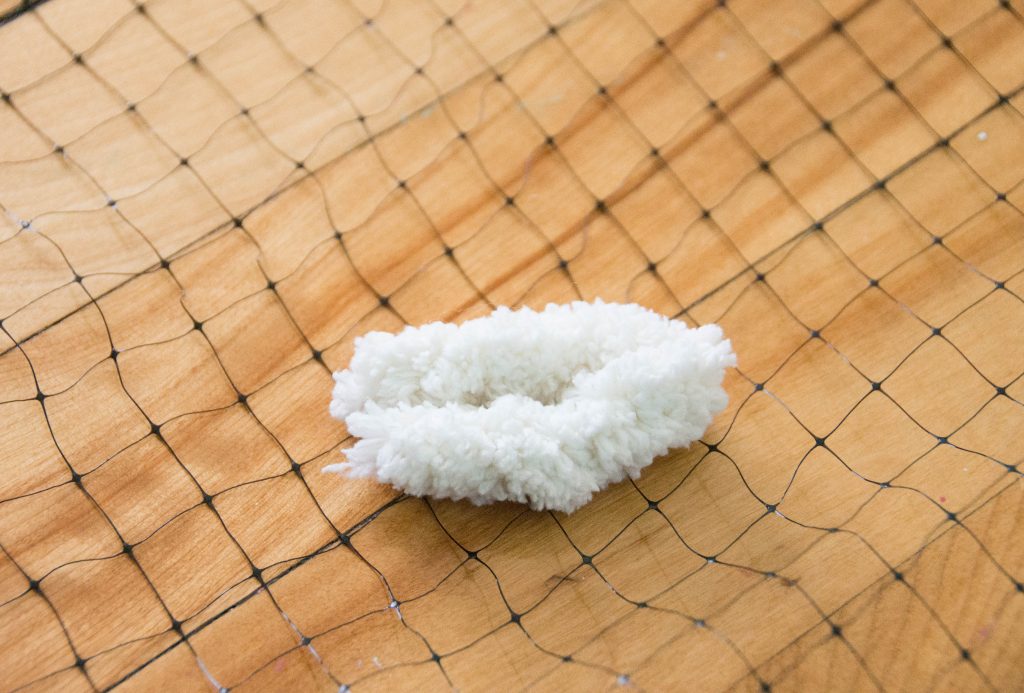
This is the time-consuming part of this DIY. I experimented with a few different ways to attach the yarn to the netting before settling on a method. I initially thought I’d have to tie the pieces or secure them with elastic or something, but because my yarn is so thick, I found that it actually gets stuck in the netting pretty easily. So I just ended up folding my yarn pieces in half, threading them through a square and then back up through another square. They don’t come loose very easily, you really have to pry them out. And because the yarn is so fluffy, there’s very little exposed netting or holes.
If you’re using a thinner yarn, you might want to look into getting a latch hook tool. It will help you tie your yarn to your rug back easier than just using your hands. I tried using one for my yarn at first, but my material is just too thick. It wouldn’t work.
And that’s basically it! This was actually a pretty easy DIY, it’s just time-consuming to complete. It probably took me almost three months to make, on and off. I did often go days (or even a week) without working on it, though. Not gonna lie, about a third of the way through, I got real tired of making the rug and wanted to quit. But once I start something, I am pretty determined to finish it.
Also, the design can definitely get as complicated as you want. You could add tassels to the end or a pattern in the rug. The possibilities are really endless! I just opted to do the simplest version (at least for now) since I’ve never tried this before and wasn’t even sure it would work. Far warning, it does shed a bit, but I feel like a lot of fluffy rugs can. And I’m not sure how well this will hold up through lots of use, but for less than $100, I’m willing to give it a shot!
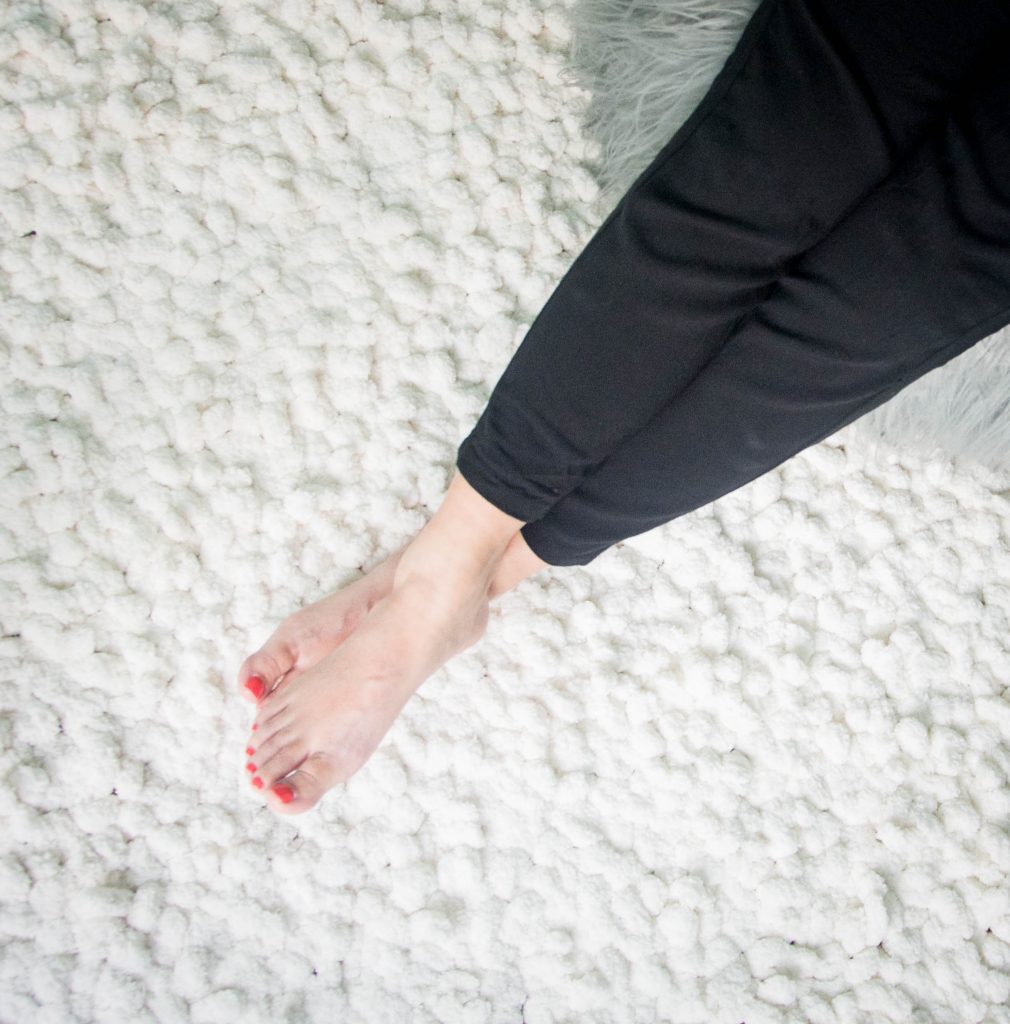
So what do you think of my DIY fluffy area rug? Is it cozy enough?
xoxo
Hi! How long did your rug last? If I DIY one for my college dorm, do you think it would last a year?
I would say it would last a year, but you might have to do some maintenance. I ended up getting rid of it after a year because I kept having to fix it. I think if you could actually knot the yarn into the rug netting, it would be more durable, but I couldn’t do that because of how thick my yarn was.
I love how it looks and also love that you admitted to getting tired of the process part way through … Very difficult for creative people to do the same thing over and over! I’m learning to weave on a frame loom and have gotten some great new design inspiration, which I thought would make a great area rug. Your story has helped me a lot … Onward and thank you!!!
Totally! Good luck with all your projects!!