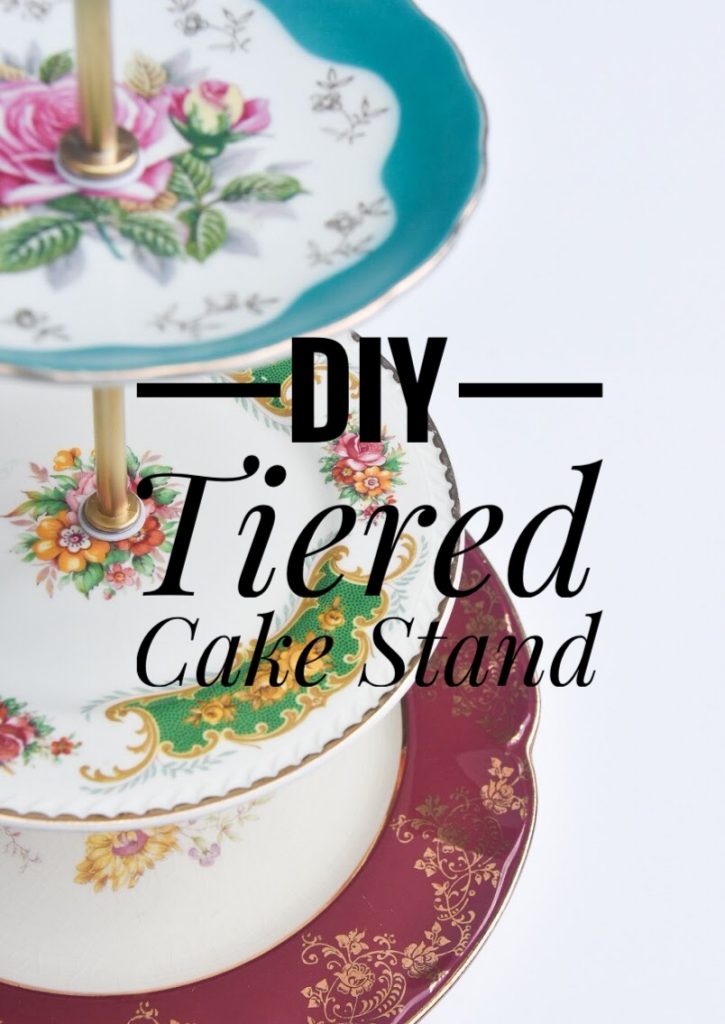
I had been stalking these vintage tiered cake stands on Etsy for a while but they were pretty expensive to get a really nice one, so I hadn’t pulled the trigger quite yet. Meanwhile, we were making our way through New Zealand for our honeymoon and stopped in a random little town to go to take a break and stretch our legs.
We stumbled upon this cute little shop full of new and vintage kitch, and lo and behold, the lady was selling tiered cake stands that she made herself AND do-it-yourself kits! They came with all the hardware, a drill bit and a photocopy of her handwritten instructions, all for under 20 bucks. Needless to say, I bought a kit immediately!
Materials
-drill
-drill bit for porcelain/ceramic drilling
-gold spray paint
-ruler
-marker
-cake stand hardware

1. Measure and mark off the centres of all your plates
I used a ruler to get close enough and basically just eyeballed it. For my cake stand, I went with three different-sized vintage plates with different colour schemes, but with elements that were similar, such as the gold details and floral patterns. You could easily just use one or two plates if you wanted.

2. Drill the holes in each plate
Using your ceramic drill bit, slowly start to drill into the mark on each plate, starting at an angle. Once you make a decent dent, start drilling straight down. The shop lady advised me to constantly keep the drill bit cool by pouring water over it as I drilled. It’s also super important to not put too much pressure on the drill. It’ll take a few extra minutes, but putting too much pressure on the plate could crack it. I also put a towel underneath the plate to sort of absorb some of the vibration and impact of the drill.

3. (Optional) Spray paint the hardware (minus the washers) in metallic gold
I preferred to have gold hardware because A) I just prefer gold to silver in a lot of my decor and B) I think it matches the gold detailing of the plates nicely and ties it all into more of a cohesive piece. You totally don’t have to do this or you could spray paint them in your own preferred colour.


4. Once your spray paint has dried, assemble the cake stand

I was a little apprehensive at first about drilling the plates, but it’s not that difficult and I only had minor chipping which the washers hide easily. The drilling was the most time consuming part of this super easy DIY! And it still probably only took about 30 minutes in total.

So there you have it! A beautiful way to display appetizers at your fancy dinners or hold scones for all your tea parties. Let me know how it goes if you make your own cake stand!
xoxo

