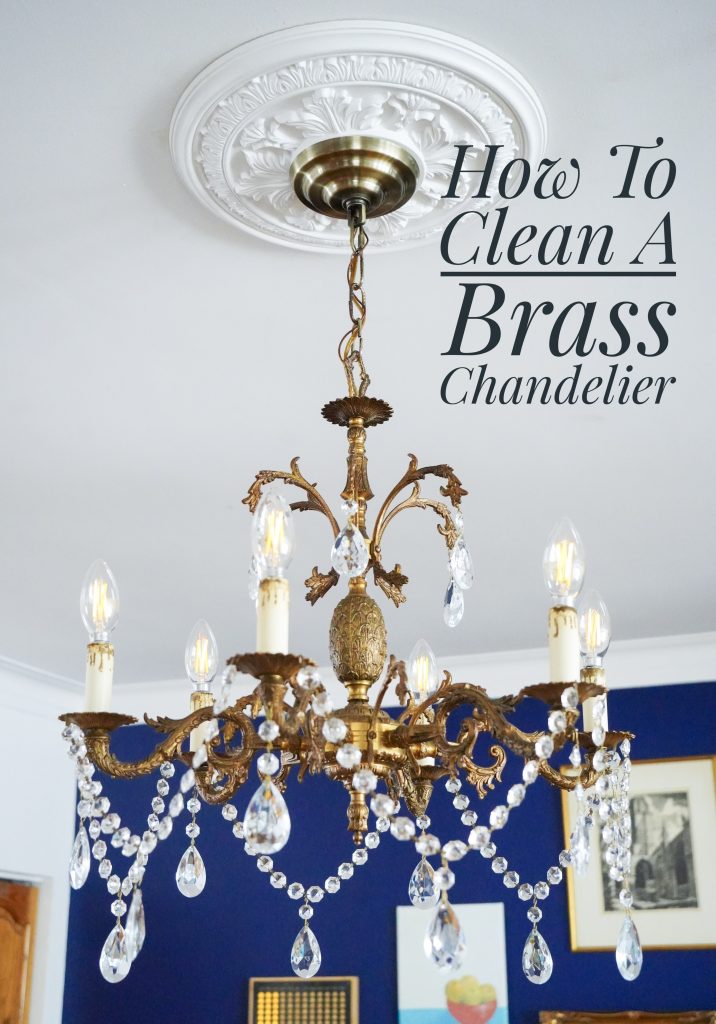
When we first bought our old house back in 2016, one of the first things I did was replace all the boring, ugly, builder grade light fixtures. Still, there are a couple of spots in the house where I knew I was putting in temporary lights that would eventually get replaced again. I just couldn’t find the right thing at the time and always had it in the back of my mind to be on the lookout for something better.
The dining room is probably the best example of this. I knew I wanted an antique, brass chandelier over the table, but couldn’t find the right one for the right price, so I just got the fakest, cheapest chandelier I could find at the time. Feast your eyes on the faux brass finish, and the plastic “crystals.”
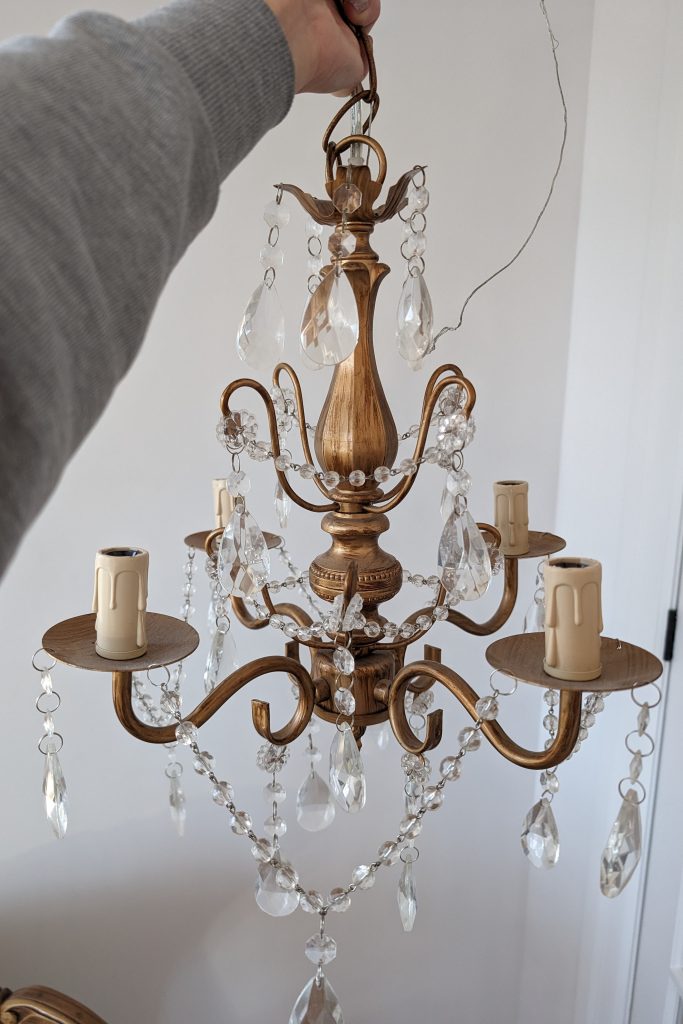
From far away, it looked perfectly nice! And it worked fine for many years. I just knew I could do better. So late last year, I headed to the flea market (my favourite place to find antique lighting) and ended up finding this gorgeous crystal chandelier that needed some love, but was exactly what I was envisioning for the space.
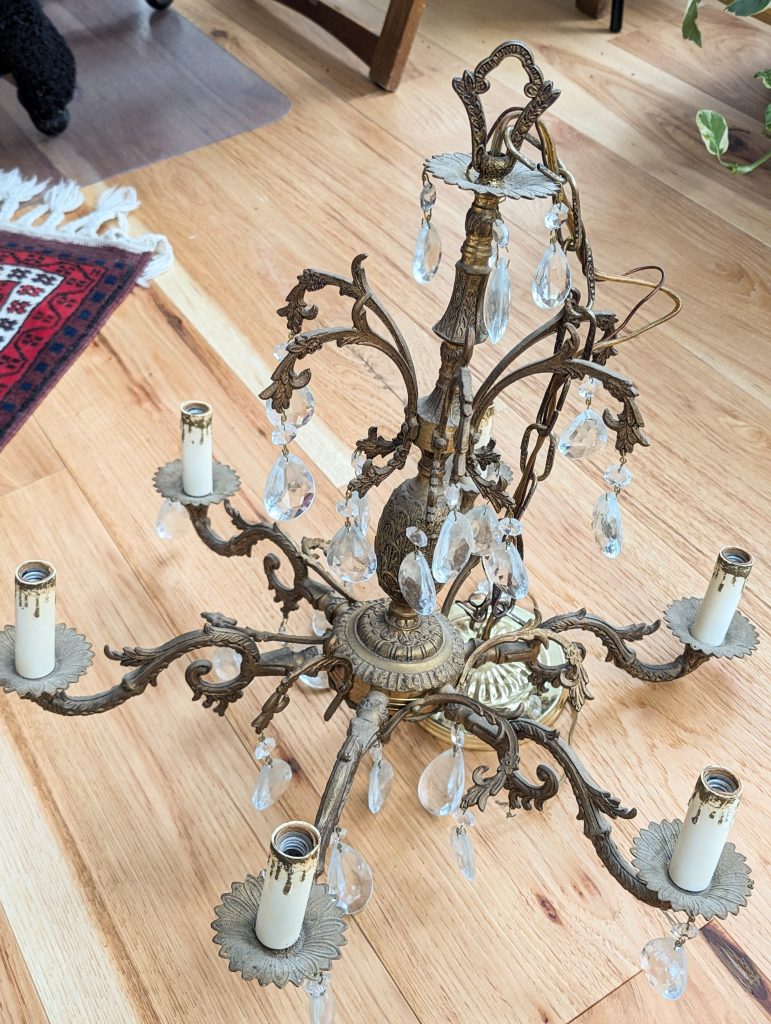
I don’t know if the before pictures convey this, but the light fixture was really dirty. It was gross to touch. And there were obviously missing crystals and arms that were lopsided. But I saw the potential and knew I could spruce this thing up to look gorgeous!
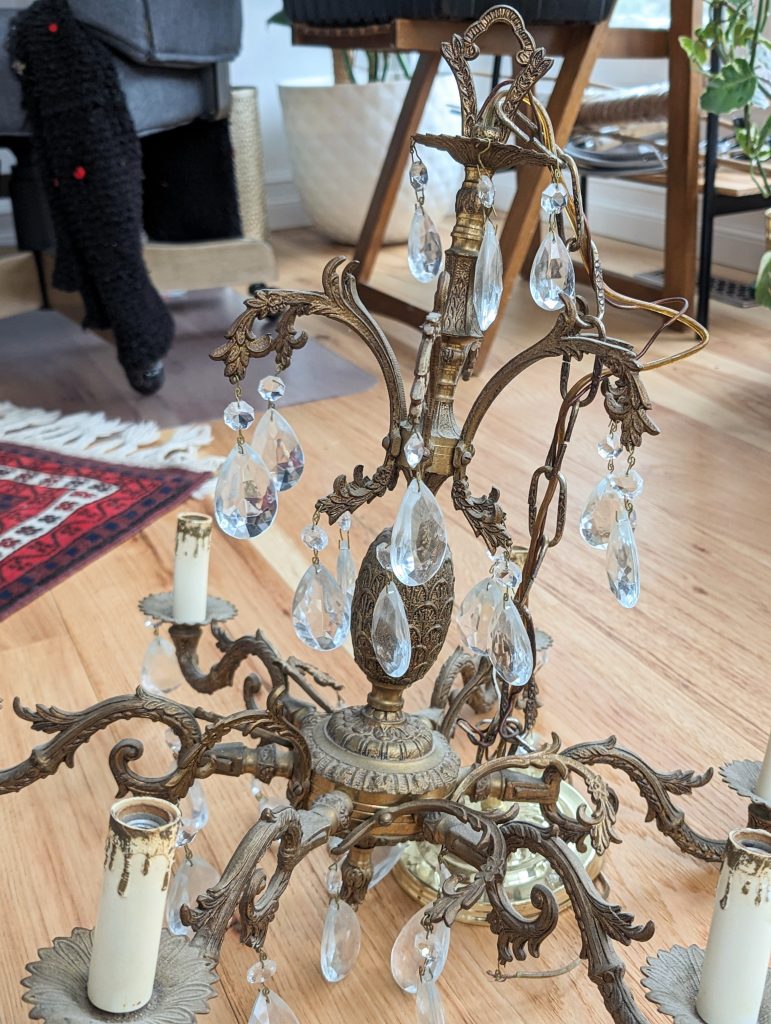
Crystal Inventory and Cleaning
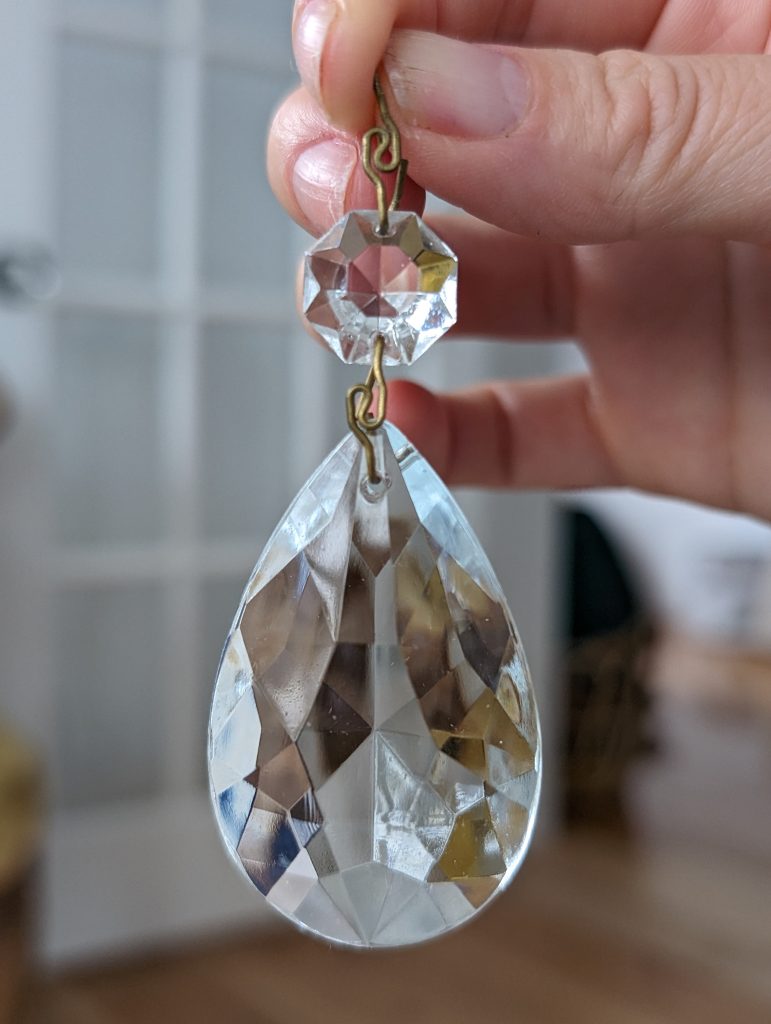
The chandelier needed a good clean and that obviously started with removing all the crystals. This is a good opportunity to take an inventory of all the pieces and inspect them for scratches, chips and other imperfections.
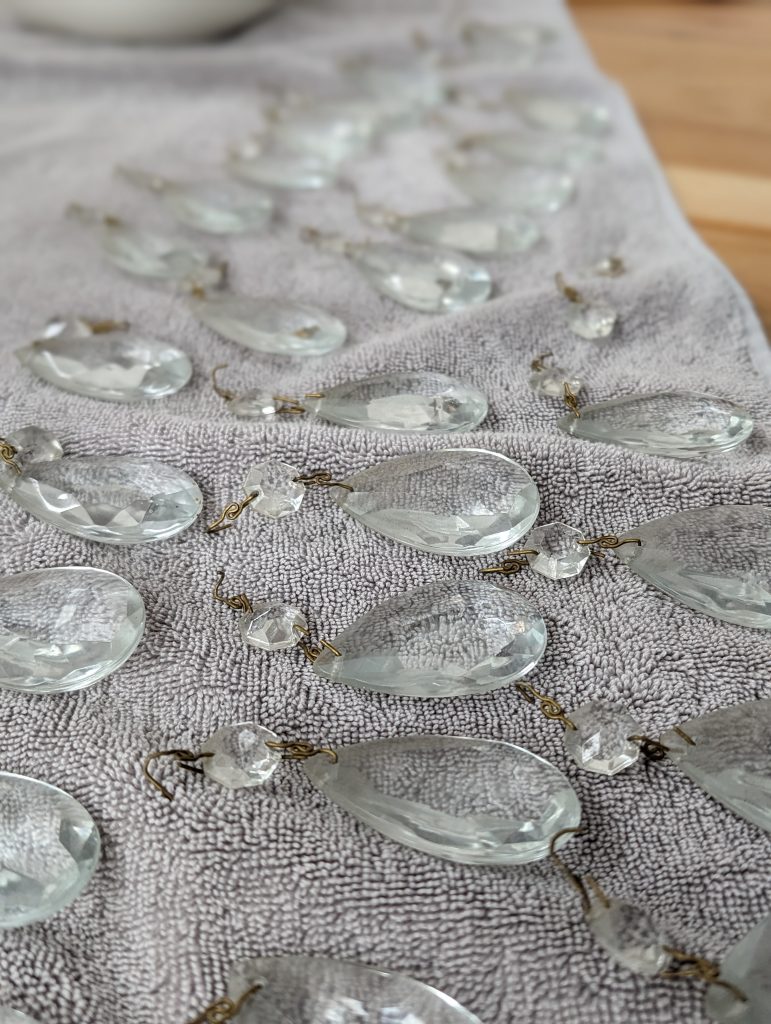
I set aside the imperfect ones so I could kind of redesign the crystal layout at the end with only the nicer ones.
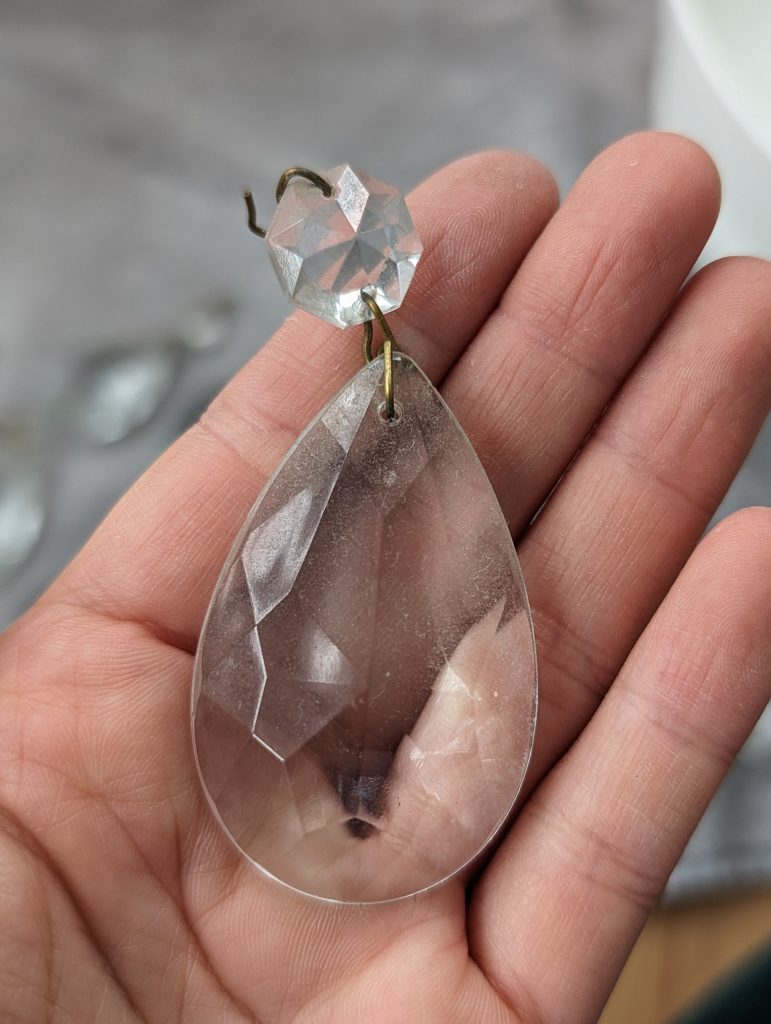
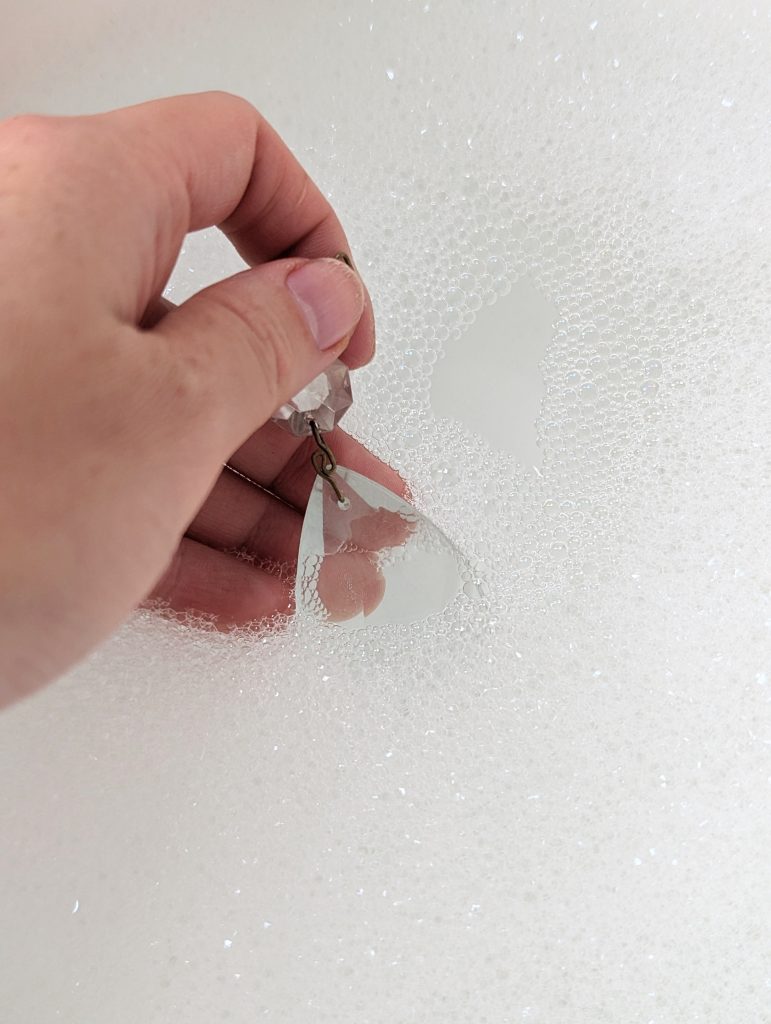
The crystals were easy to clean. I just dunked them in warm, dishsoap-y water and wiped them down with a microfibre cloth.
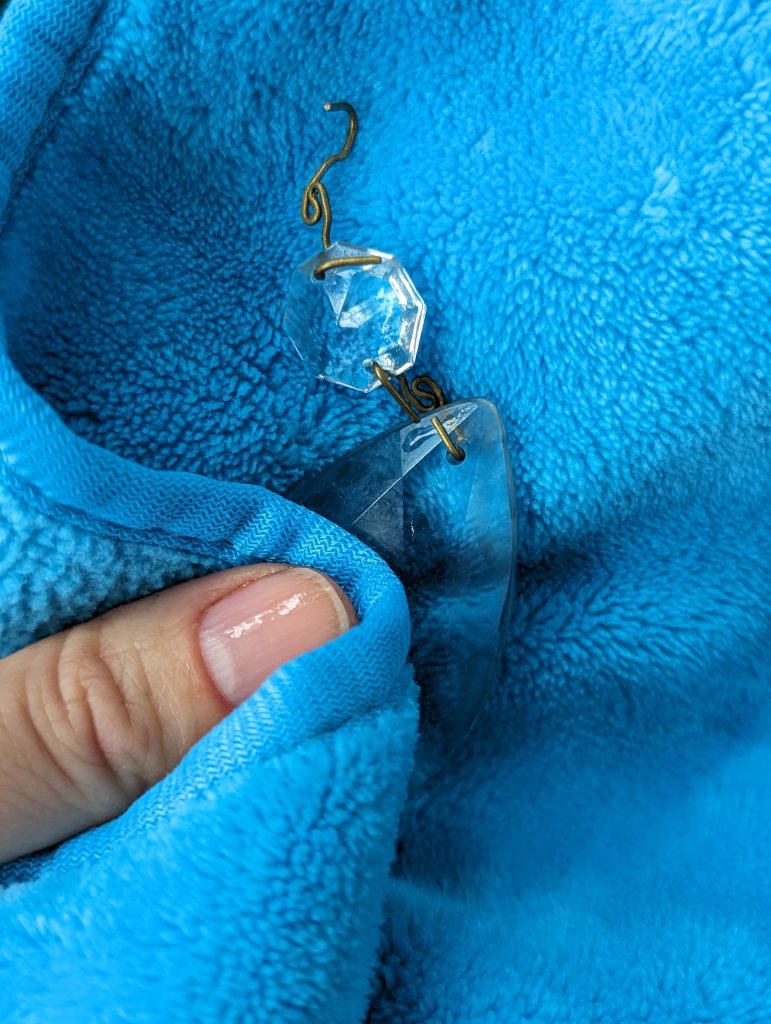
I, unfortunately, ended up chipping one of the crystals during the process, so be careful if you’re working with real crystals!
Scrubbing And Shining Brass
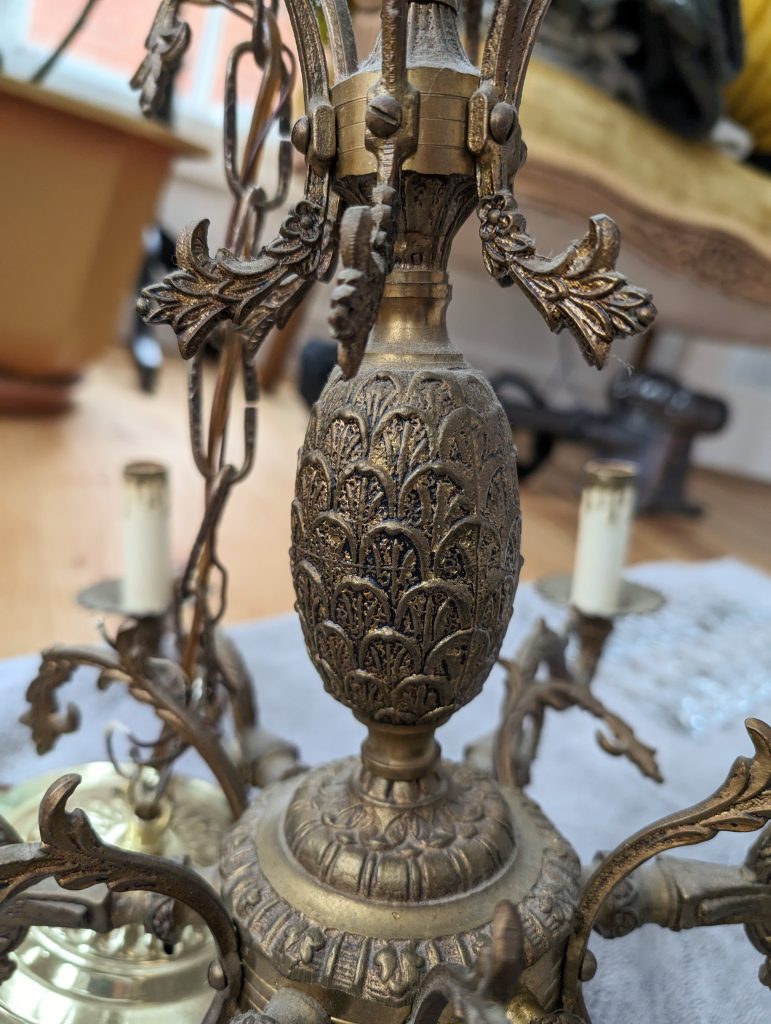
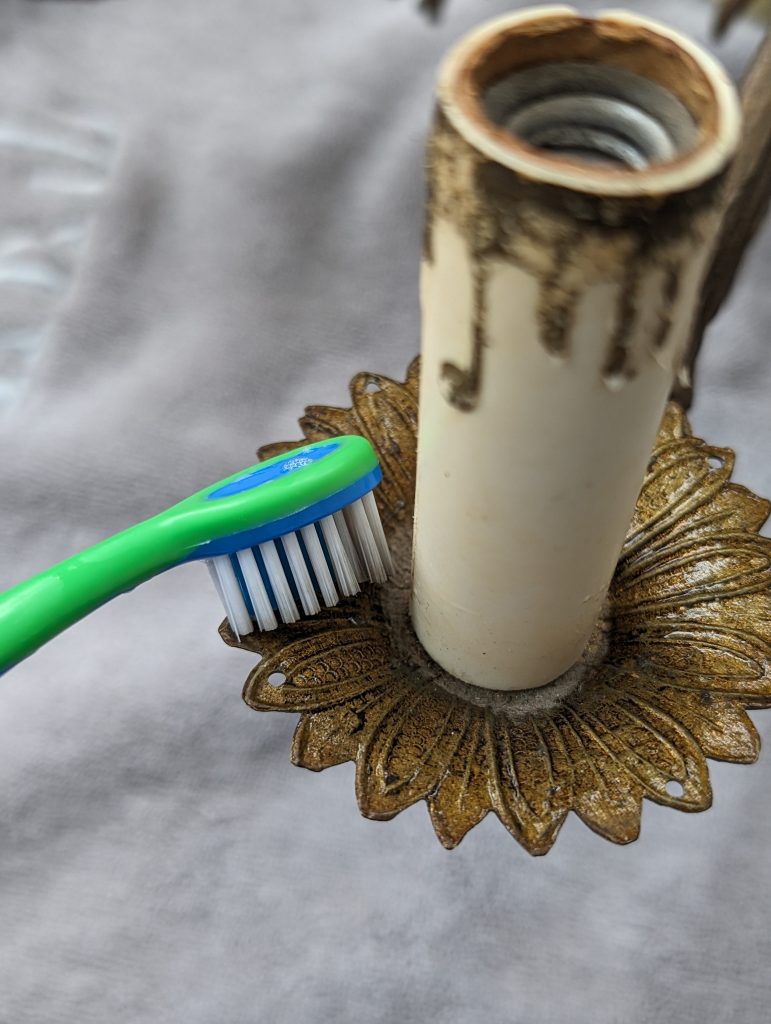
When it came to all the dust and grime on the brass parts of the chandelier, I used a toothbrush and warm soapy water again to do most of the cleaning. I also wiped down all the wet spots immediately after with another microfibre cloth so the water wouldn’t make water stain spots.
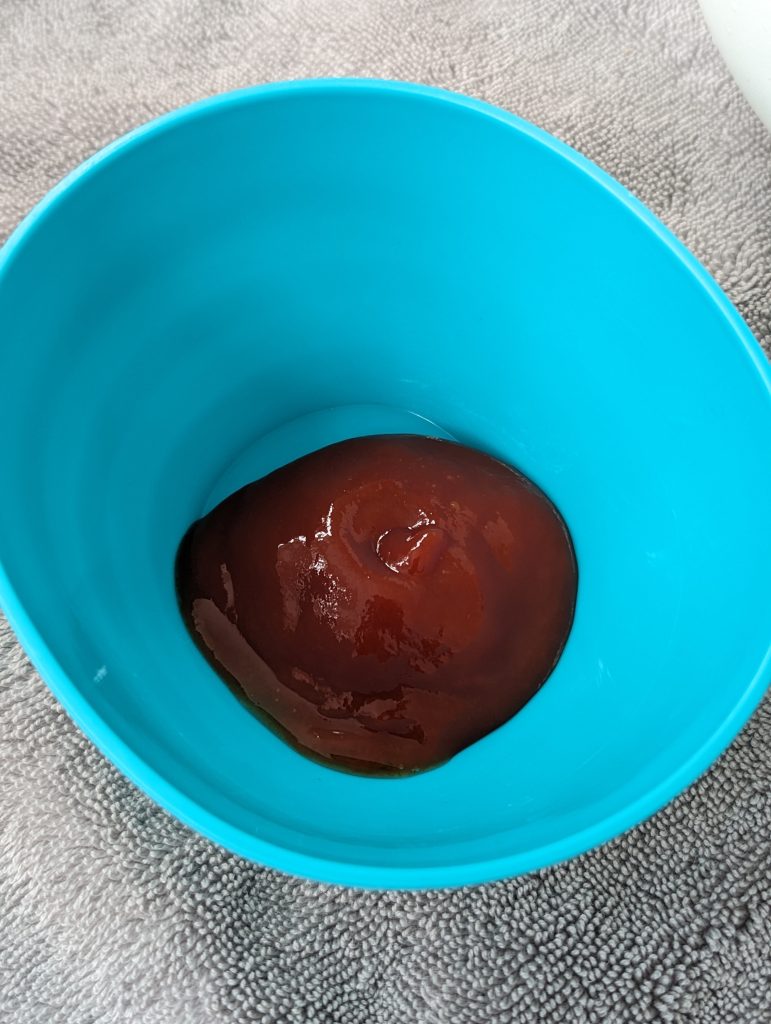
After I got the first layer of cleaning done, I used ketchup on a cloth to shine up the brass. Yes, ketchup. There’s something about the acid that helps to add a lustre to it!
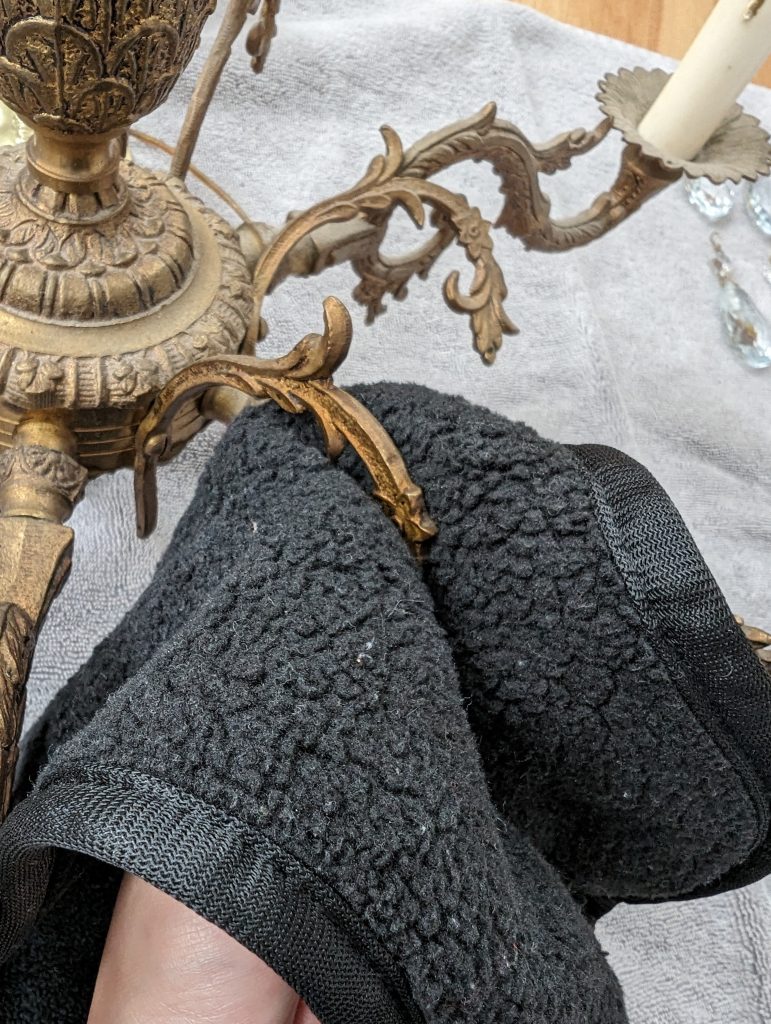
Here’s what it looked like before the ketchup! Clean, but dull.
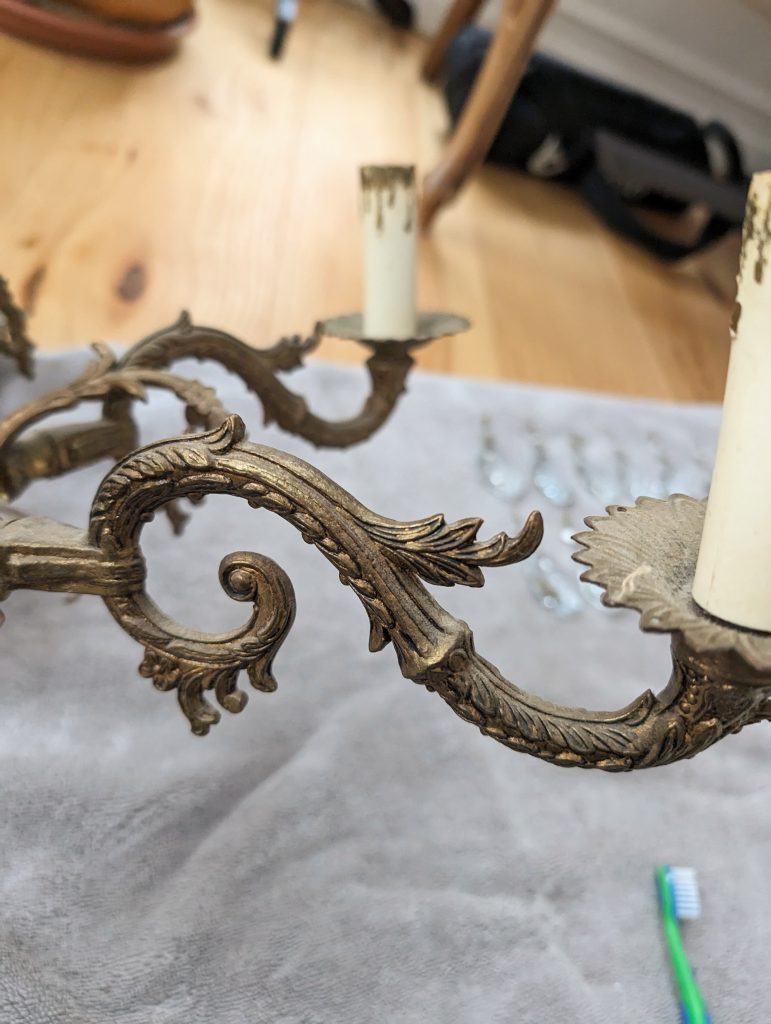
And this is what it looked like after!
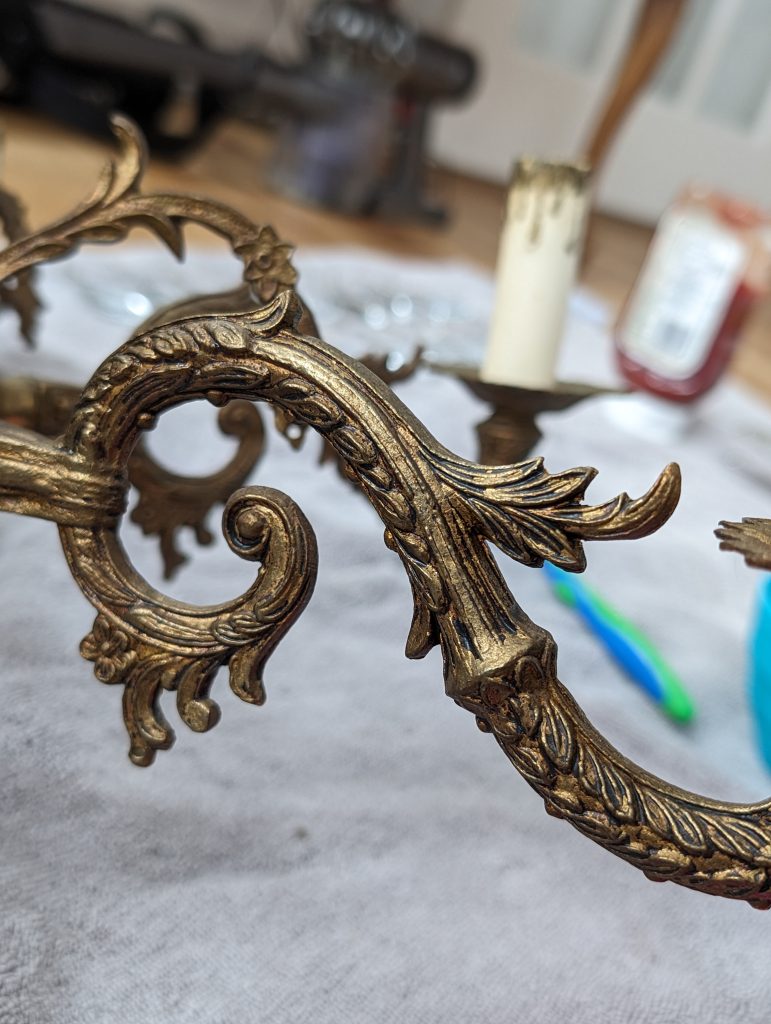
By the way, I went in again with a toothbrush and warm soapy water after to make sure I got all the ketchup out of the brass. It looked so good after shining it up!
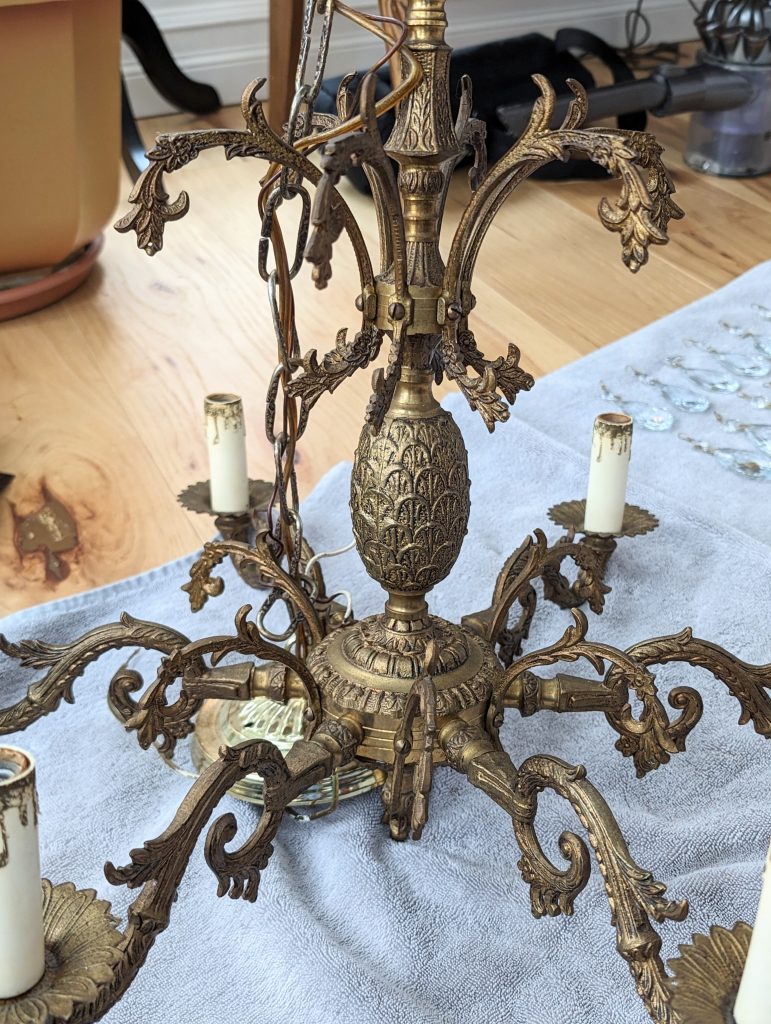
Adding Back The Crystals
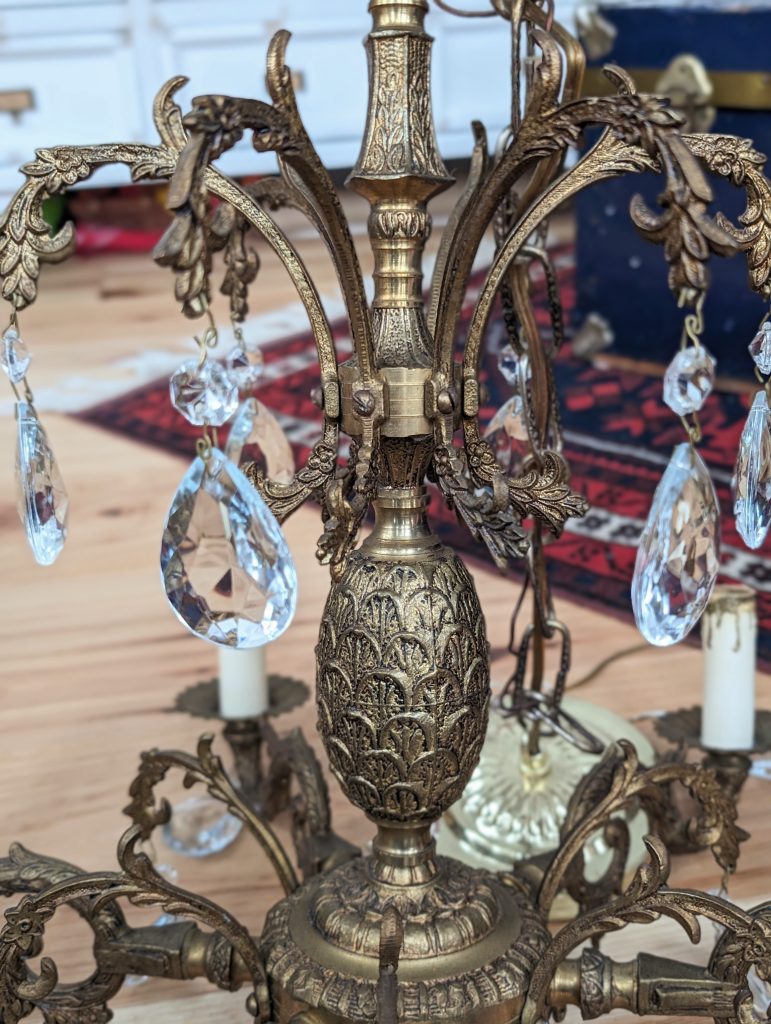
Putting the crystals back on was a bit tricky. As I mentioned, some were missing, so I couldn’t do the crystal configuration that I think was intended for this light. You can see the holes in the brass where they wanted the crystals to hang.
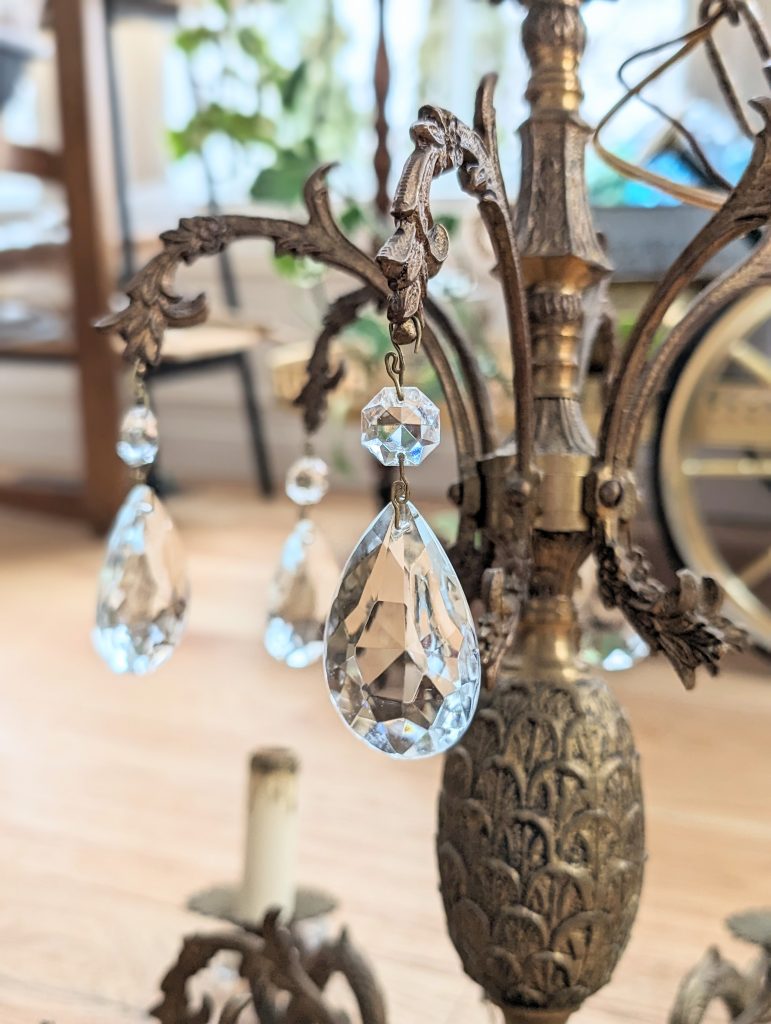
And after inspecting all of them, a handful had scratches and chips anyway, so I ended up having even less to work with than originally.
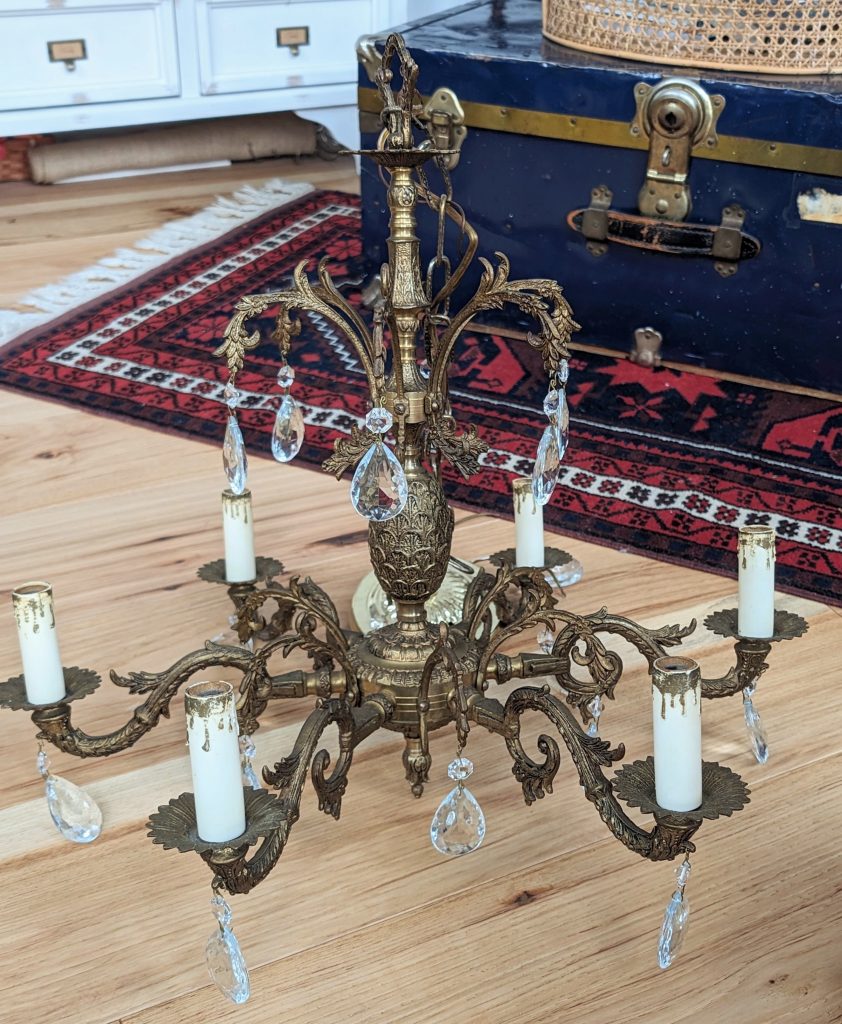
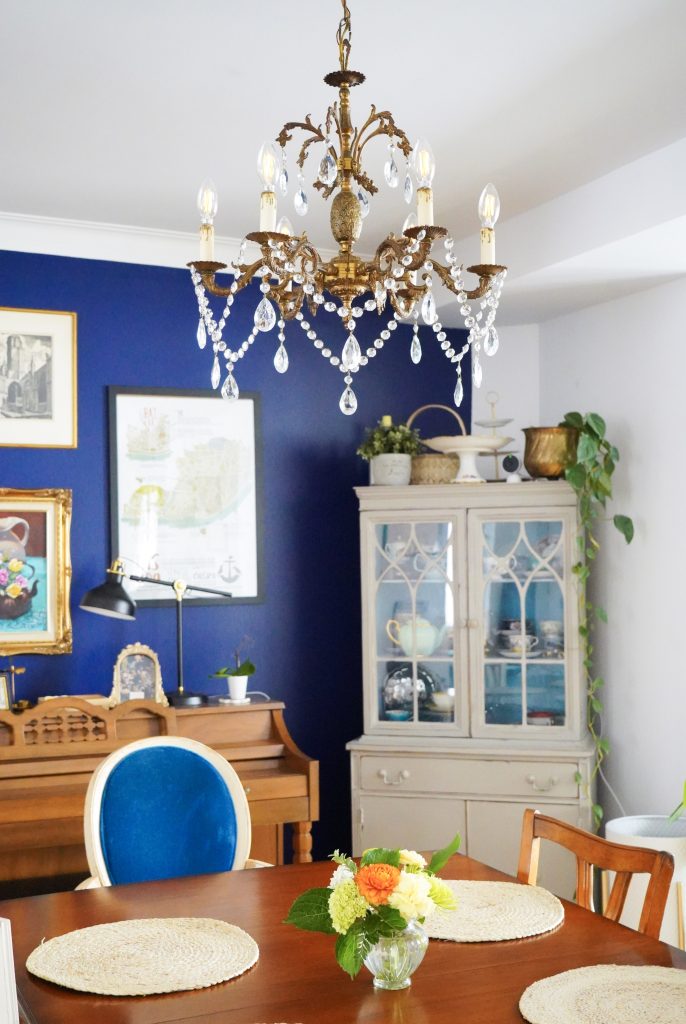
Although there’s nothing wrong with just leaving the chandelier like this, I wasn’t really feeling the crystal layout. It really felt like something was missing. I ended up ordering some more little crystals on Etsy to create a swooping chain effect all the way around the bottom.
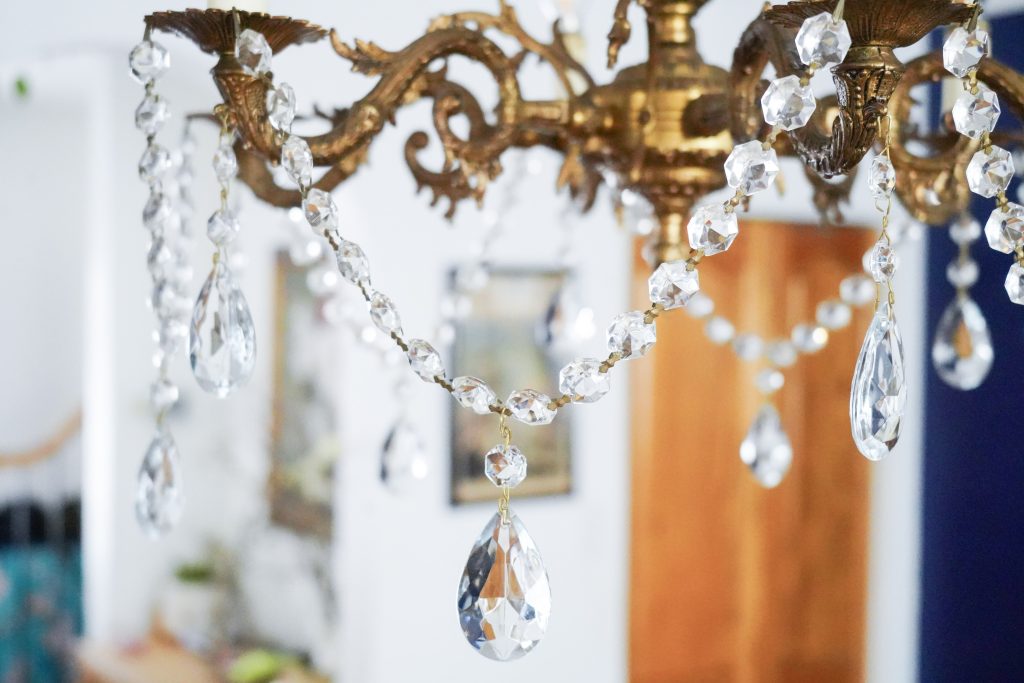
Truth be told, I’m not sure if I’m really happy with the way the crystals look. It feels a bit bottom-heavy. But I also don’t want to overload it with crystals. The vibe isn’t “fancy mansion party,” it’s more like “classy vintage.”
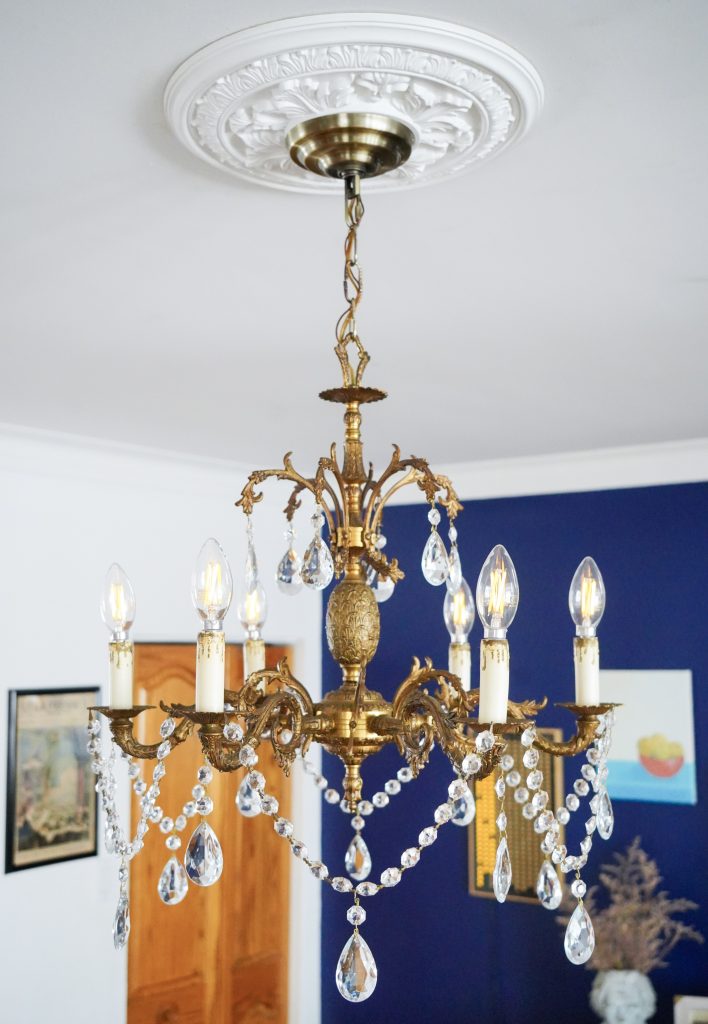
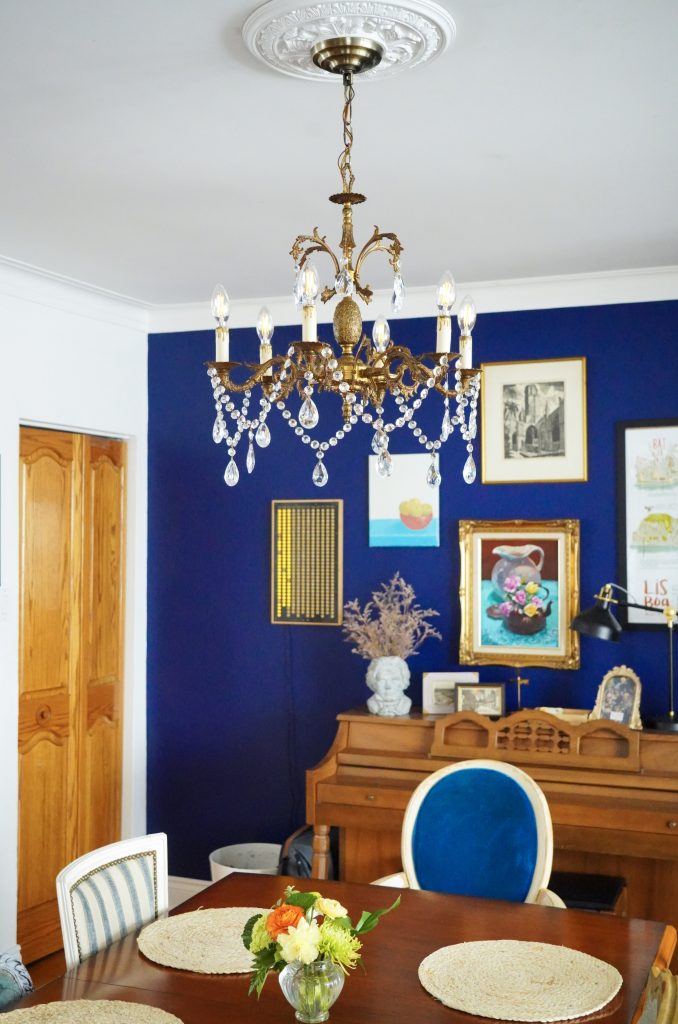
I think I need to live with it for a while to see how I really feel. I can always rearrange the crystals or add more later. For now, I’m very happy we were able to upgrade our dining room lighting and it only ended up costing around $200. I’m telling you, don’t sleep on the flea market! There are some amazing treasures waiting for a good home.
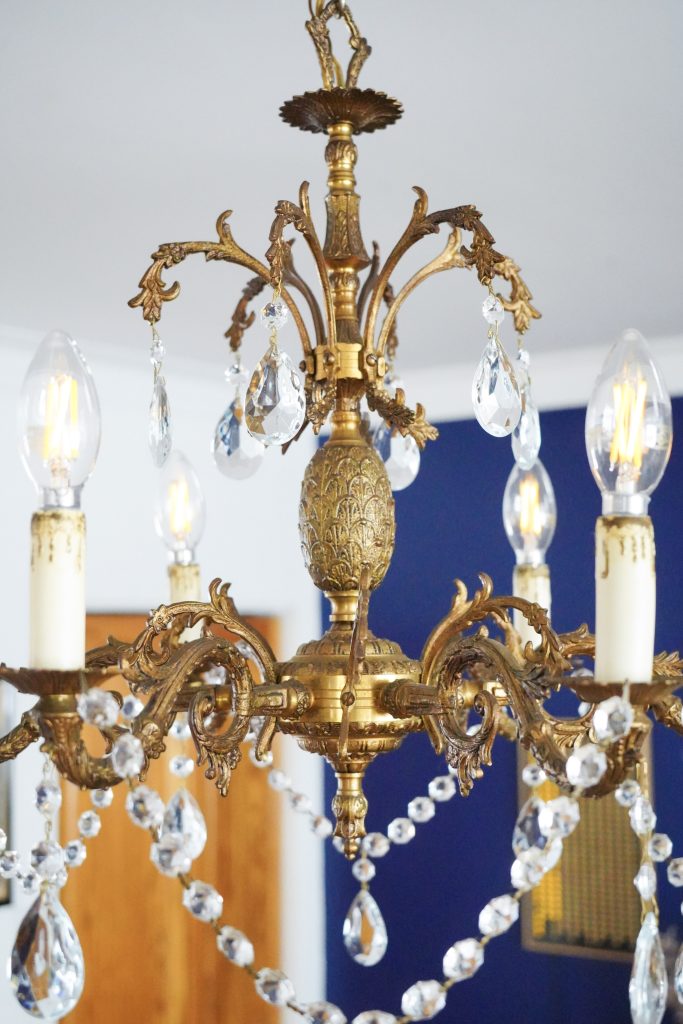
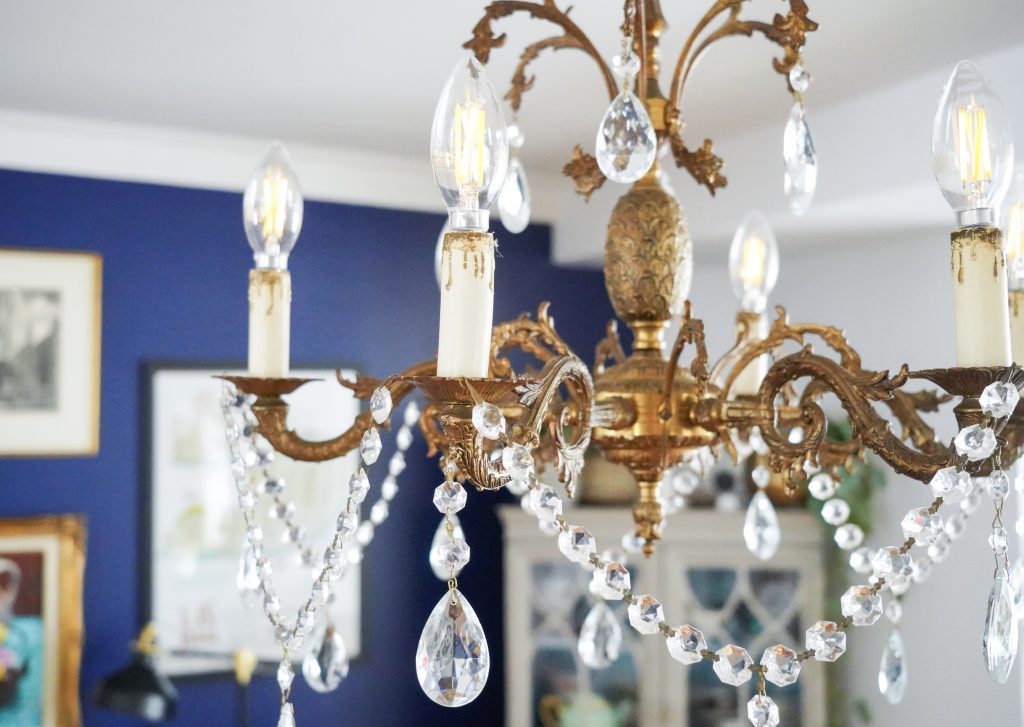
And if you have some time and some ketchup, you can spruce up just about anything!
xoxo

