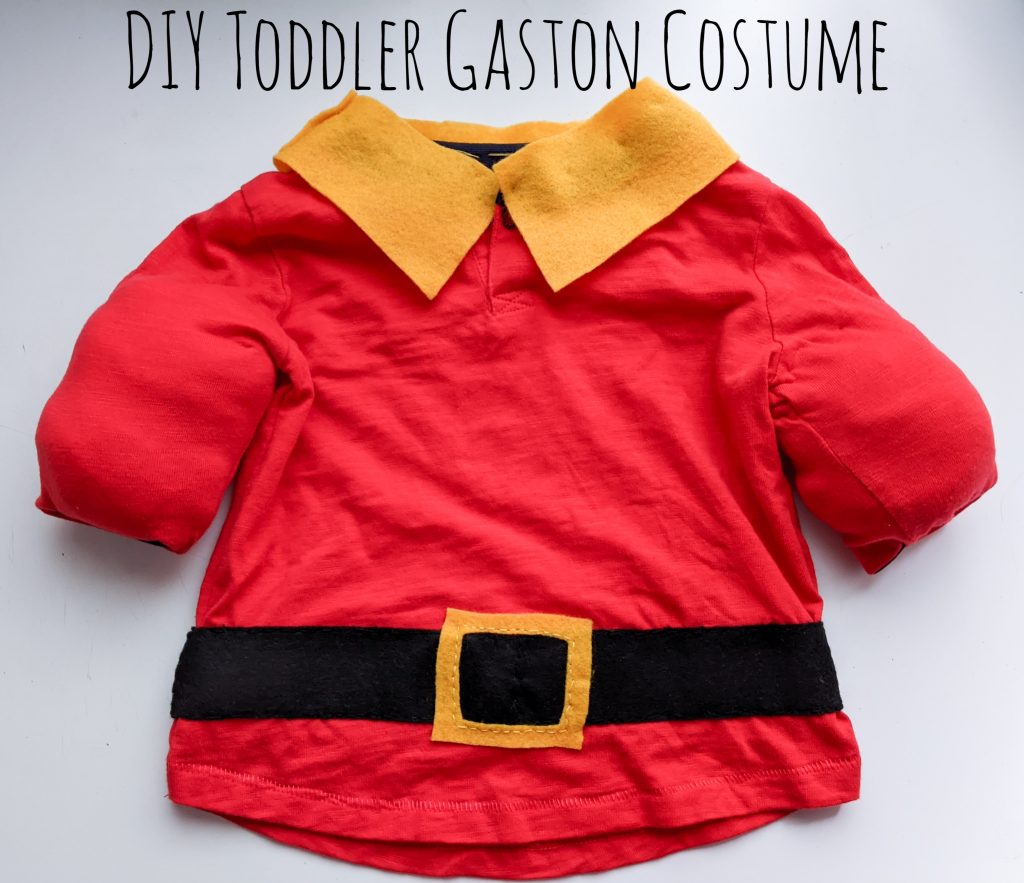
Halloween is going to look very different this year, but when has staying home with nowhere to go ever stopped me from dressing to the nines anyway? And as long as Theo is small enough for me to dress him, you better believe I’mma dress him in whatever I think is cute/hilarious. Bonus if it’s both!
That’s basically how I landed on a Gaston costume for Theo this year! Not only is it super simple to make, but I literally squealed with delight when I tried it on him. I mean….CAN. YOU. EVEN???
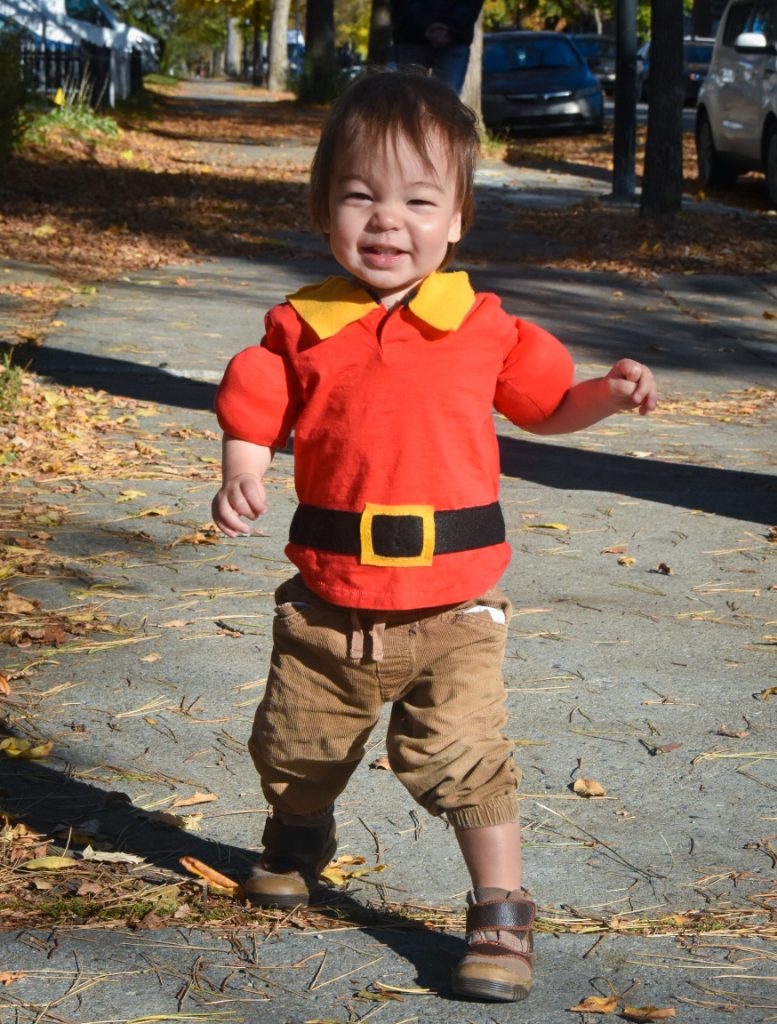
Here’s how to make your very own Gaston costume!
Materials:
- red shirt
- yellow and black fabric (I used felt)
- needle
- thread
- scissors
- stuffing or spare, fluffy/bulky fabric
1. Make biceps
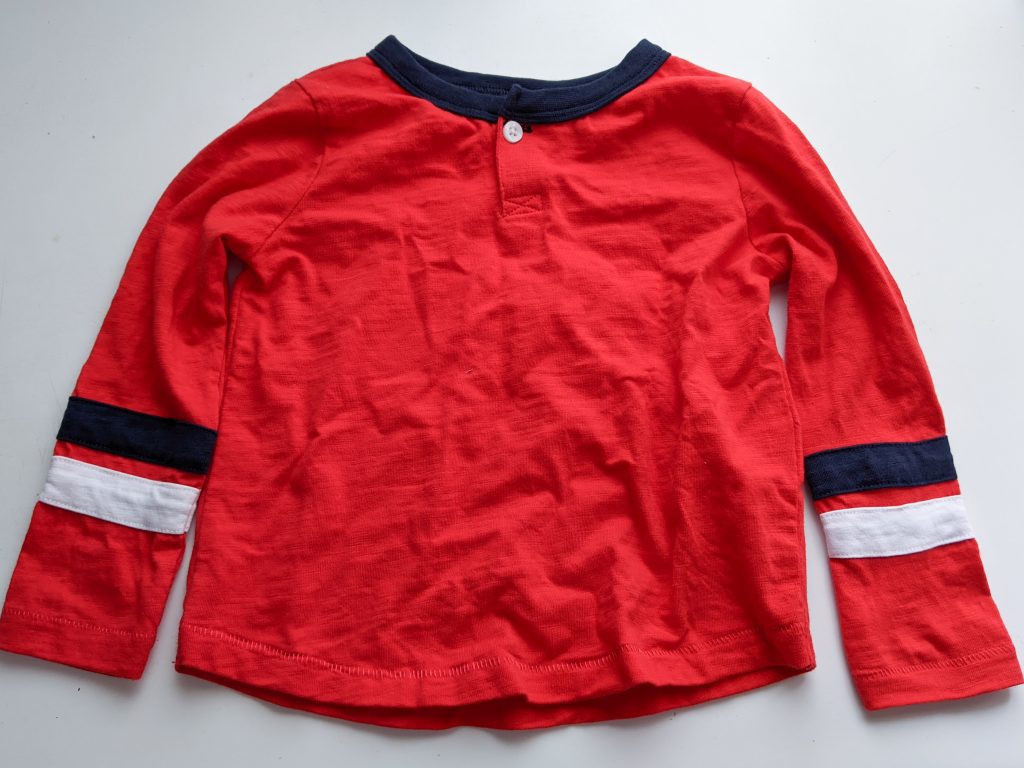
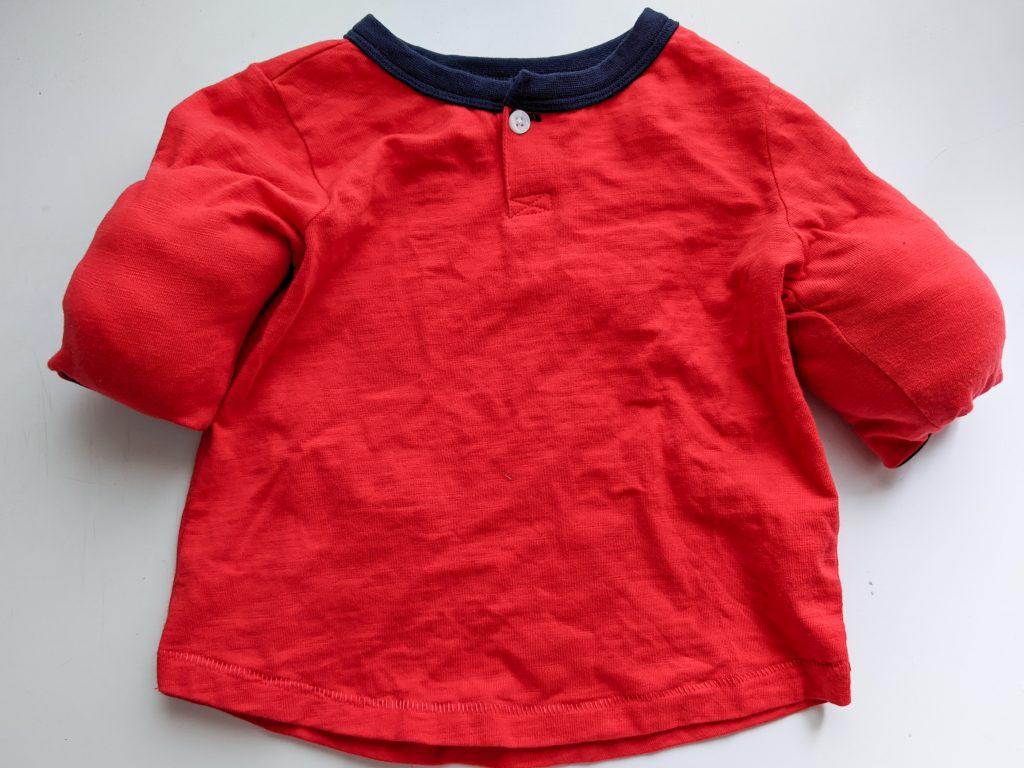
Get a red shirt and then turn it inside out. I happened to get a shirt that wasn’t completely red, but because the other colours were on the lower sleeves and collar, they were easy to cover.
Once the shirt is inside out, turn the sleeves inside out again, about halfway up the entire sleeve, to create a kind of pocket.
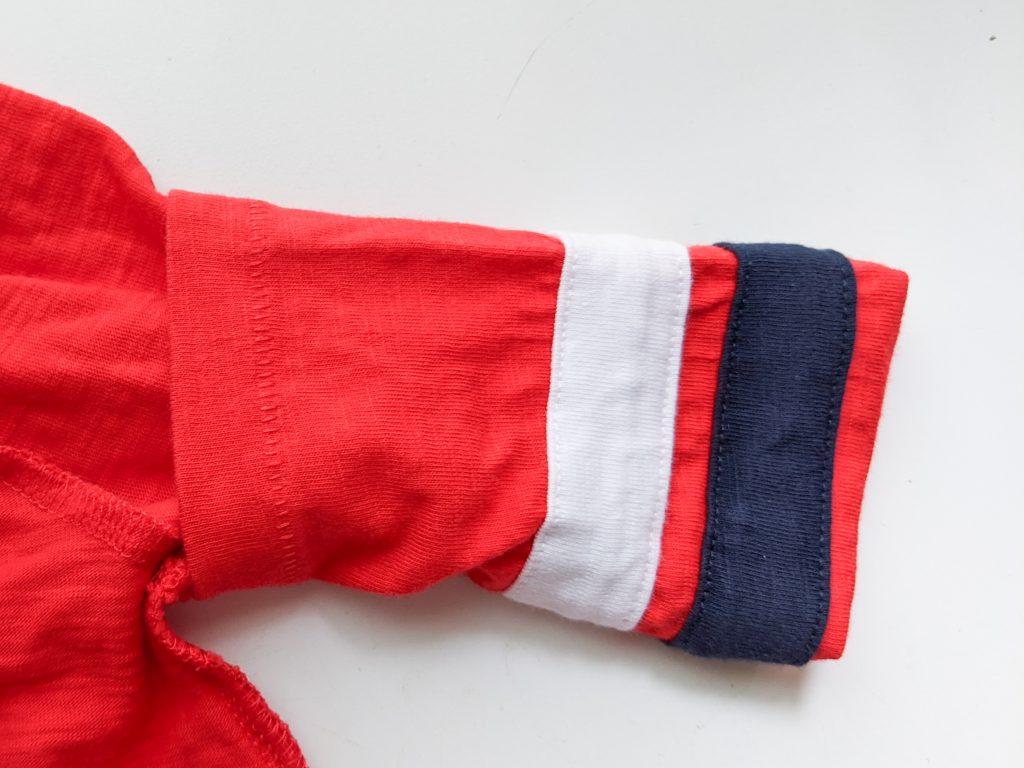
Sew the sleeve closed, but leave an opening at the top that’s at least a couple of inches wide.
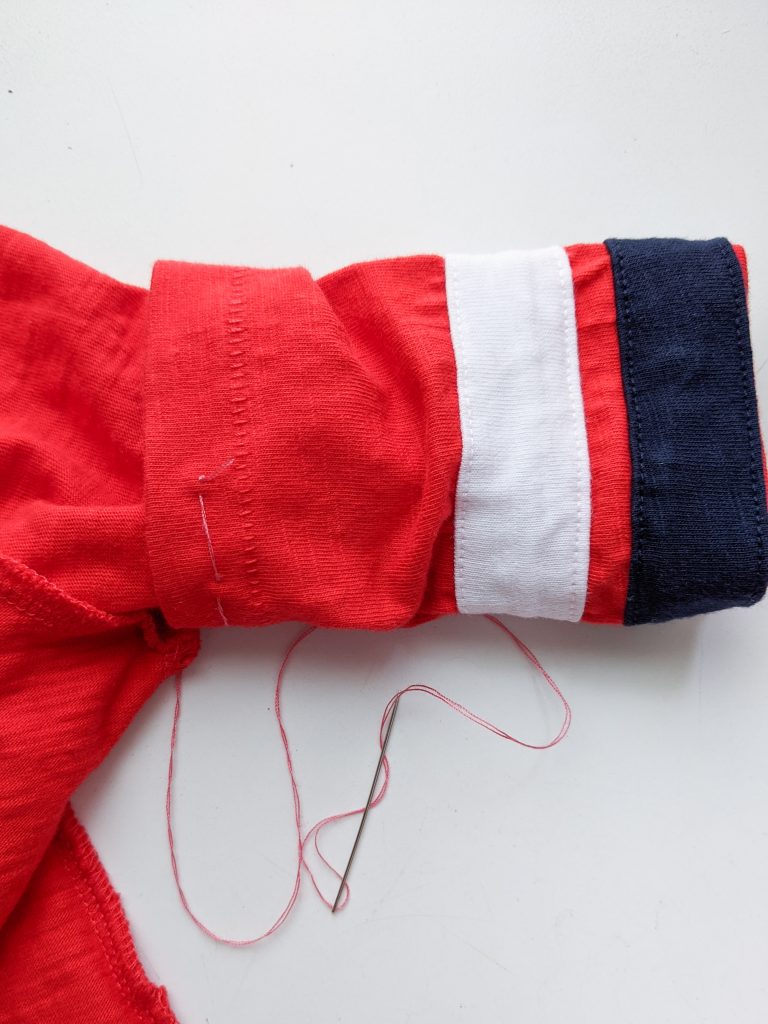
Stuff the pocket you’ve made out of the sleeve with some bulky spare fabric or craft filling. Make sure the stuffing stays at the top of the sleeve pocket.
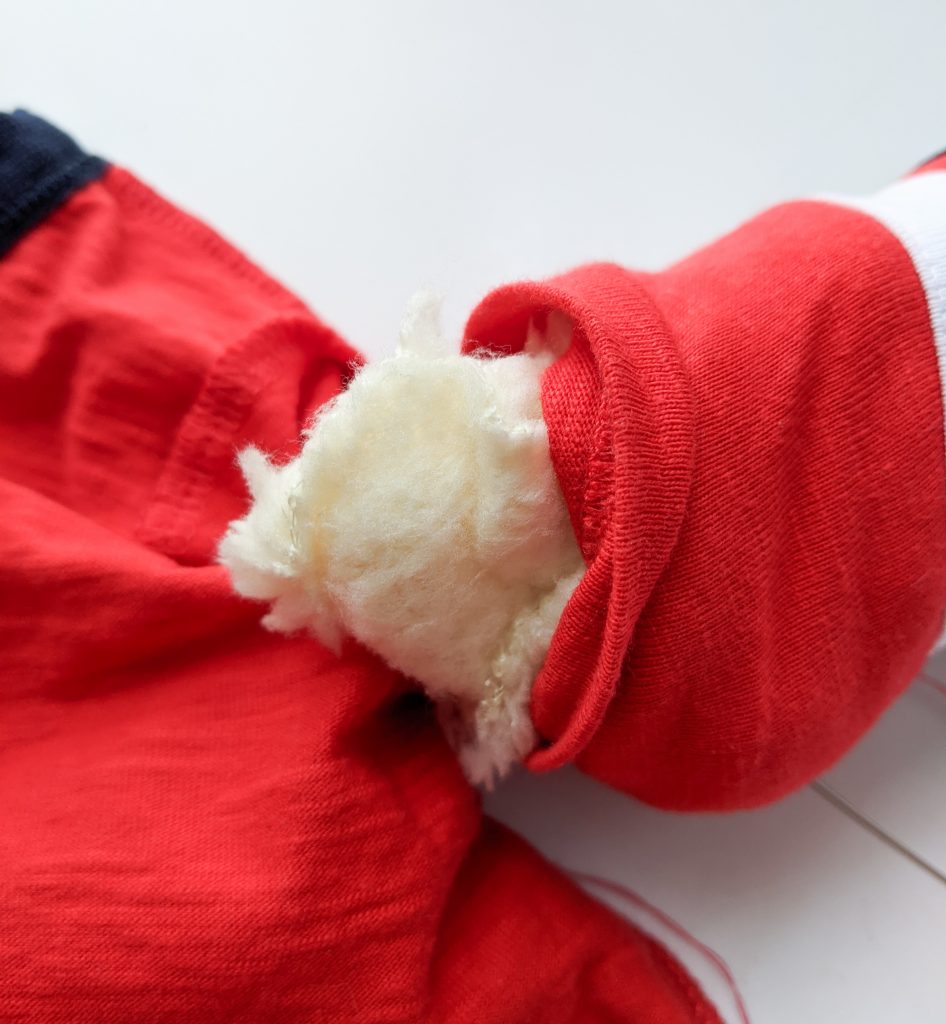
Once the sleeve is stuffed to your liking, sew it closed.
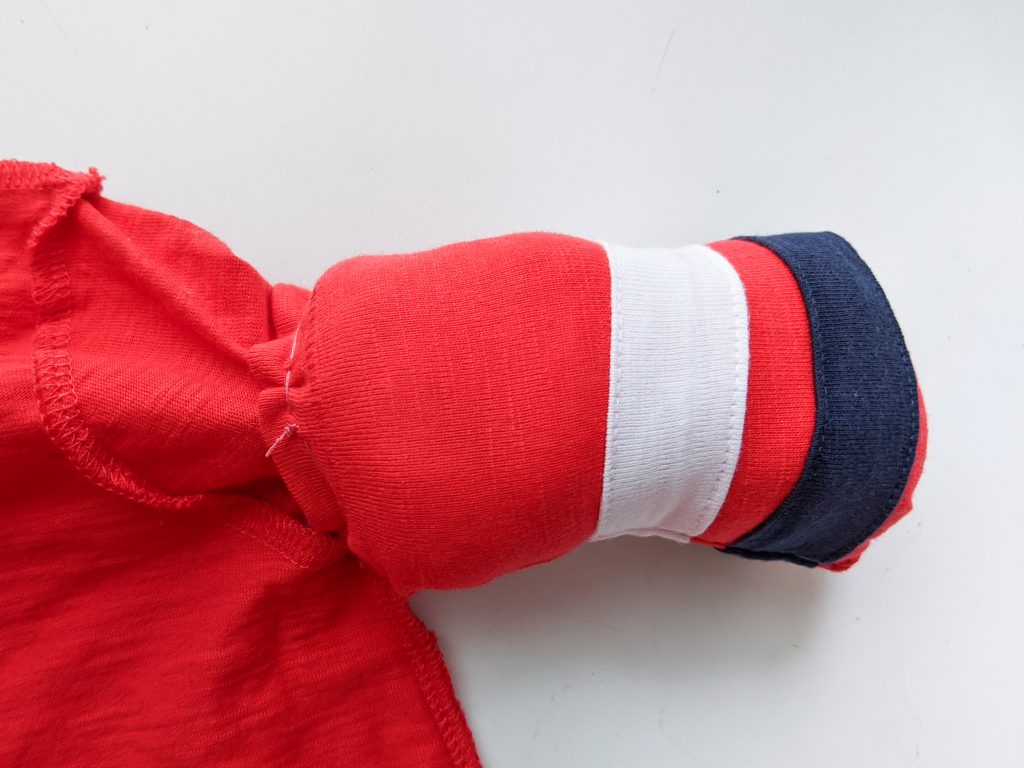
Turn the shirt right-side in.
2. Attach collar
For the collar, you could certainly just make a collar and sew it on, but I found it easier to break the collar up into three separate pieces.
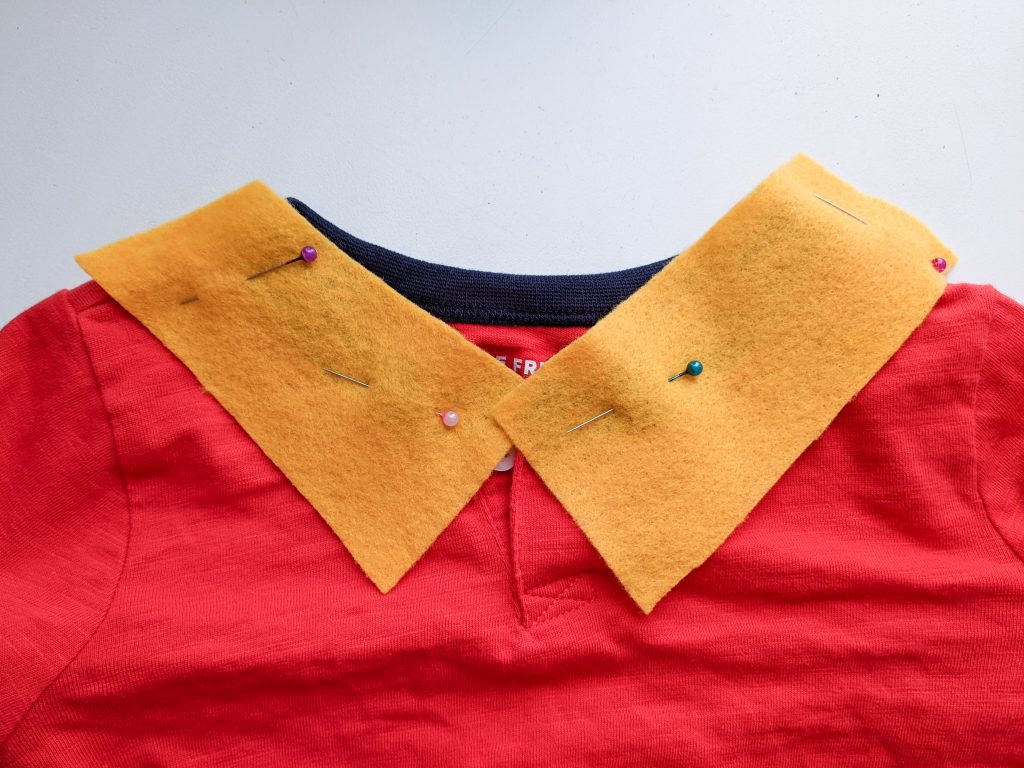
I pinned the entire sheet of felt I had to a section of the collar and simply cut it into the shape I wanted. I found this much easier than trying to measure and cut the correct collar shape in one piece. I didn’t have to measure anything or get it to fit. I just cut the three sheets to fit the specific section of collar.
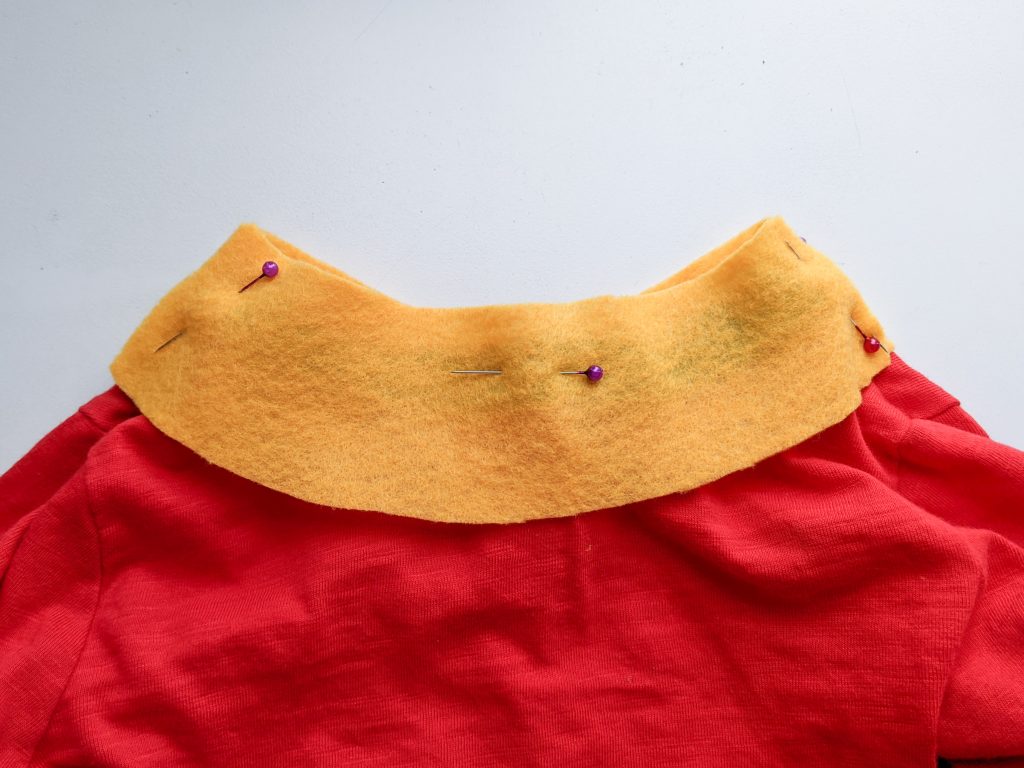
Tip: I didn’t want the stitching to show on the collar so I only sewed the minimal amount necessary to get it to attach to the shirt. I’m not sure what this is called, but I basically left about an inch of space between every other stitch and made sure it only showed on the inside. When the stitch had to show on the outside, I sewed really close together so it looks like only a slight pucker in that spot from the outside of the collar.
3. Attach belt
I used black felt for the belt and ended up making it in four separate pieces because the sheet of felt I had wasn’t wide enough. If you have enough fabric, you could certainly make it in one piece.
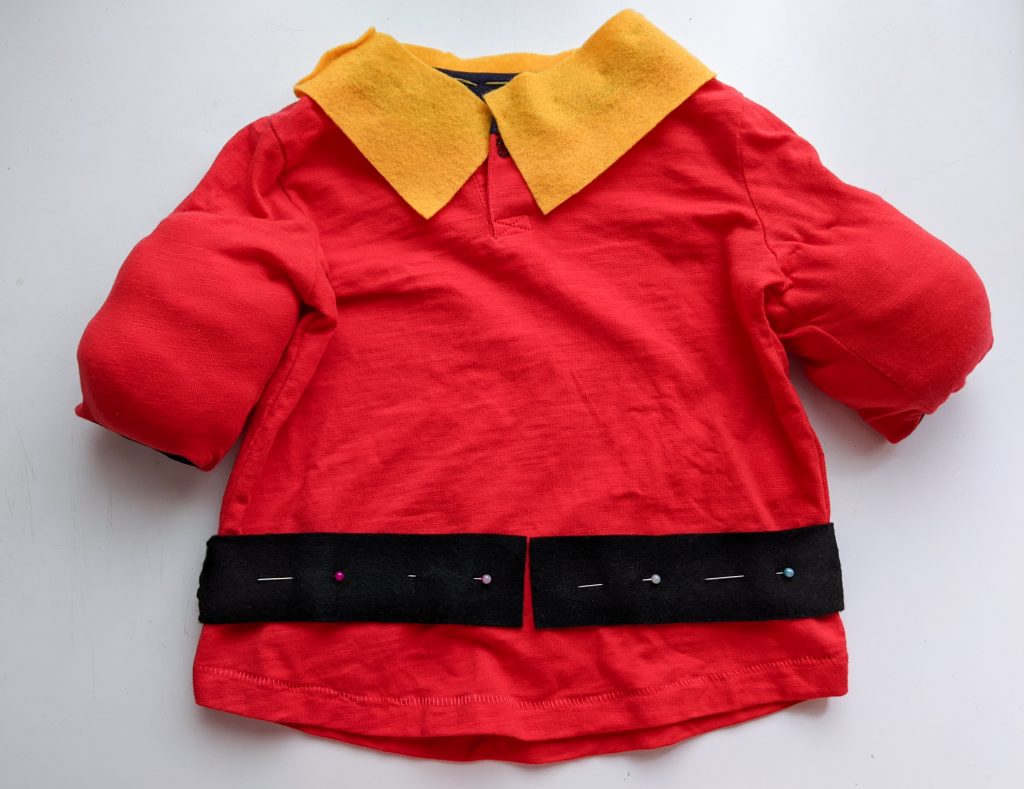
The process is even more straightforward than the collar. You just cut some long rectangles, pin them into place and sew them to the shirt. You can’t see the stitching on black very much so I just sewed the belt on the normal way.
For the buckle, cut out a piece of yellow fabric into a square that’s slightly wider than the belt.
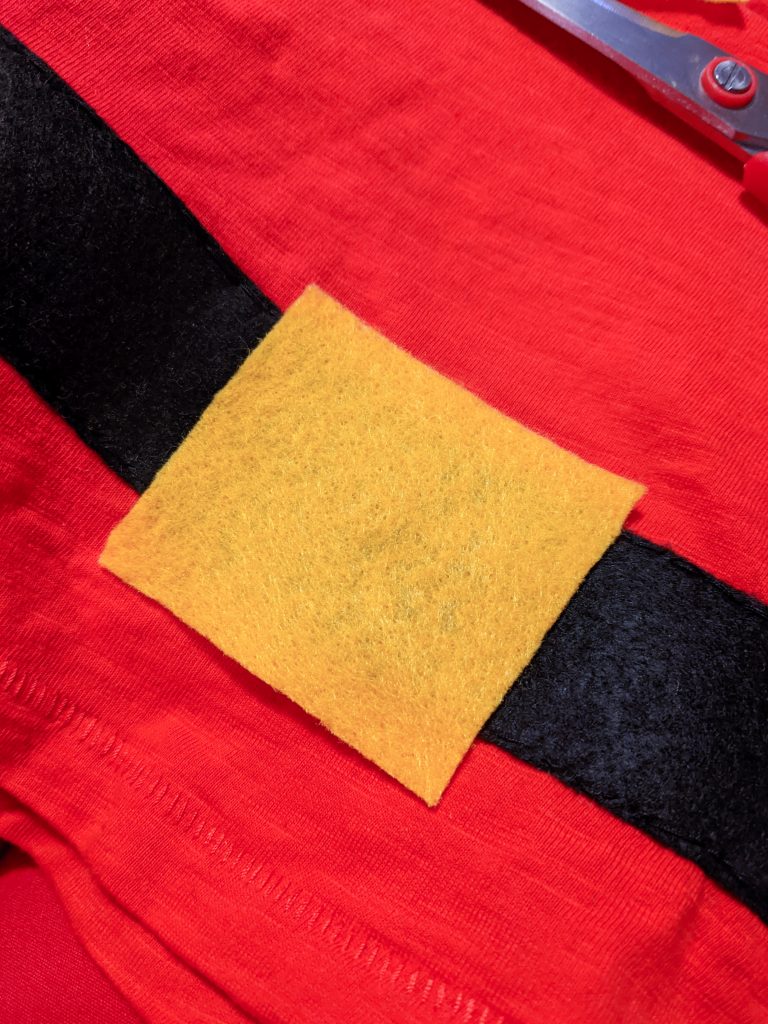
Then fold the yellow square in half and cut out the inside portion of the square. Start on the folded edge and leave a generous border on the remaining three sides.
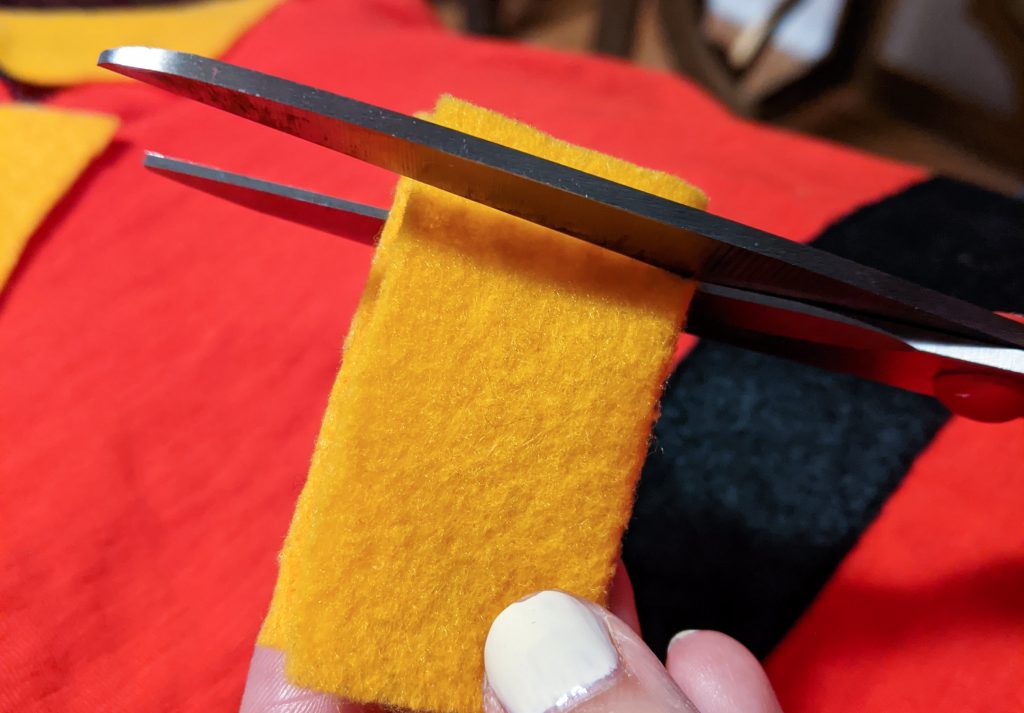
The portion that you cut out should be roughly the same wide as the belt. If it’s not, you can fudge it when you sew it onto the shirt, as long as it’s close enough.
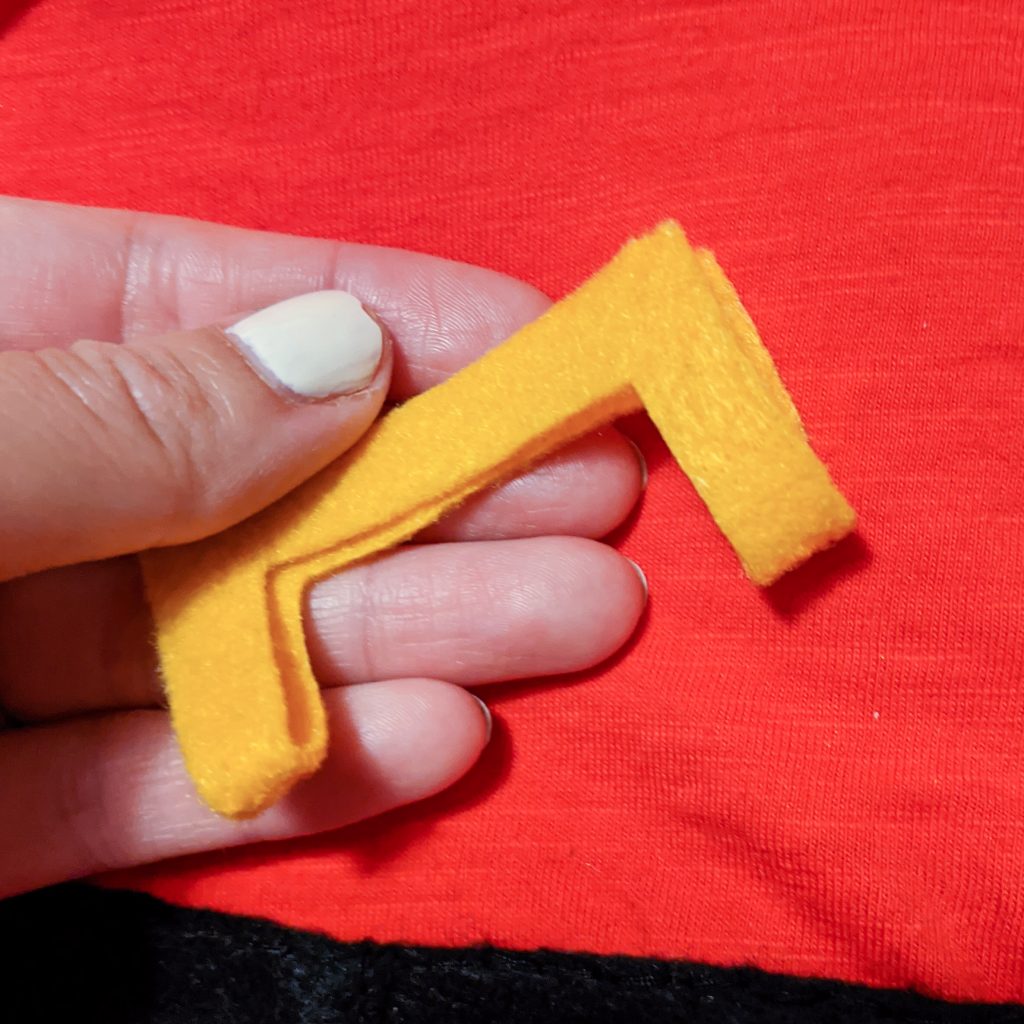
Now, sew the buckle onto the centre of the belt. The cut out buckle part was slightly wider than the width of the belt, but I just kinda squished the top and bottom parts of the buckle closer together when I was sewing. Because I used felt, you can’t really see any puckering in the finished product. I do think using more textured fabric helped a lot with hiding imperfections.
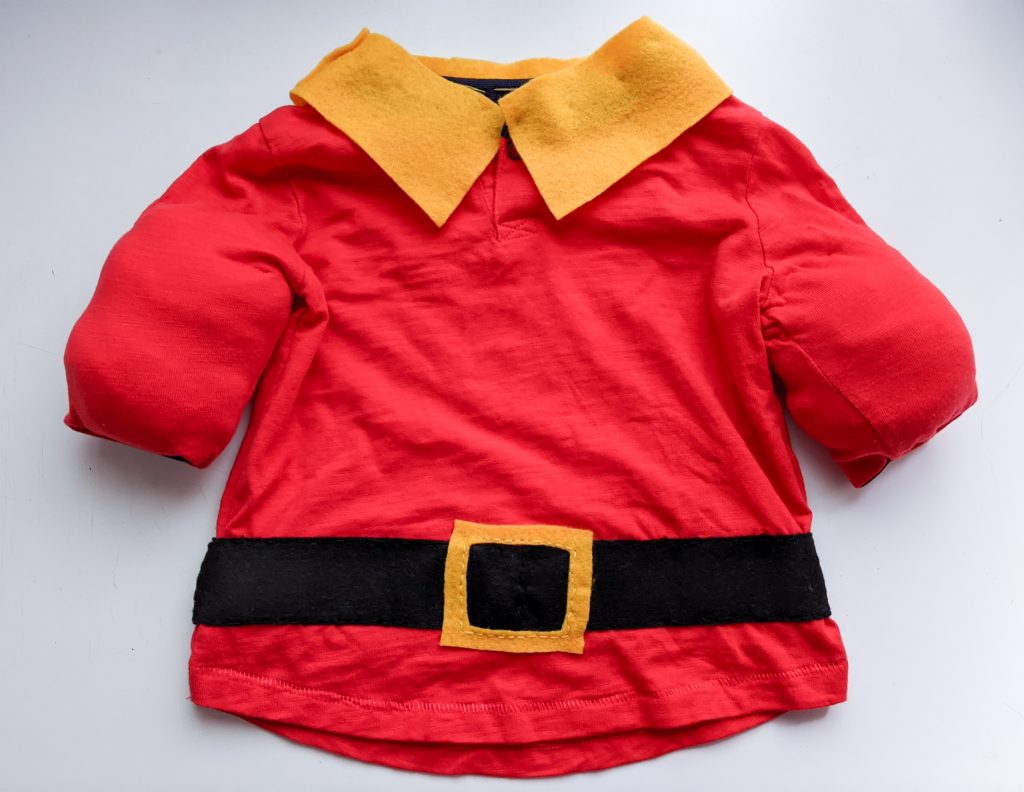
To be honest with you, I wasn’t sure this was gonna work or look good, but when I held up the finished product, I couldn’t believe how cute it looked!


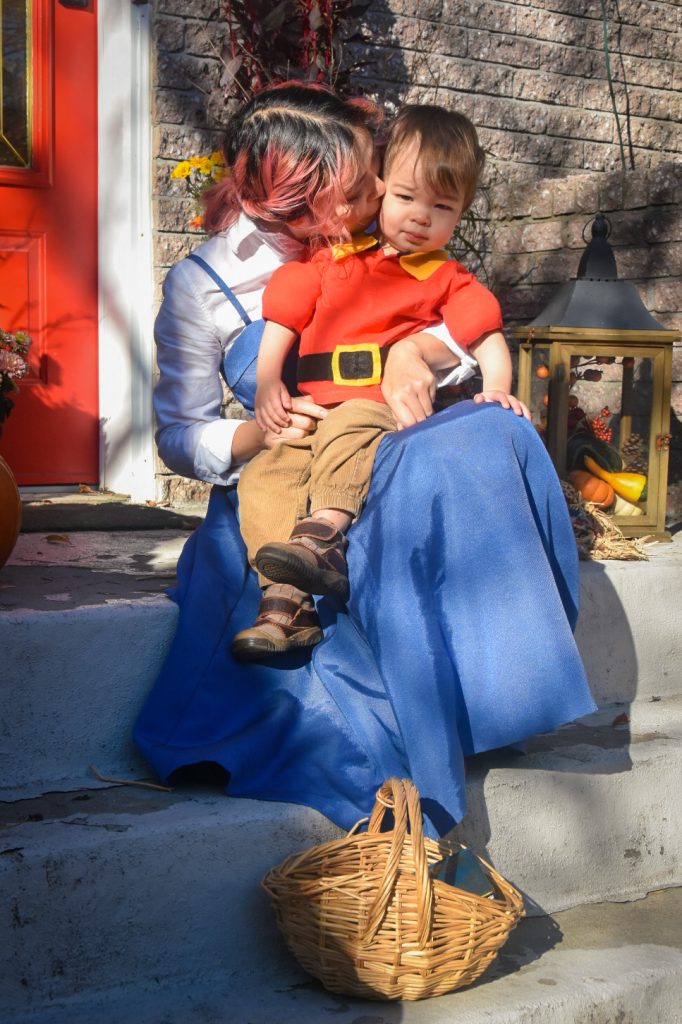
Well, if Gaston was this cute, I don’t think Belle could’ve resisted! Oh yeah, also if he weren’t a raging misogynist who only wanted Belle to be a son-making factory…. But he sure makes a cute/hilarious toddler costume!
Are you dressing up for Halloween this year? I don’t think you need to go anywhere to enjoy a little dress-up, personally, but we are definitely gonna make the most of things!
xoxo

