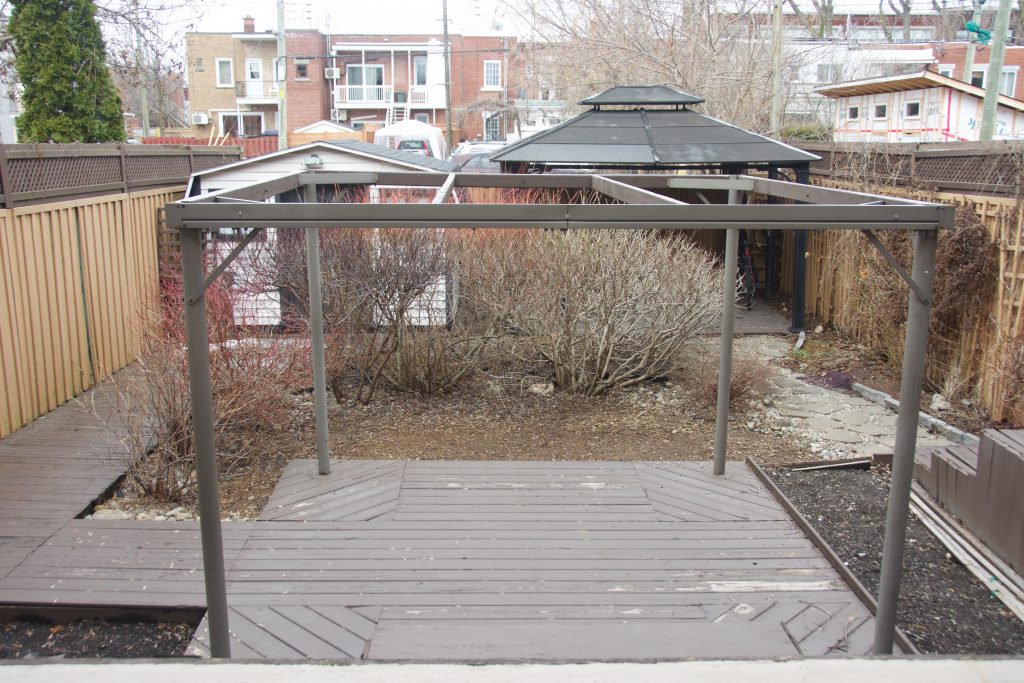
This is probably gonna be my last garden update of the year, but I thought I’d do a quick update on the other side of the backyard since so much has been happening the past month! Just to refresh your memory, this is what our backyard looked like when we bought the house:
After a couple of years, we got rid of most of what was in the yard, grew some grass, and I decided create a garden bed on the left side of the backyard. We planted a little Malus Coralburst crabapple tree, and some perennials that have since been moved around quite a bit.
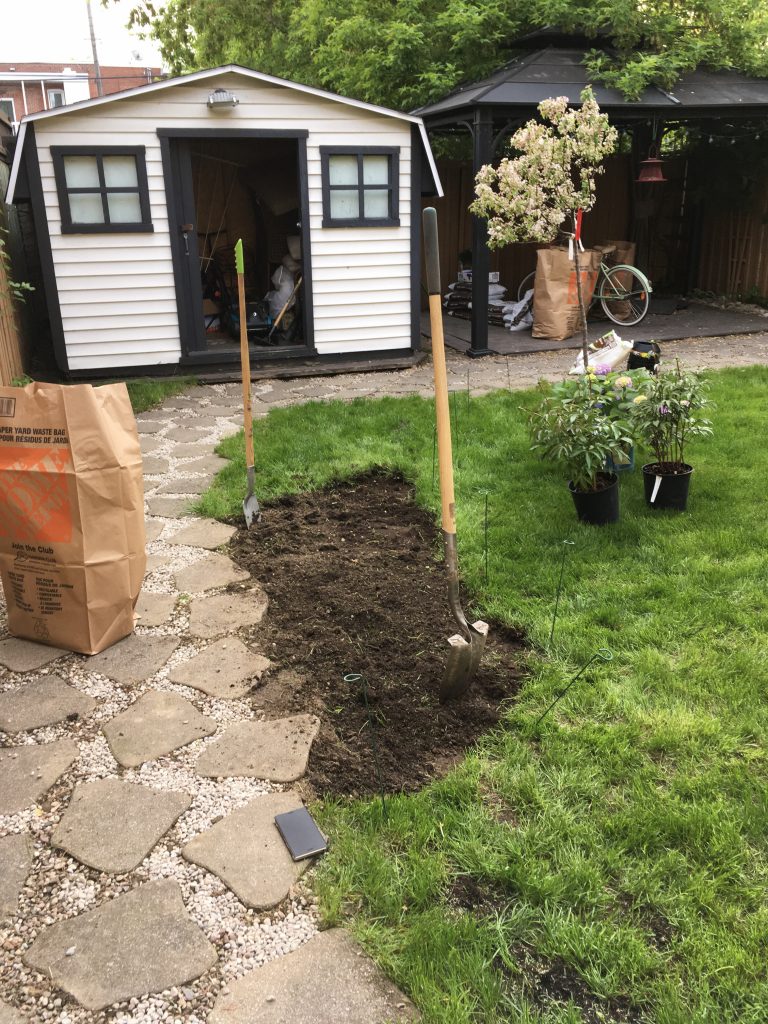
And this is what the garden bed looked like at the beginning of last summer:
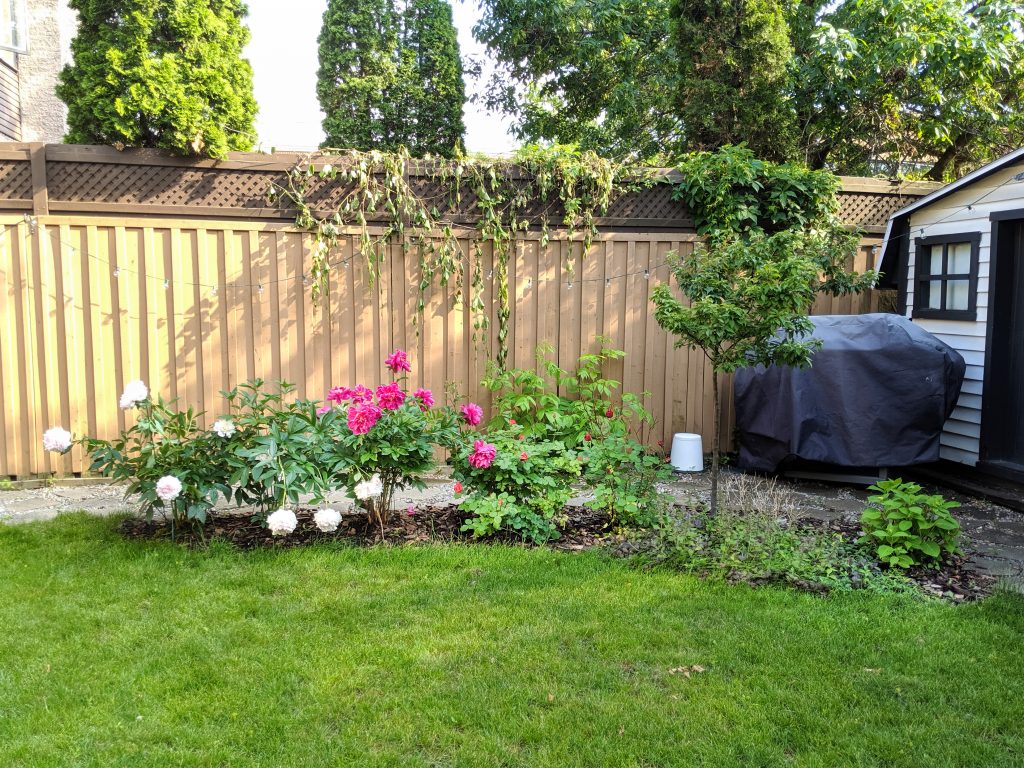
At the end of last summer, I transplanted the peonies near the crabapple tree and put four hydrangeas in their place. Which brings us to this year!
I wasn’t really planning on doing anything to this side of the yard this year, but then I ended up having a pretty big problem with the new location of the hydrangea bushes. We don’t really have any shade in the backyard, though our neighbours do have some big trees that give us some cover.
However, for the majority of the late morning and all afternoon, it’s full sun in nearly the entire backyard and my bigleaf hydrangeas just could not handle the amount of sun they got, despite now being in the shadiest spot in the backyard. They would droop every single day and the flowers would burn! I ended up installing a patio umbrella in our walkway to give them some relief.
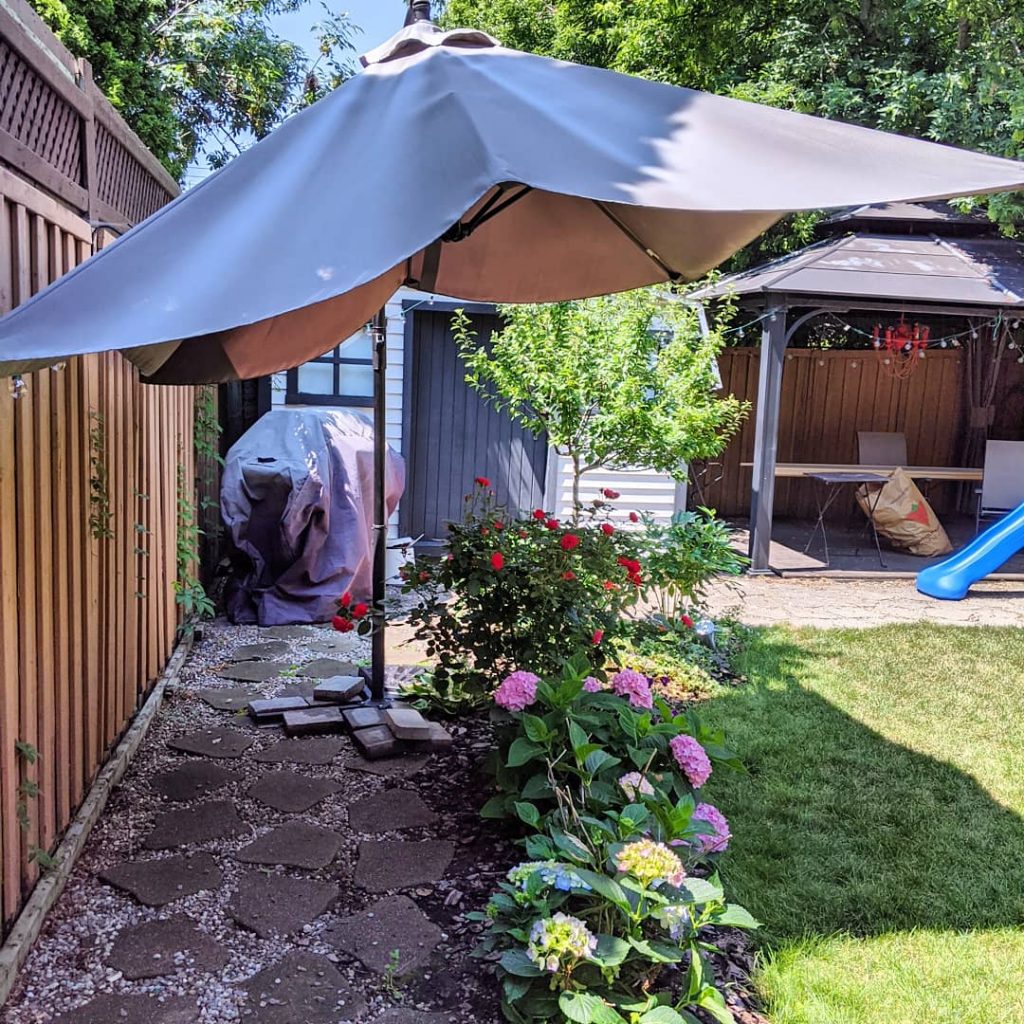
I wanted to keep the bushes in the backyard so I could see them from the kitchen window, so my solution to this problem was basically plant more trees and move the bushes right under them! I was always planning on expanding this flower bed at some point, but the timeline just moved up a bit. And I had never really considered putting more trees in the backyard, but the more I thought about it, the more I realized it would add so much more dimension, texture and interest to have different types of plants in the backyard and not just flowers. Not to mention, I’ve always wanted to have a blue spruce tree!
Prepping The Space
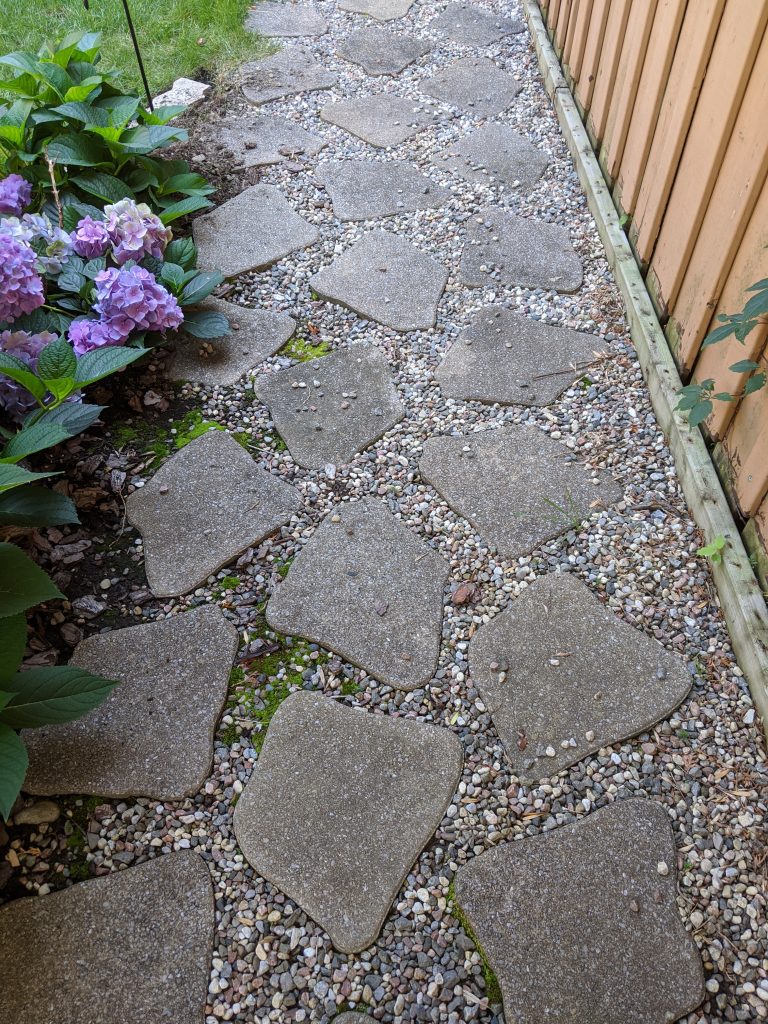
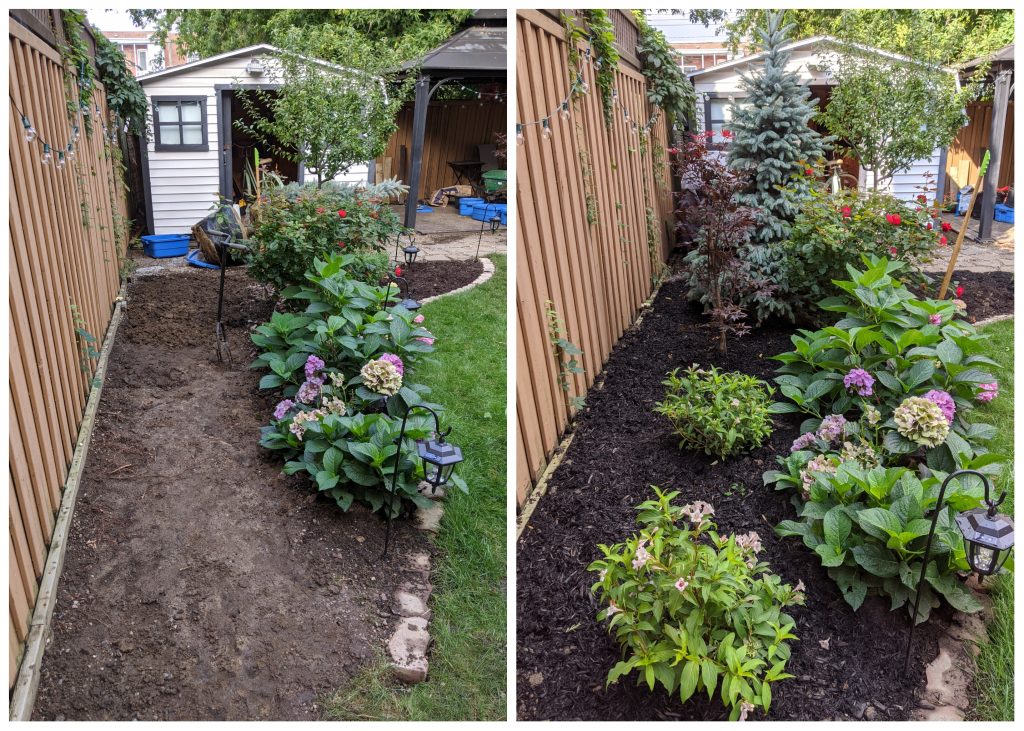
I had to first get to work removing the pavers on the walkway by the fence. I also had to shovel up all the old gravel and sand underneath. This was quite a process!
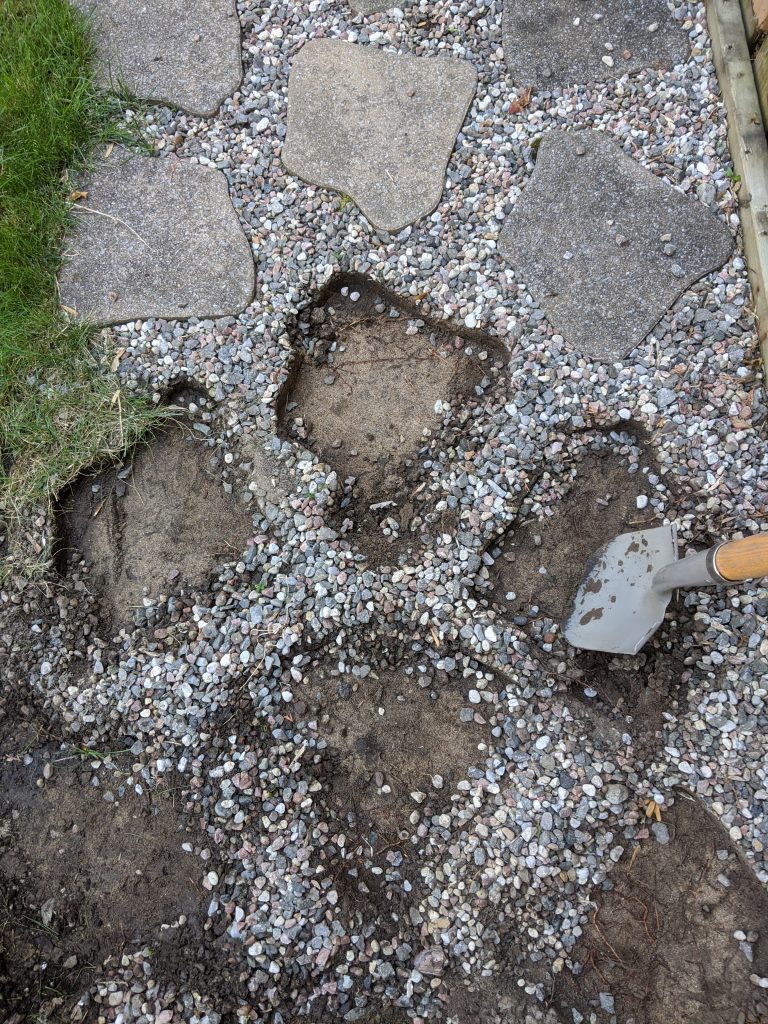
After that, I tilled the soil and started digging some holes, just to see what the quality of the soil would be. I knew it was alkaline clay soil, but I really had no idea. It just stuck together like thick paste after it rained a little and you stepped on it.
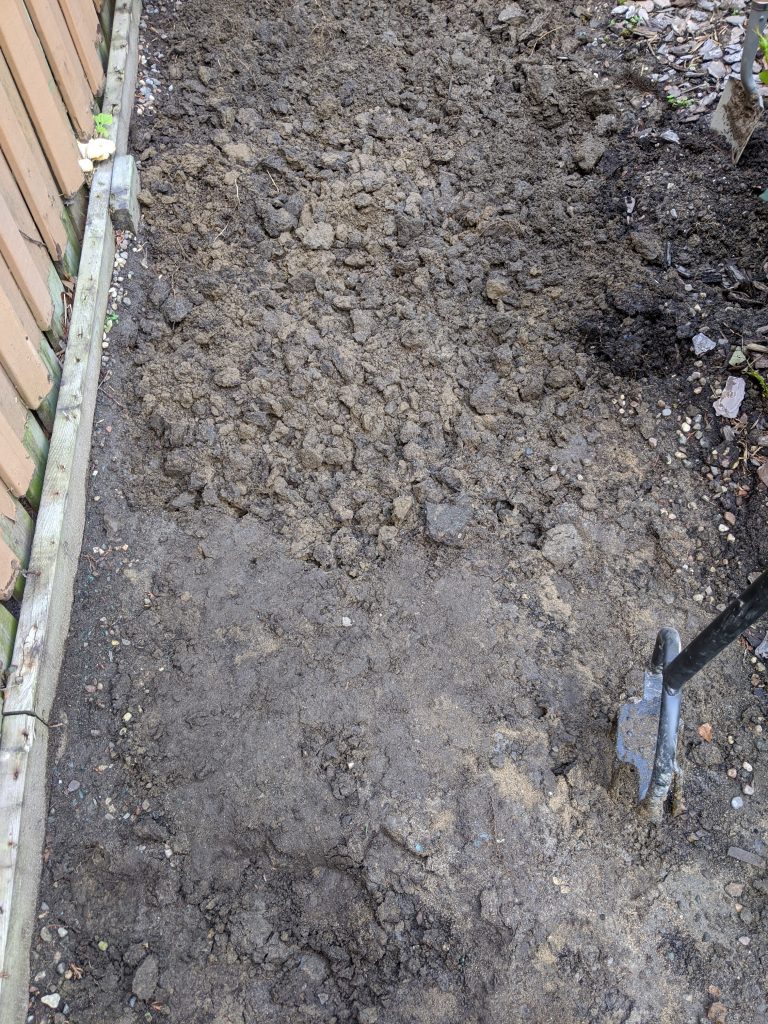
I struggled with whether or not to amend the soil because I think the prevailing wisdom is you should not do that for trees. But I think that refers more to just adding new, richer soil that is nothing like the native soil INSIDE the hole you dig. It makes it so that the roots of the tree get too used to getting a certain type of soil and then when they finally start growing past the hole you amended, they don’t know what to do about the new, poor soil they encounter and just stop growing.
But I decided just to mix some plain black earth into the existing soil in the entire bed and hope for the best. I needed to raise up the new portion of the bed anyway to match the level of the existing bed.
Planting Some Trees
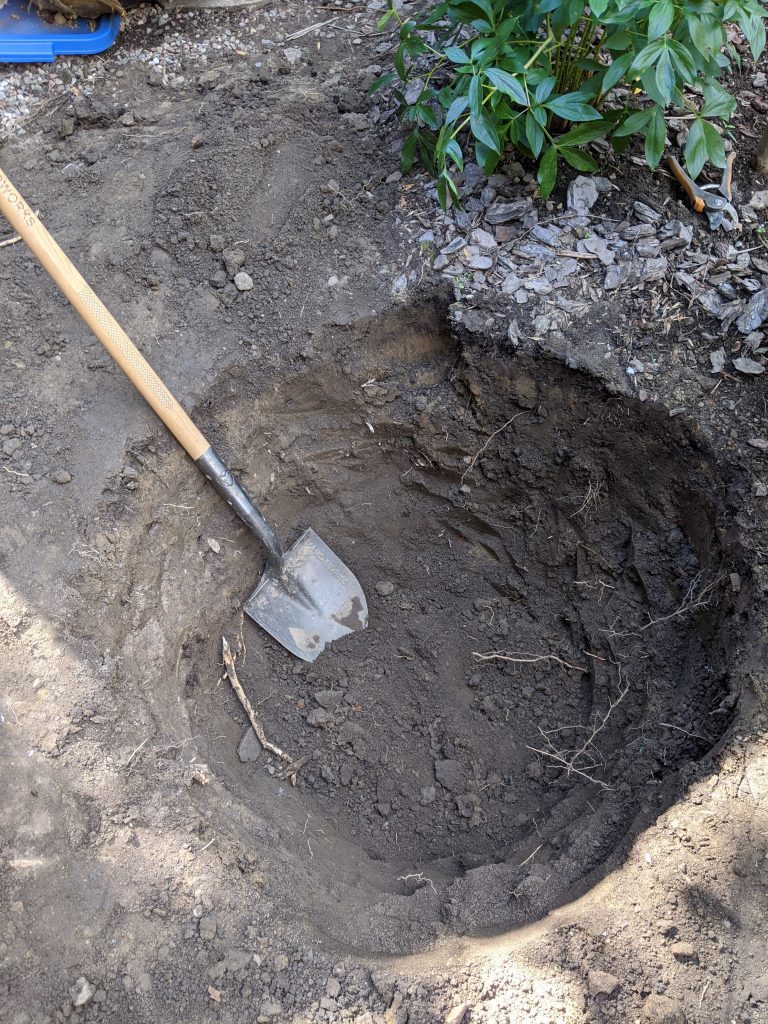
I don’t think this photo truly illustrates how big and deep this hole we dug for the spruce was. I got a Fat Albert Blue Spruce that was about 225cm tall and weighed around 500 lbs! The rootball itself was almost 2 feet long and wide.
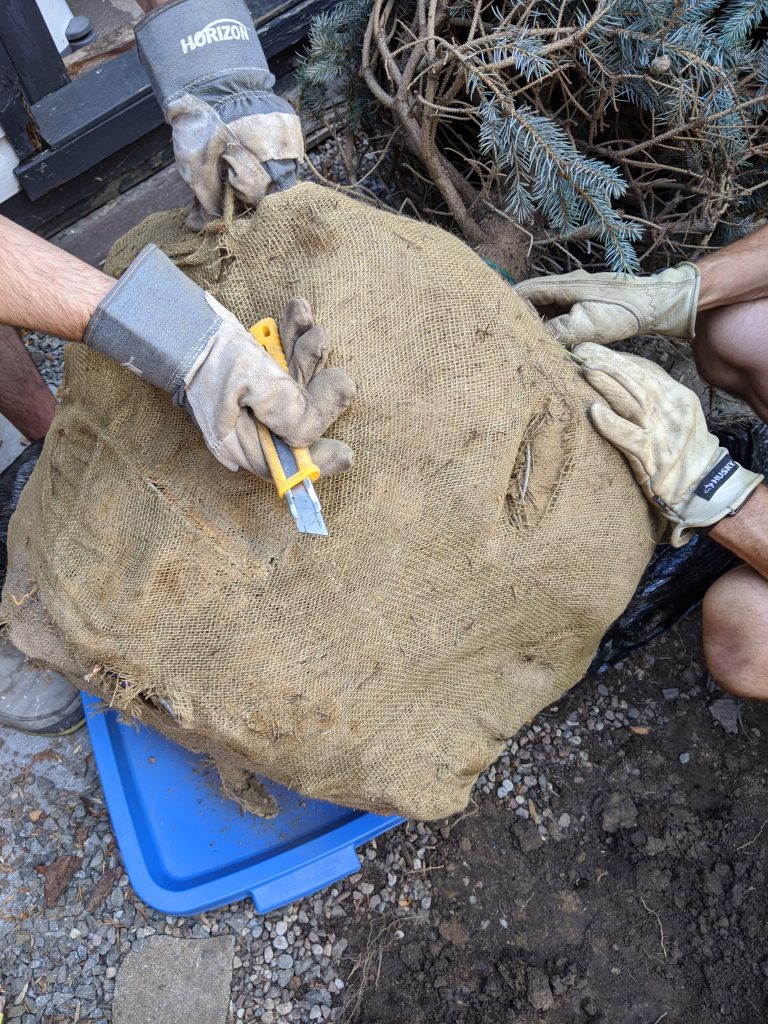
I think some people say to keep the burlap on the rootball when you plant it, which I guess works if the burlap you have is biodegradable, but we took it off our tree.
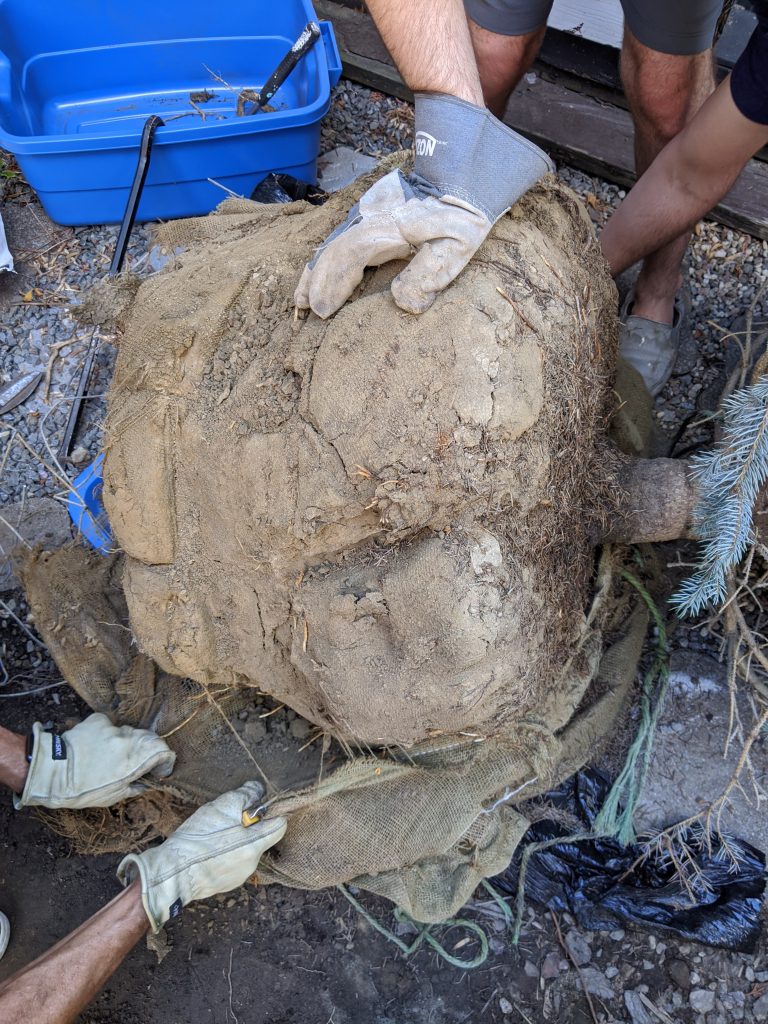
Getting the tree into the hole was quite a to-do! There was a lot of trying to wiggle/roll it over without damaging the branches or the other plants in the vicinity. But I’m so happy with how it looks! Ol’ Albert is definitely my favourite new addition to the garden!
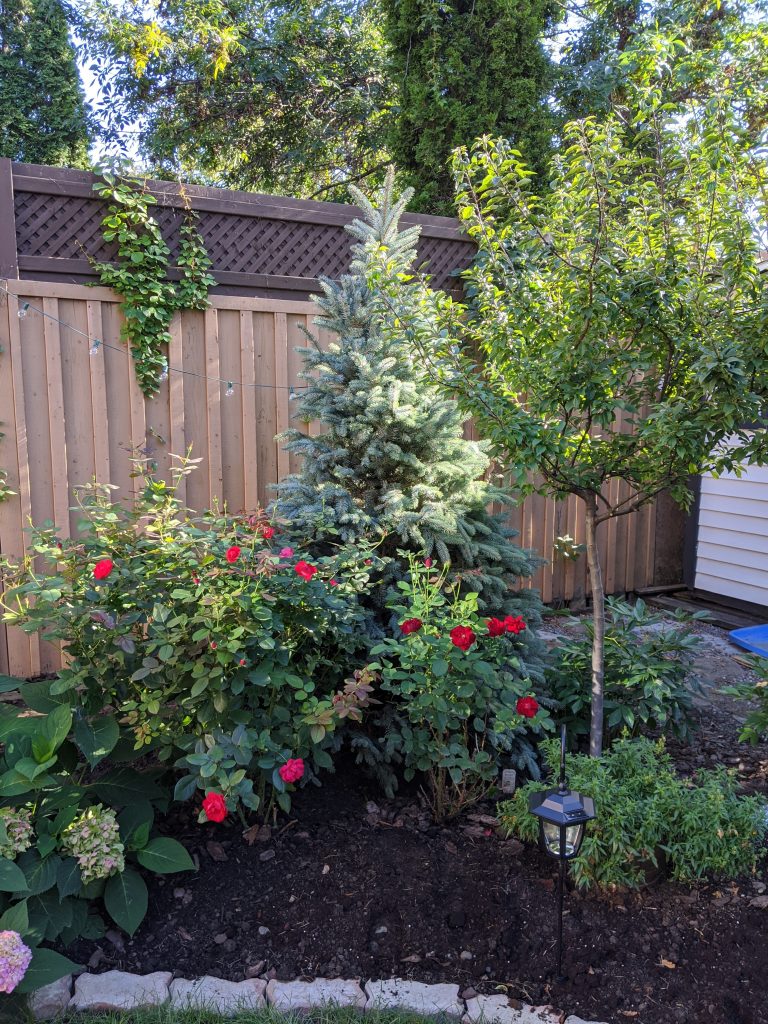
I specifically chose a Fat Albert because of how wide at the bottom and full they are (I mean, come on, it’s so cute!) but also because they tend to grow slowly. Because I’m kind of flanking it with other trees and bushes, and it’s pretty close to the fence, I wanted a variety that wouldn’t get too big, too fast. The spot I chose for it also doesn’t get a ton of sun, so I’m hoping that keeps it growing fairly slowly as well.
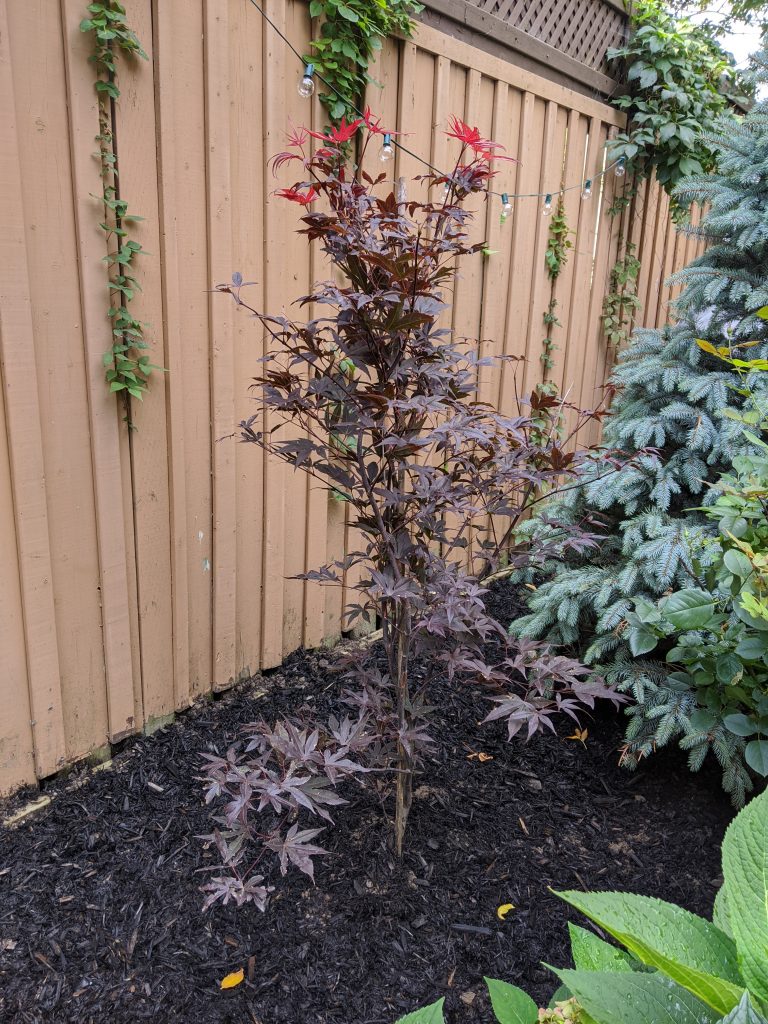
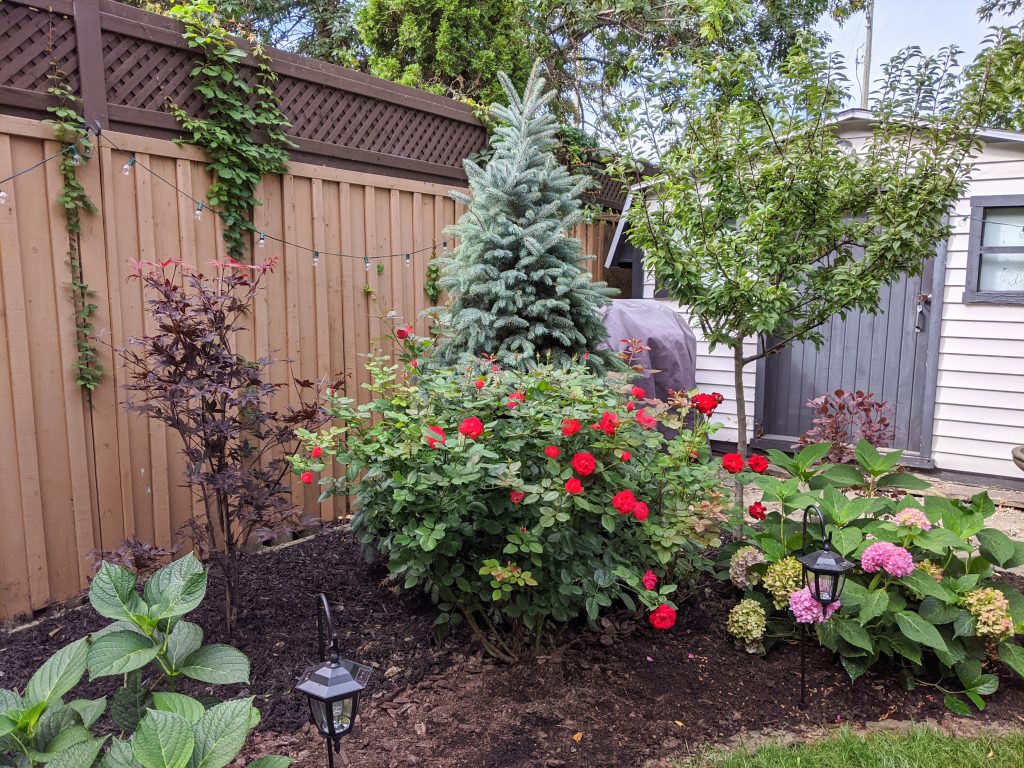
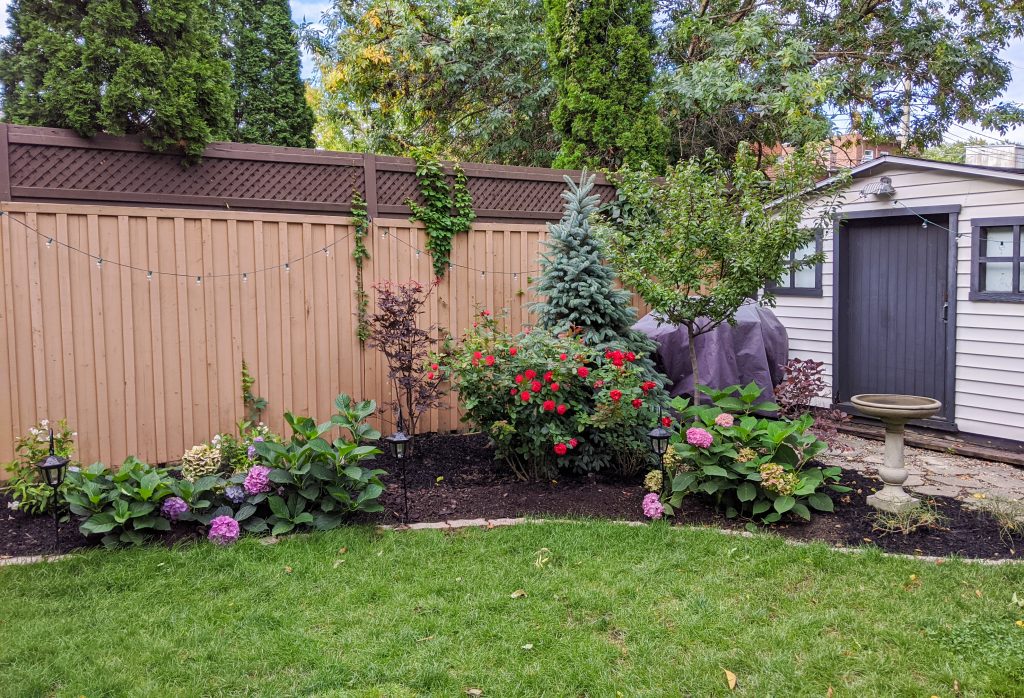
To Albert’s left side, I also put in a Bloodgood Japanese Maple tree. I really wanted to create a kind of triangle swoop of trees in that corner of the flower bed and I wanted the three trees to be completely different from each other. I think the contrasting colours, textures and shapes make the corner so interesting to look at, not to mention, it helps each individual tree stand out so much more!
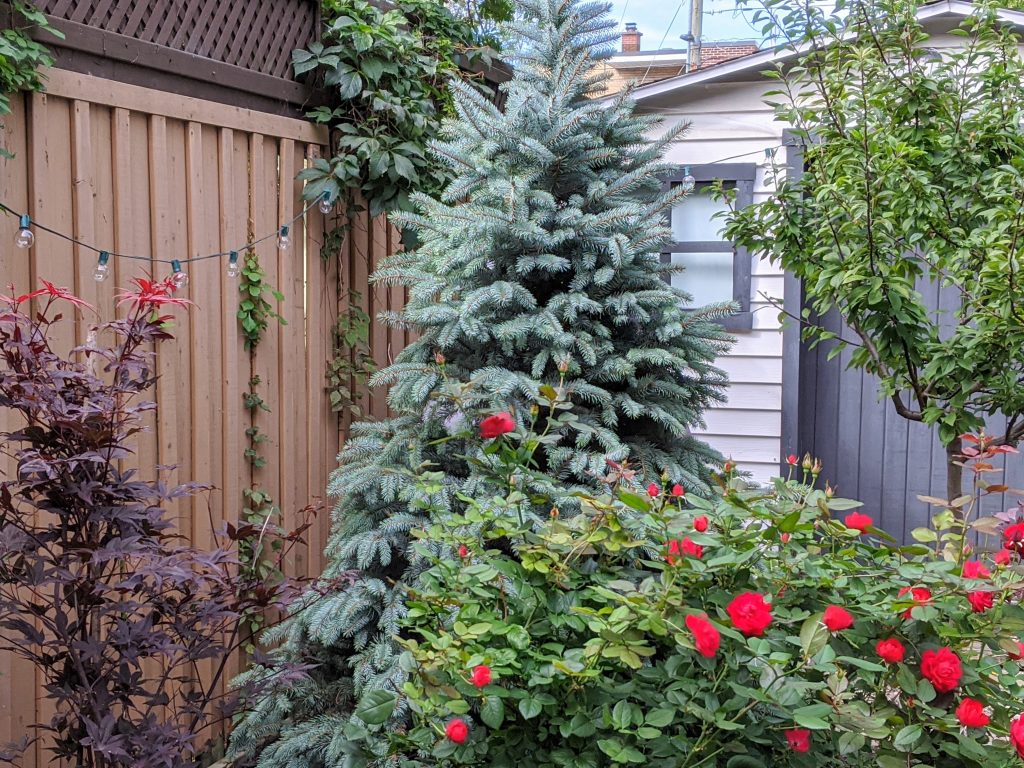
The crabapple gets those beautiful pink and white flowers in late spring and has such a thin, delicate trunk, and tiny green leaves all season long, whereas the maple has these rich, dark burgundy leaves that start branching off straight from the ground level and turn bright red in the fall. You could almost shape it into a bush if you wanted! And then there’s the magnificent spruce, with its silver blue branches that give colour and texture all year long. I just love this new tree corner we have!
Planting Some Bushes
Since I was gonna bring in some more trees, I wanted to add some bushes as well, just to add more levels and more of a gradient in terms of impact to the garden bed.
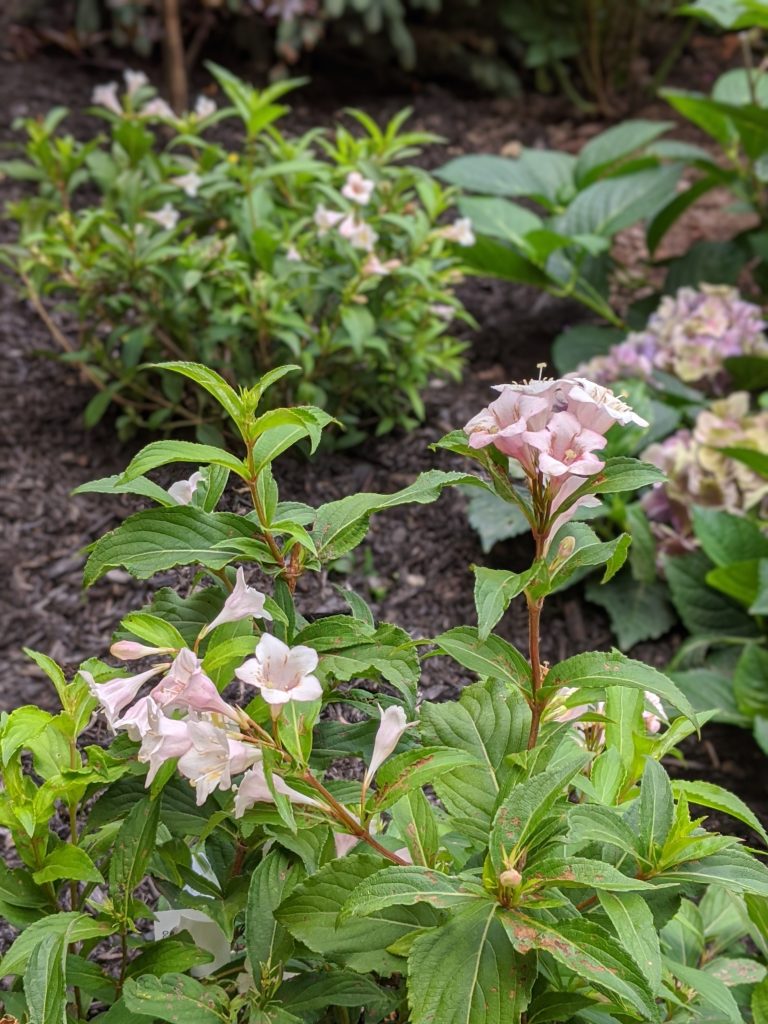
Beside the Bloodgood, I put in two Sonic Bloom Pearl Weigela bushes that will eventually grow to be 1.5 metres tall and wide. I placed them so that they would eventually grow to the fence. I chose this bush because I wanted a flowering bush that could provide blooms for the entire season. They have these pretty pink and white trumpet-like flowers that apparently attract humming birds, though I’m not sure we have any in our neighbourhood.
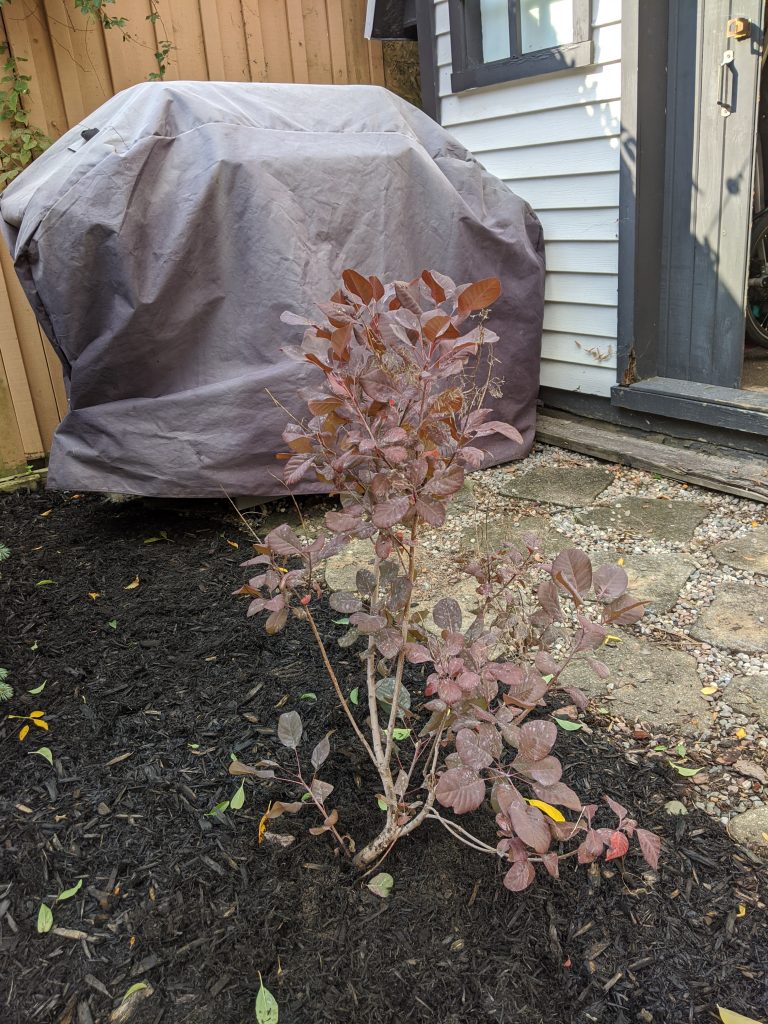
And behind the crabapple tree/beside the spruce, I put a Winecraft Black Smoke Bush. I really wanted to add more colour variety to this garden bed, instead of just green-leafed trees and bushes, and this bush really compliments the maple on the other side of the spruce. I didn’t realize it when I picked this one, but its leaves are turning a bright orangey-red with the cooler temperatures, which I consider a bonus.
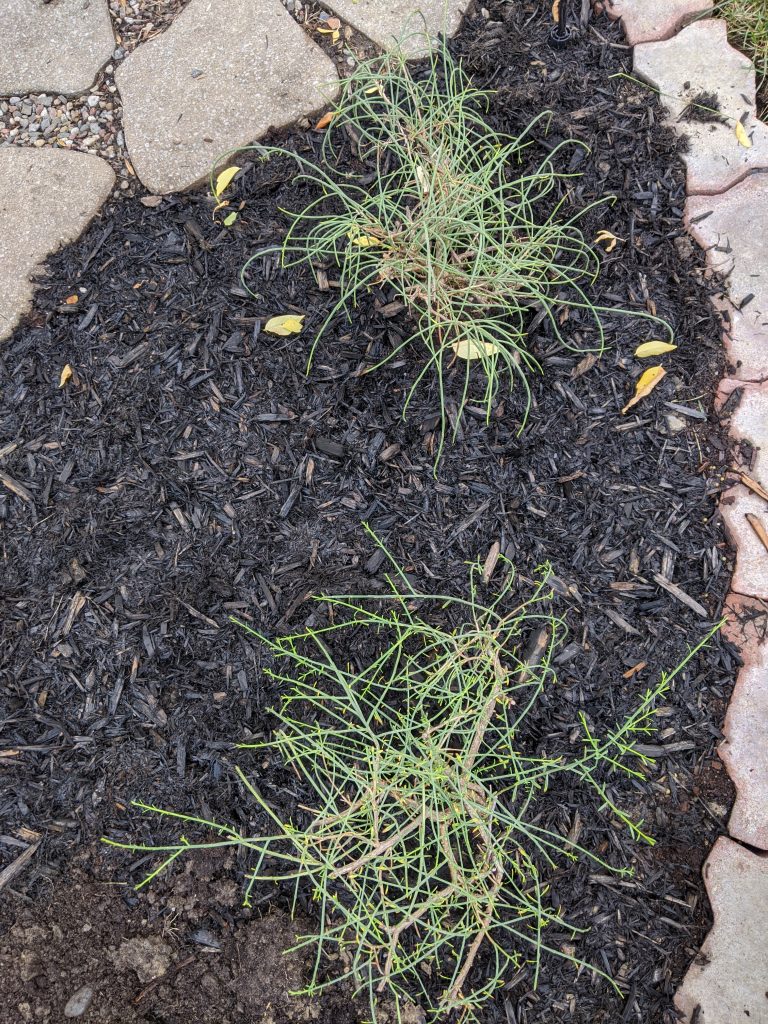
And finally, in the kind of triangle wedge at the north end of the garden bed, I put in a couple of Lydia Genista Tinctoria. These are very low-growing, compact bushes that have yellow flowers in the spring. I just wanted a pop of yellow in this garden bed and was looking for a bit of early colour and texture that could sort of fill the space a bit in the spring when the rest of the plants are just coming out of dormancy and growing their buds.
Finishing Touches
I hesitate to call these “finishing touches” ’cause the bed is nowhere near finished, but just to finish up this round of work that I’ve done in the bed, I transplanted one of the bigleaf hydrangeas to its (hopefully) permanent spot underneath the crabapple trees.
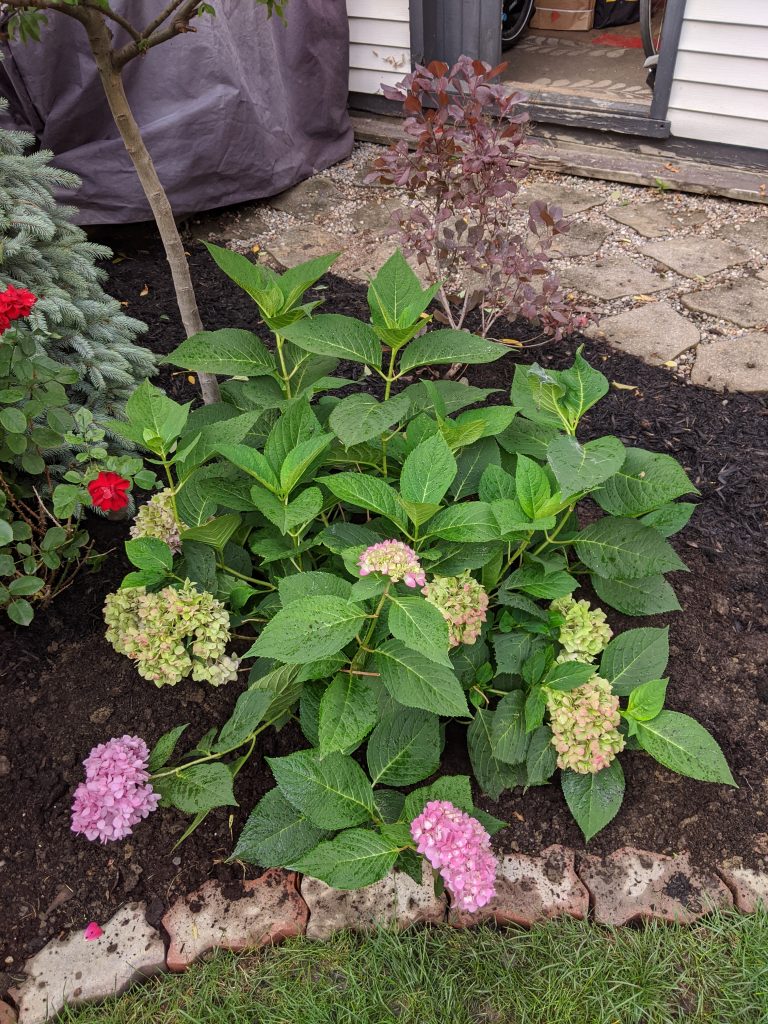
I can’t move the other three hydrangea bushes yet because I can’t move the two rose bushes I have in front of the spruce yet.
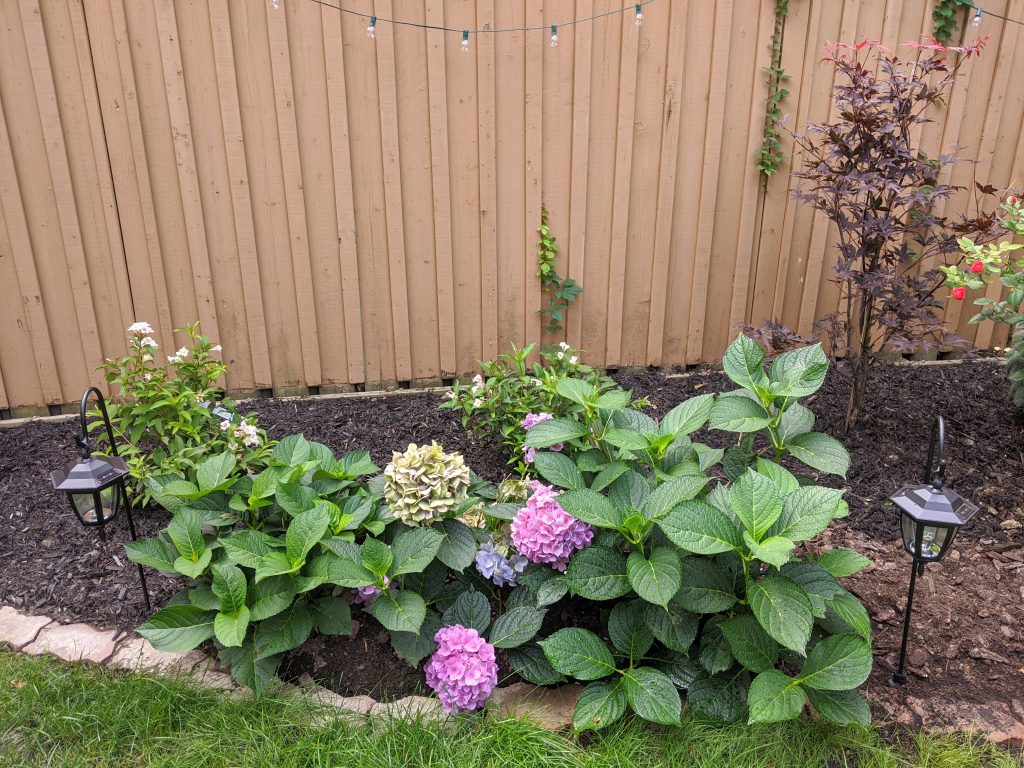
I want to eventually create a kind of rose garden section in the backyard, but its placement can’t be decided on until we complete another big project in the backyard that we haven’t started yet, so for the time being, the roses and the remaining hydrangea bushes need to stay put. They will get moved eventually!
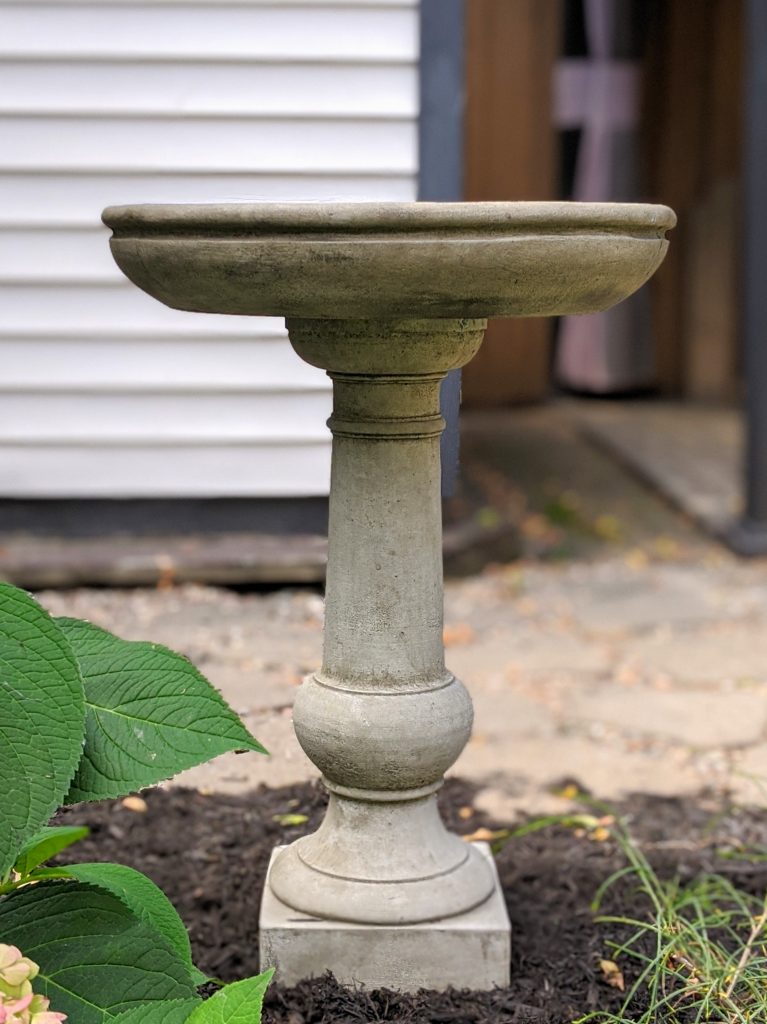
We, then, found this super cute concrete bird bath from a local nursery that I put in between the Genista and the Wincraft Black. I’ve been meaning to get a new bird bath since my other one cracked over the winter. And since this one is concrete and not plastic like the other one, I’m hoping it will last much longer. I just love it!
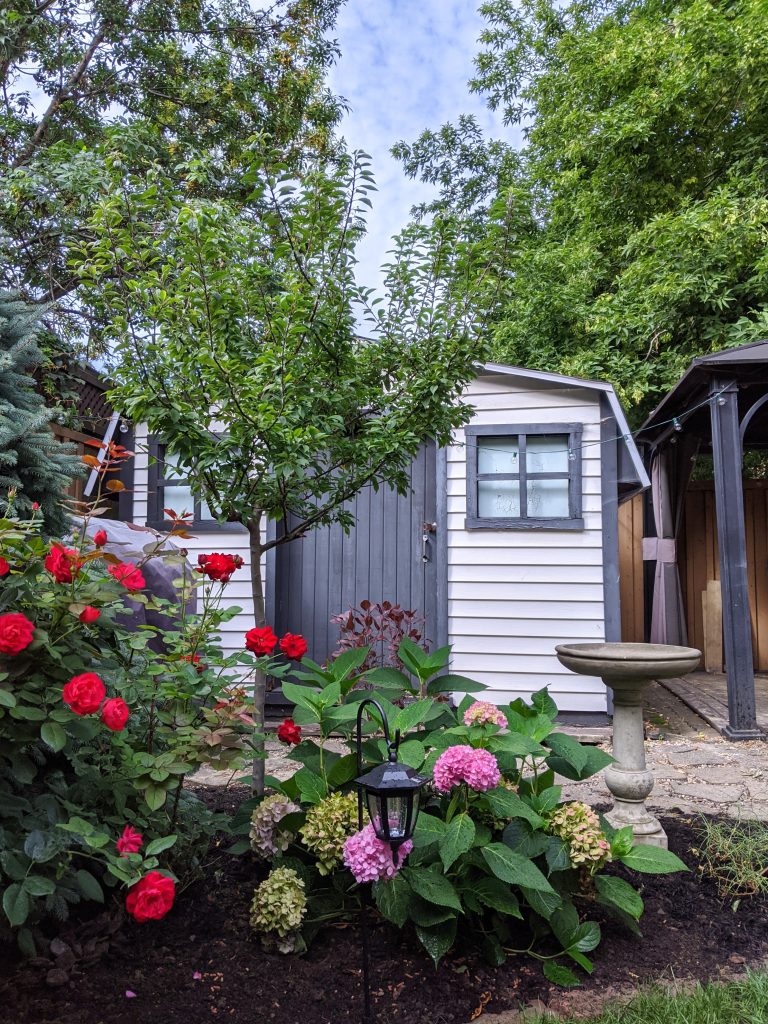
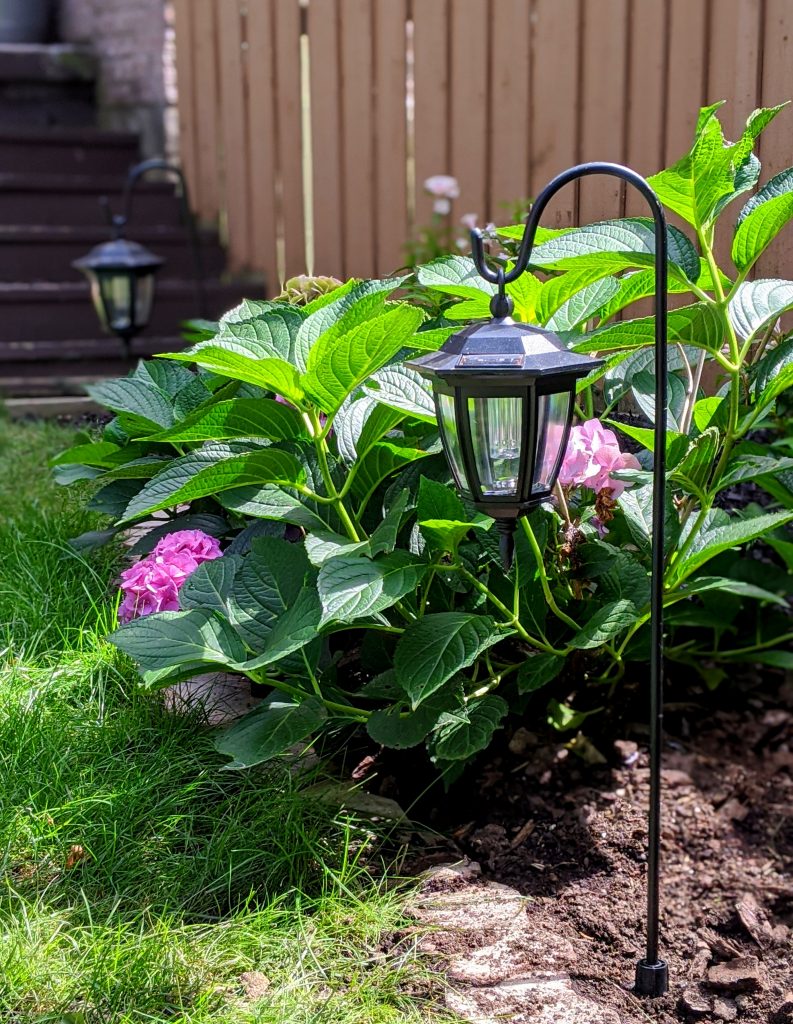
We also added some black mulch to the flower bed, which should help a little with the clay soil, and I like the black colour ’cause it looks like soil. And finally, I also got these really cute solar-powered landscaping lanterns from Home Depot to line the garden beds with. We don’t need the lighting (also they are very dim), but I just love the way they look.
And that’s most of this year’s gardening done. This side of the yard looks so different now! I can’t wait to see how it looks when it’s finished.
xoxo
